云函数是一项Serverless计算服务,提供FaaS(Function as a Service)能力,可以帮助开发者大幅简化应用开发与运维相关事务,降低应用功能的实现门槛,快速构建业务能力。
在本次Codelab中,您将实现一个能够使用AppGallery Connect云函数与客户端进行交互的功能,您需要完成的功能将包含:
必须为Android 4.2及以上版本。
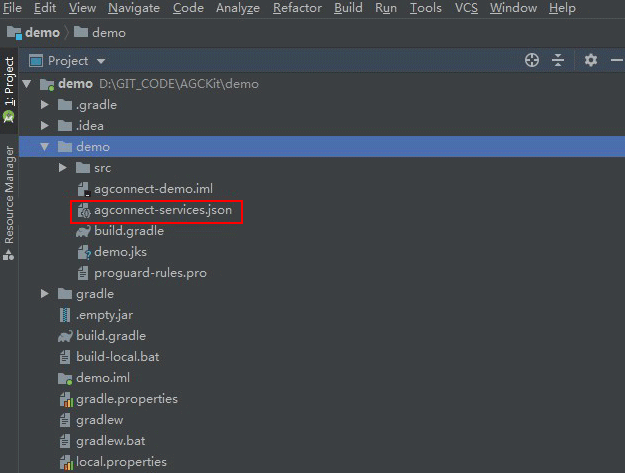
集成AppGallery Connect云函数,需要完成以下准备工作:
针对Android Studio开发环境,华为提供了maven仓集成方式的SDK包,开发前需集成SDK到您的Android Studio项目中。
//配置如下地址
apply plugin:'com.huawei.agconnect'

dependencies

{
    //配置如下地址
    implementation 'com.huawei.agconnect:agconnect-function:1.6.5.300'
}


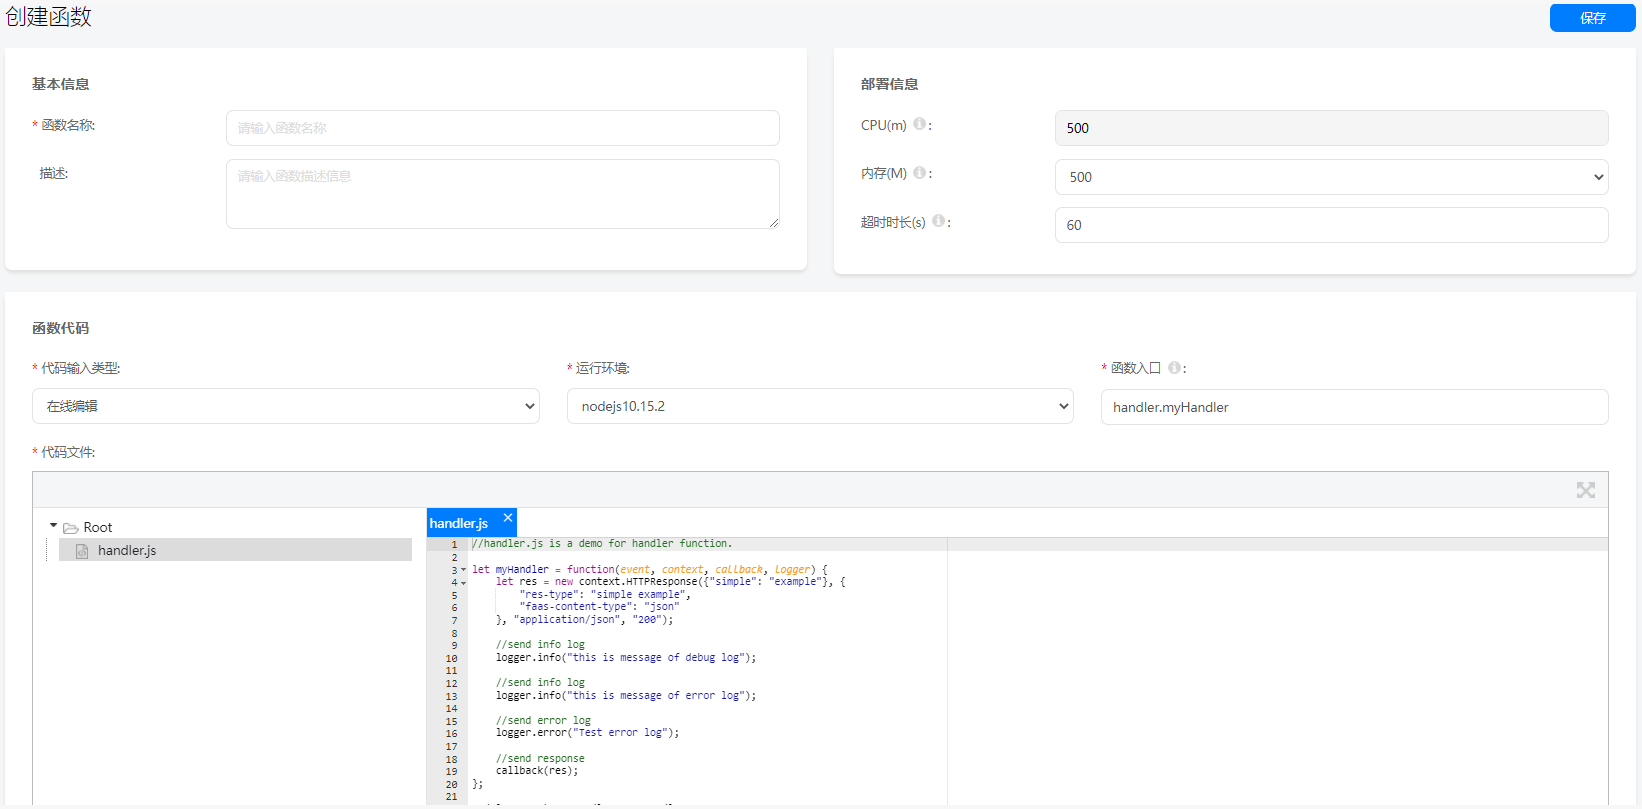
let myHandler = function(event, context, callback, logger)
{
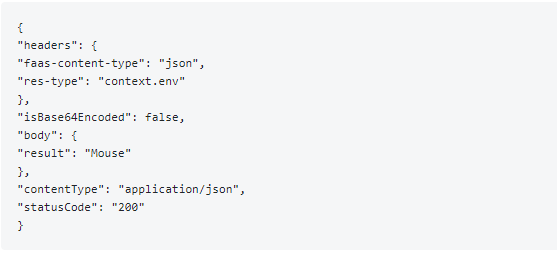
var res = new context.HTTPResponse(context.env, {
"res-type":"context.env",
"faas-content-type":"json",
},"application/json", "200");
var year;
if (event.body) {
var _body = JSON.parse(event.body);
year = _body.year;
} else {
year = event.year;
}
var body = {
result:''
};
body.result = animal(year);
res.body = body;
context.callback(res);
function animal (inputYear) {
var resultString;
if (!isNumber(inputYear)) {
resultString = "input is not a number";
} else {
var remainder = inputYear % 12;
switch (remainder) {
case 0:
resultString = "Monkey";
break;
case 1:
resultString = "Chicken";
break;
case 2:
resultString = "Dog";
break;
case 3:
resultString = "Pig";
break;
case 4:
resultString = "Mouse";
break;
case 5:
resultString = "Cow";
break;
case 6:
resultString = "Tiger";
break;
case 7:
resultString = "Rabbit";
break;
case 8:
resultString = "Dragon";
break;
case 9:
resultString = "Snake";
break;
case 10:
resultString = "Horse";
break;
case 11:
resultString = "Sheep";
break;
default:
resultString = "No symbolic Animal";
}
}
return resultString;
}
function isNumber (input) {
if (parseInt(input).toString == "NaN") {
return false;
} else {
return true;
}
}
}
;
module.exports.myHandler =myHandler;
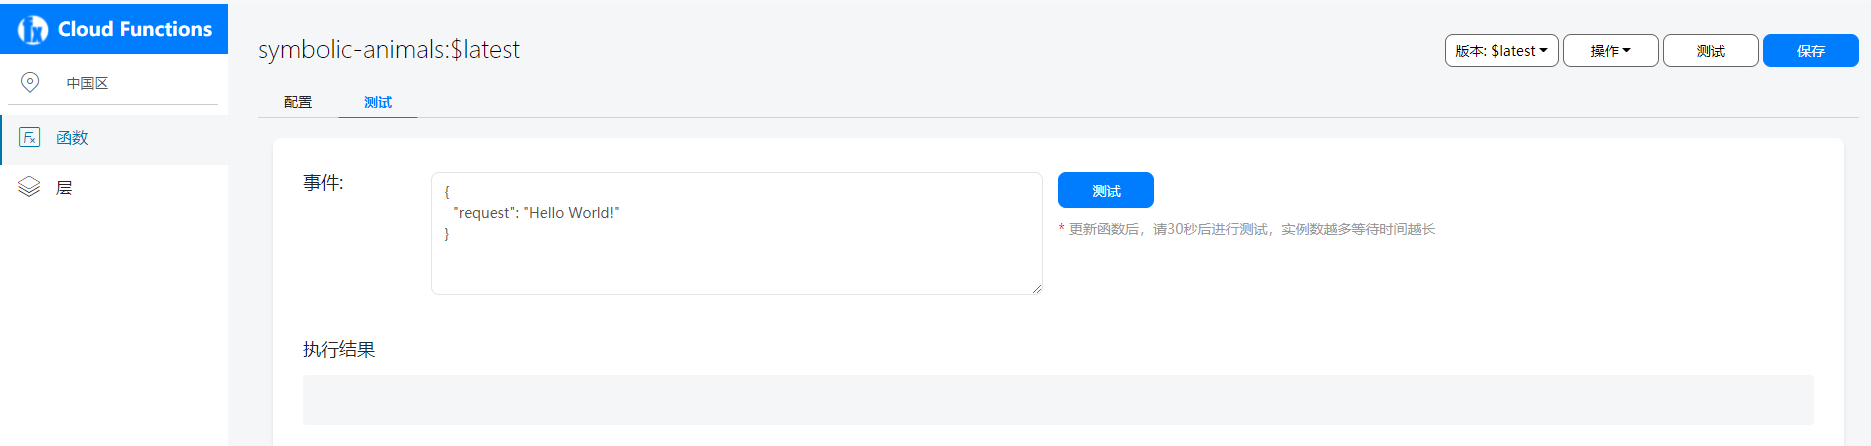
{
"year": 2020
}
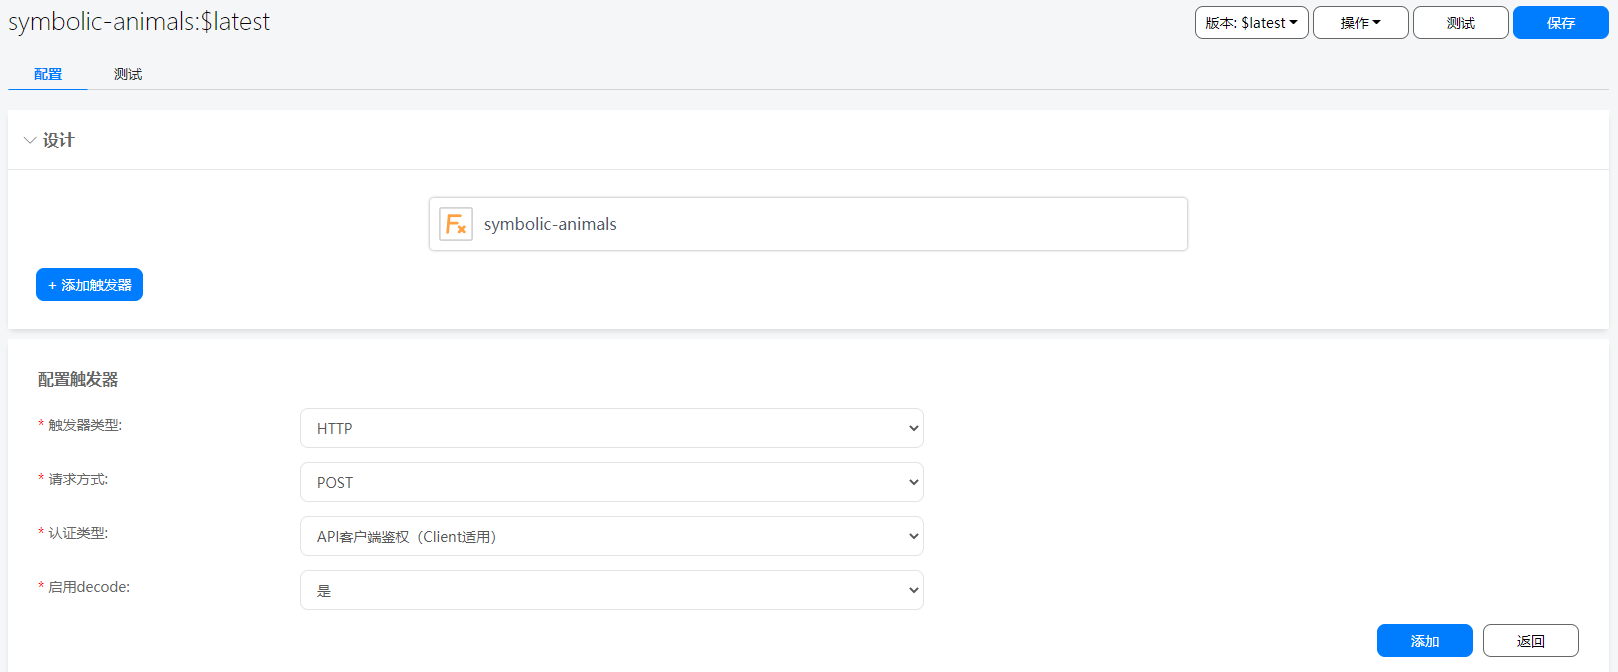
参数 | 说明 |
触发器类型 | HTTP。 |
请求方式 | HTTP触发器目前仅支持POST请求方式。 |
认证类型 | HTTP触发器的认证类型。API客户端鉴权(Client适用):端侧网关认证,适用于来自APP客户端侧的函数调用。API客户端鉴权(Server适用):云侧网关认证,适用于来自APP服务器侧的函数调用。 |
启用decode | 通过HTTP触发器触发函数时,对于contentType为"application/x-www-form-urlencoded"的触发请求,是否使用URLDecoder对请求body进行解码再转发到函数中。 |
本次Codelab中您可以在您的Android Studio工程中创建一个布局页面,参照下图进行UI设计,具备简单的年份输入,云函数返回结果的展示功能即可。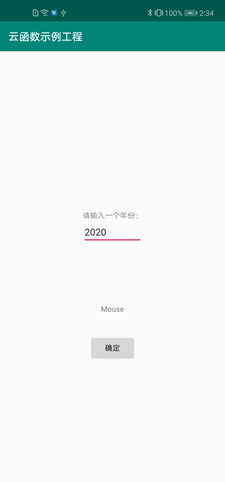
具体的界面布局,可参考如下activity_main.xml文件中的相关代码:
<LinearLayout
    android:layout_width="wrap_content"
    android:layout_height="wrap_content"
    android:orientation="vertical"
    app:layout_constraintBottom_toBottomOf="parent"
    app:layout_constraintLeft_toLeftOf="parent"
    app:layout_constraintRight_toRightOf="parent"
    app:layout_constraintTop_toTopOf="parent"
    app:layout_constraintVertical_bias="0.4">
        <TextView
            android:layout_width="wrap_content"
            android:layout_height="wrap_content"
            android:text="@string/instruction"/>
        <EditText
            android:id="@+id/year_text"
            android:layout_width="match_parent"
            android:layout_height="wrap_content"/>
</LinearLayout>

<TextView
    android:id="@+id/rst_text"
    android:layout_width="wrap_content"
    android:layout_height="wrap_content"
    android:text="@string/instruction_result"
    app:layout_constraintBottom_toBottomOf="parent"
    app:layout_constraintLeft_toLeftOf="parent"
    app:layout_constraintRight_toRightOf="parent"
    app:layout_constraintTop_toTopOf="parent"
    app:layout_constraintVertical_bias="0.6"/>

<Button
    android:id="@+id/rst_btn"
    android:layout_width="wrap_content"
    android:layout_height="wrap_content"
    android:text="@string/OK_button"
    app:layout_constraintBottom_toBottomOf="parent"
    app:layout_constraintLeft_toLeftOf="parent"
    app:layout_constraintRight_toRightOf="parent"
    app:layout_constraintTop_toTopOf="parent"
    app:layout_constraintVertical_bias="0.7"/>
@Override
protected void onCreate(Bundle savedInstanceState) {
    super.onCreate(savedInstanceState);
    setContentView(R.layout.activity_main);
    resultBtn = findViewById(R.id.rst_btn);
    resultText = findViewById(R.id.rst_text);
    inputYear = findViewById(R.id.year_text);

    resultBtn.setOnClickListener(new ButtonClickListener());
}
String inputText = inputYear.getText().toString();
if (inputText.equals("") || !isInputLegit(inputText)){
resultText.setText(R.string.year_error);
return;
}
IsInputLegit方法:
private boolean isInputLegit(String input){
    for (int i = 0; i < input.length(); i++){
        System.out.println(input.charAt(i));
        if (!Character.isDigit(input.charAt(i))){
            return false;
        }
    }
    return true;
}
AGConnectFunction function = AGConnectFunction.getInstance();
HashMap<String, String> map = new HashMap<>();
map.put("year", inputText);
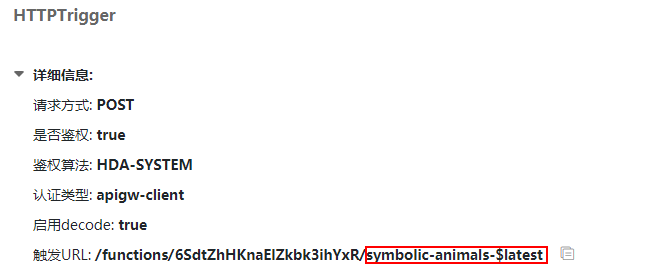
function.wrap("symbolic-animals-$latest").call(map)
.addOnCompleteListener(new OnCompleteListener<FunctionResult>() {
@Override
public void onComplete(Task<FunctionResult> task) {
    if (task.isSuccessful()){
        String value = task.getResult().getValue();
        try {
            JSONObject object = new JSONObject(value);
            String result = (String)object.get("result");
            resultText.setText(result);
        } catch (JSONException e) {
            e.printStackTrace();
        }
        Log.i(TAG, value);
    } else {
        Exception e = task.getException();
        if (e instanceof AGCFunctionException){
            AGCFunctionException functionException = (AGCFunctionException)e;
            int errCode = functionException.getCode();
            String message = functionException.getMessage();
            Log.e(TAG, "errorCode: " + errCode + ", message: " + message);
        }
    }
}
});
祝贺您,您已经成功地构建了您的第一个集成AppGallery Connect云函数服务的应用程序,并学到了: