AppGallery Connect远程配置服务提供了在线的配置参数管理能力,可以实现应用在线更改行为和外观,而无需用户下载应用更新。
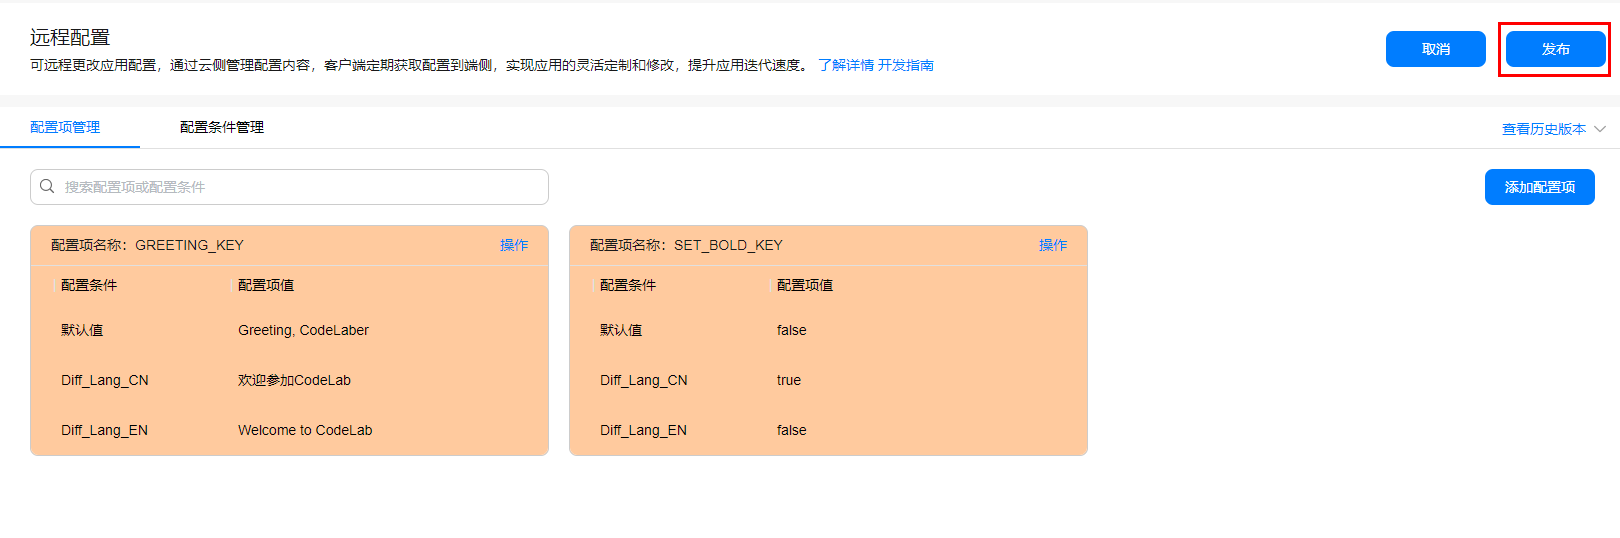
AppGallery Connect远程配置服务提供云端服务,管理台和客户端SDK,应用集成客户端SDK后可以定期获取远程配置管理台配置下发的参数值,实现客户端行为和UI的修改。
在本次Codelab中,您将建立一个能够使用AppGallery Connect远程配置服务控制文本配置的应用,您的应用程序将包含:
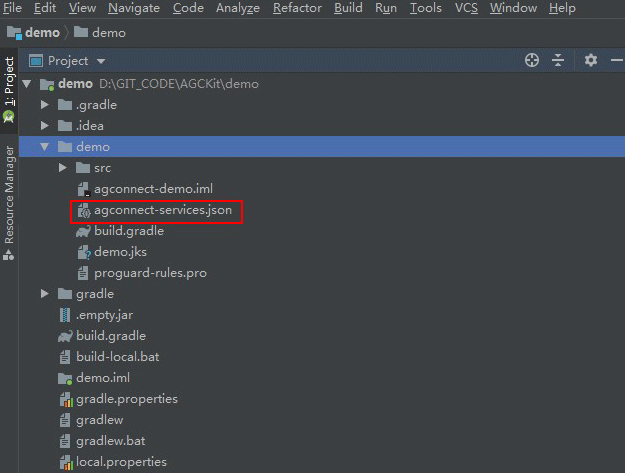
集成AppGallery Connect远程配置服务,需要完成以下准备工作
具体操作,请按照《AppGallery Connect集成准备》中详细说明来完成。

针对Android Studio开发环境,华为提供了maven仓集成方式的SDK包,开发前需集成SDK到您的Android Studio项目中。
//配置如下地址
apply plugin: 'com.huawei.agconnect'

dependencies {
        //配置如下地址
        implementation 'com.huawei.agconnect:agconnect-remoteconfig:1.6.5.300'
}

本次Codelab中您可以在Android Studio工程中创建一个布局页面,参照下图进行UI设计,新增一个简单的文本和一个用于获取远程配置参数的按钮。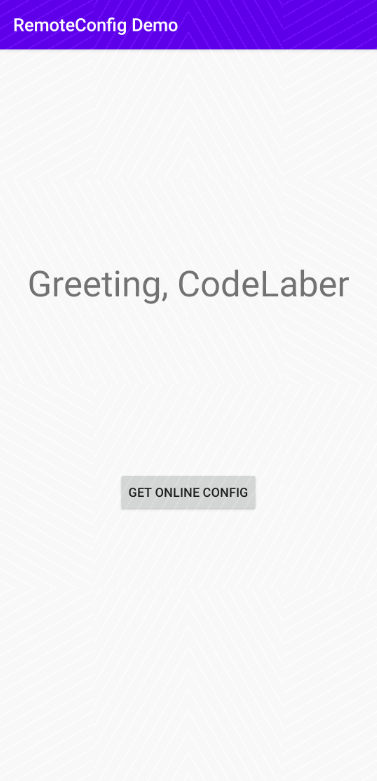
<?xml version="1.0" encoding="utf-8"?>
<androidx.constraintlayout.widget.ConstraintLayout xmlns:android="http://schemas.android.com/apk/res/android"
    xmlns:app="http://schemas.android.com/apk/res-auto"
    xmlns:tools="http://schemas.android.com/tools"
    android:layout_width="match_parent"
    android:layout_height="match_parent"
    tools:context=".MainActivity">

    <TextView
        android:id="@+id/greeting"
        android:layout_width="wrap_content"
        android:layout_height="wrap_content"
        android:text="Greeting CodeLaber"
        android:textSize="30sp"
        app:layout_constraintBottom_toBottomOf="parent"
        app:layout_constraintLeft_toLeftOf="parent"
        app:layout_constraintRight_toRightOf="parent"
        app:layout_constraintTop_toTopOf="parent"
        app:layout_constraintVertical_bias="0.3" />

    <Button
        android:id="@+id/fetch_button"
        android:layout_width="wrap_content"
        android:layout_height="wrap_content"
        android:text="Get Online config"
        app:layout_constraintBottom_toBottomOf="parent"
        app:layout_constraintHorizontal_bias="0.5"
        app:layout_constraintLeft_toLeftOf="parent"
        app:layout_constraintRight_toRightOf="parent"
        app:layout_constraintTop_toTopOf="parent"
        app:layout_constraintVertical_bias="0.6" />

</androidx.constraintlayout.widget.ConstraintLayout>
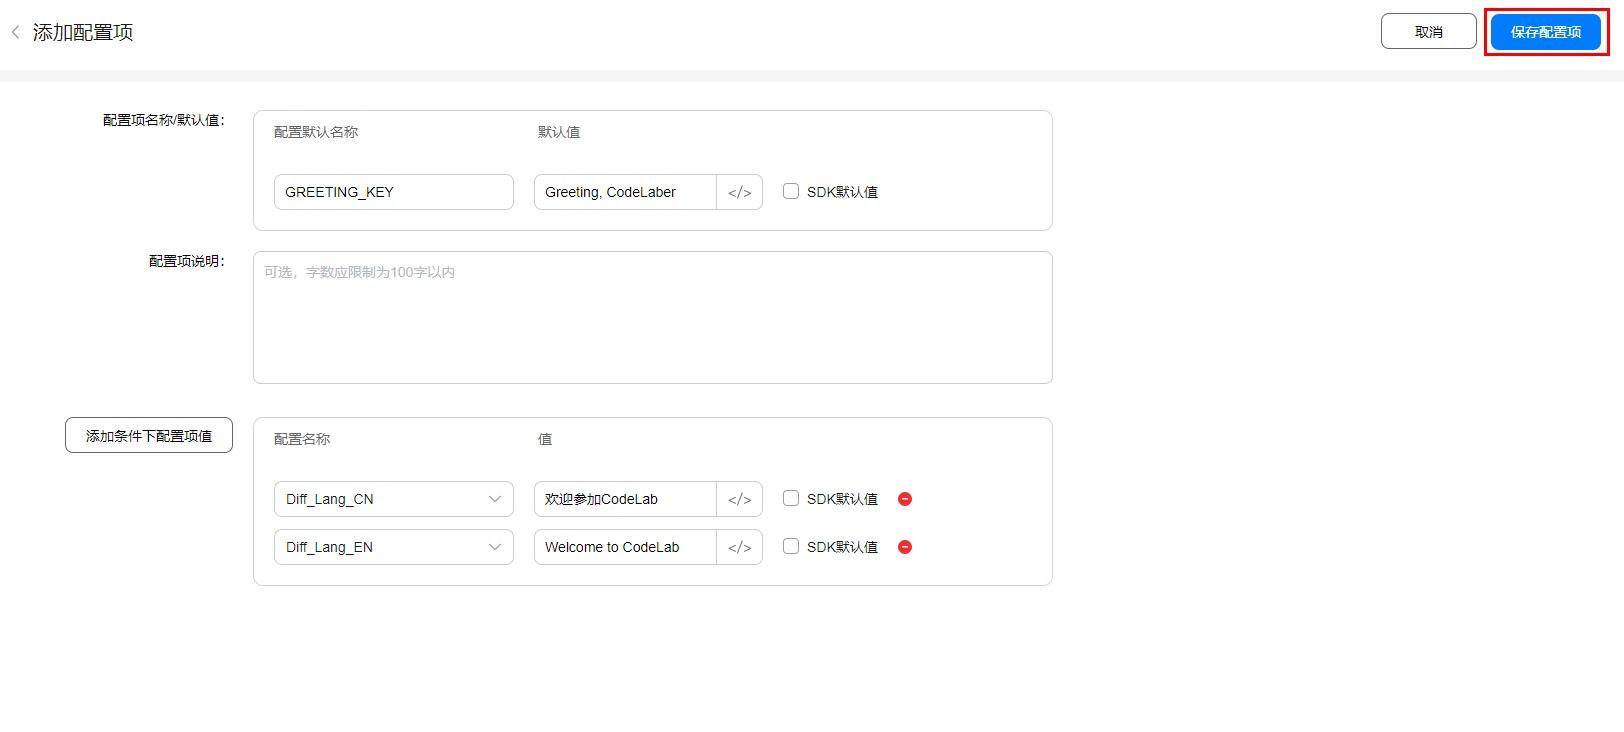
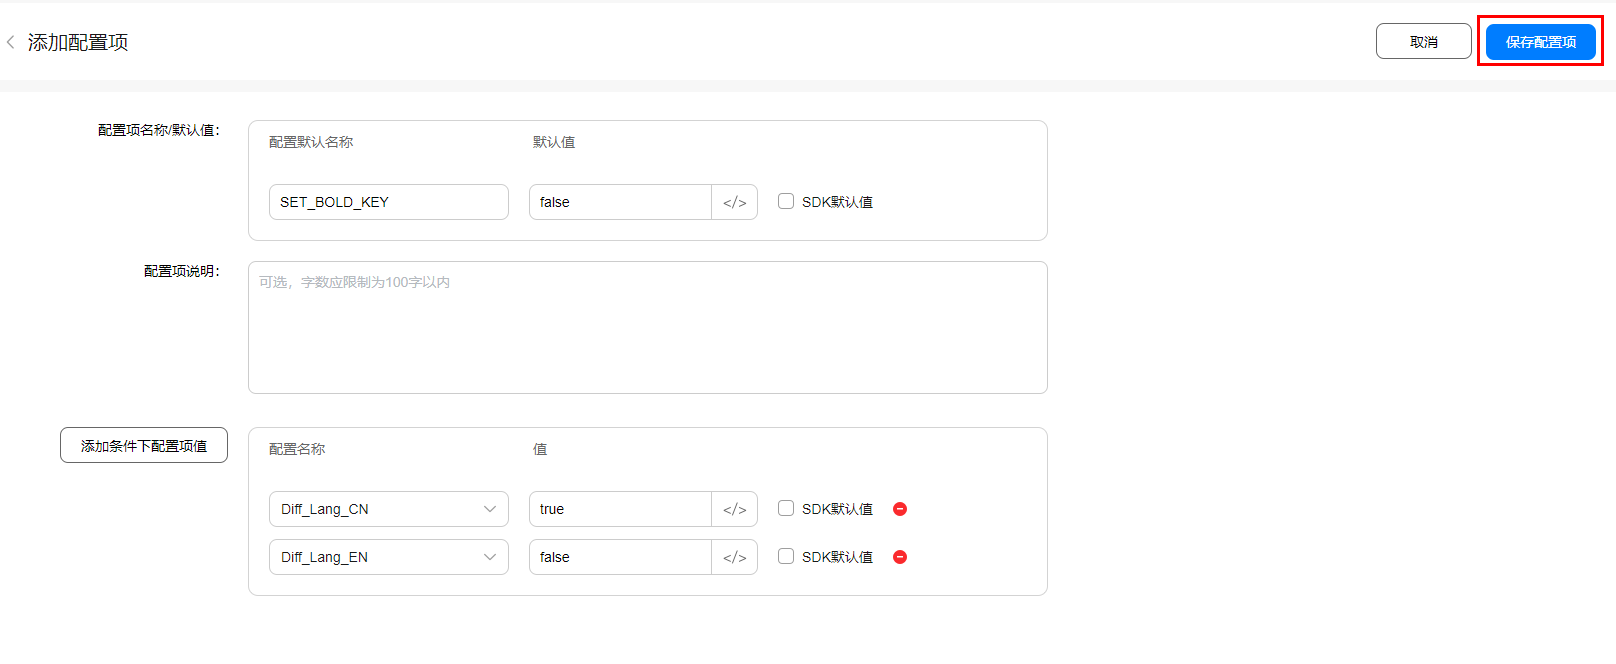
由于应用需要实现的功能是通过点击按钮替换欢迎语的文字、以及加粗状态,我们可以设计以下2个参数。
当应用启动时需要加载默认配置,在本次Codelab中我们使用设置本地默认值的方式,在本地工程的"res/xml"目录中新建1个xml文件,在文件中设置各配置参数的默认值。 例如文件remote_config.xml。
<?xml version="1.0" encoding="utf-8"?>
<remoteconfig>
    <value key="GREETING_KEY">Greeting, CodeLaber</value>
    <value key="SET_BOLD_KEY">false</value>
</remoteconfig>
import androidx.appcompat.app.AppCompatActivity;
import android.graphics.Typeface;
import android.os.Bundle;
import android.view.View;
import android.widget.Button;
import android.widget.TextView;
import com.huawei.agconnect.remoteconfig.AGConnectConfig;
import com.huawei.agconnect.remoteconfig.ConfigValues;
import com.huawei.hmf.tasks.OnFailureListener;
import com.huawei.hmf.tasks.OnSuccessListener;
private static final String GREETING_KEY = "GREETING_KEY";
private static final String SET_BOLD_KEY = "SET_BOLD_KEY";
private AGConnectConfig config;
private TextView textView;
onCreate方法定义相关界面元素。setContentView(R.layout.activity_main);
textView = findViewById(R.id.greeting);
Button button = findViewById(R.id.fetch_button);
config = AGConnectConfig.getInstance();
config = AGConnectConfig.getInstance();
config.applyDefault(R.xml.remote_config);
textView.setText(config.getValueAsString(GREETING_KEY));
Boolean isBold = config.getValueAsBoolean(SET_BOLD_KEY);
if (isBold){
	textView.setTypeface(Typeface.defaultFromStyle(Typeface.BOLD));
}
fetchAndApply方法。button.setOnClickListener(new View.OnClickListener() {
@Override
public void onClick(View view) {
fetchAndApply();
}
});
fetchAndApply方法定义如下:
private void fetchAndApply(){
    config.fetch(0).addOnSuccessListener(new OnSuccessListener<ConfigValues>() {
        @Override
        public void onSuccess(ConfigValues configValues) {
            // Apply Network Config to Current Config
            config.apply(configValues);
            updateUI();
        }
    }).addOnFailureListener(new OnFailureListener() {
        @Override
        public void onFailure(Exception e) {
            textView.setText("fetch setting failed: " + e.getMessage());
        }
    });
}
updateUI方法中获取配置中的参数值并加载到页面元素。private void updateUI(){
String text = config.getValueAsString(GREETING_KEY);
Boolean isBold = config.getValueAsBoolean(SET_BOLD_KEY);
textView.setText(text);
if (isBold){
textView.setTypeface(Typeface.defaultFromStyle(Typeface.BOLD));
}
}

祝贺您,您已经成功地构建了您的第一个集成AppGallery Connect远程配置服务的应用程序,并学到了:
本Codelab中所用demo源码下载地址如下: