You can create a project first and then add an app to the project. When creating an app, you are required to configure information of your app. After the creation, AppGallery Connect will generate basic configuration information for your app.
- Sign in to AppGallery Connect.
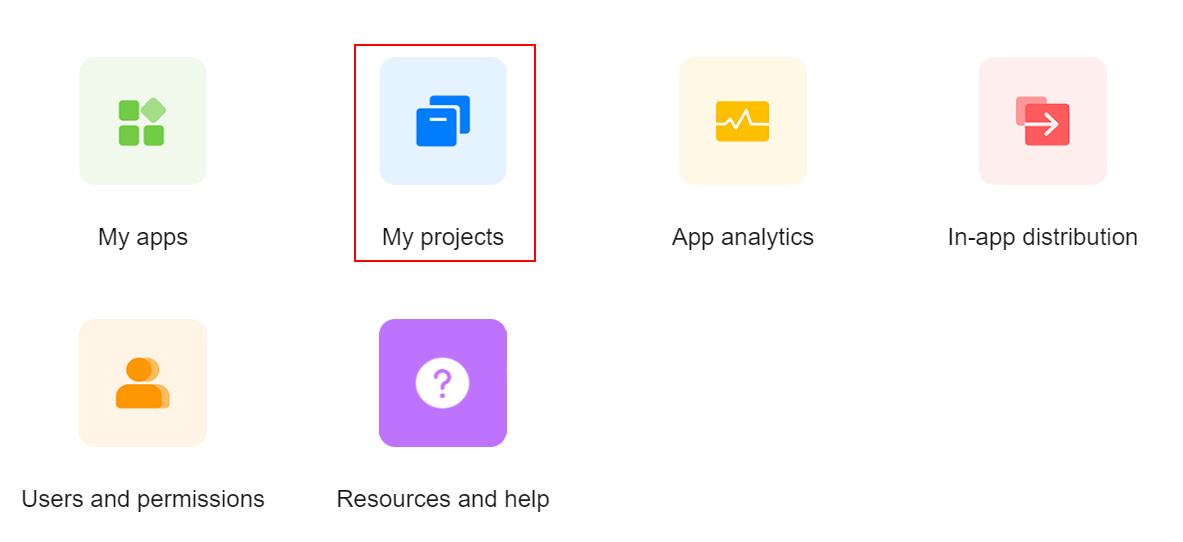
- Click My projects.
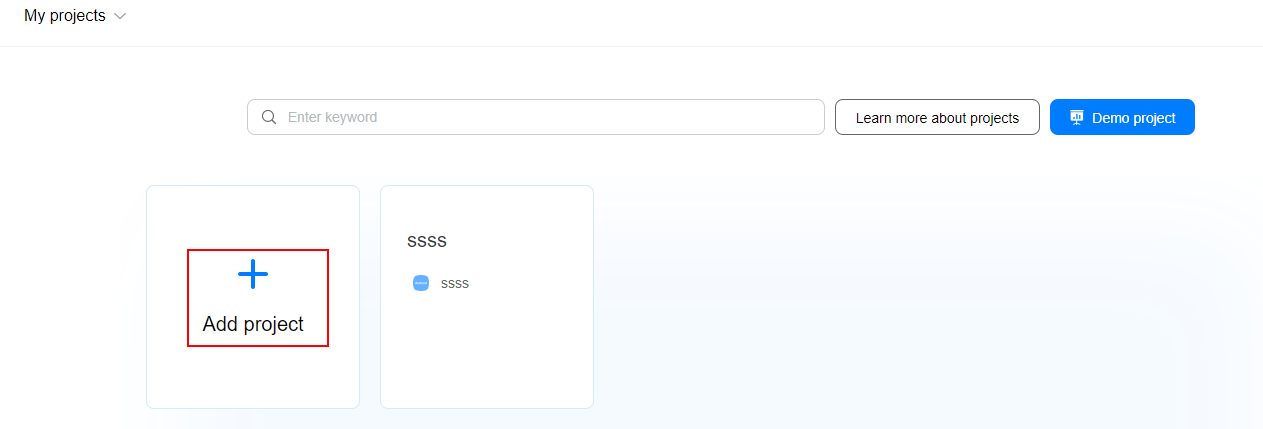
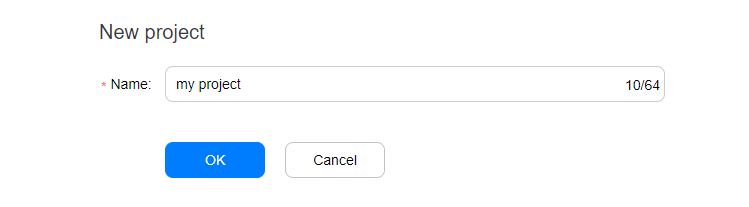
- Click Add project. In the dialog box that is displayed, enter the project name, and click OK.
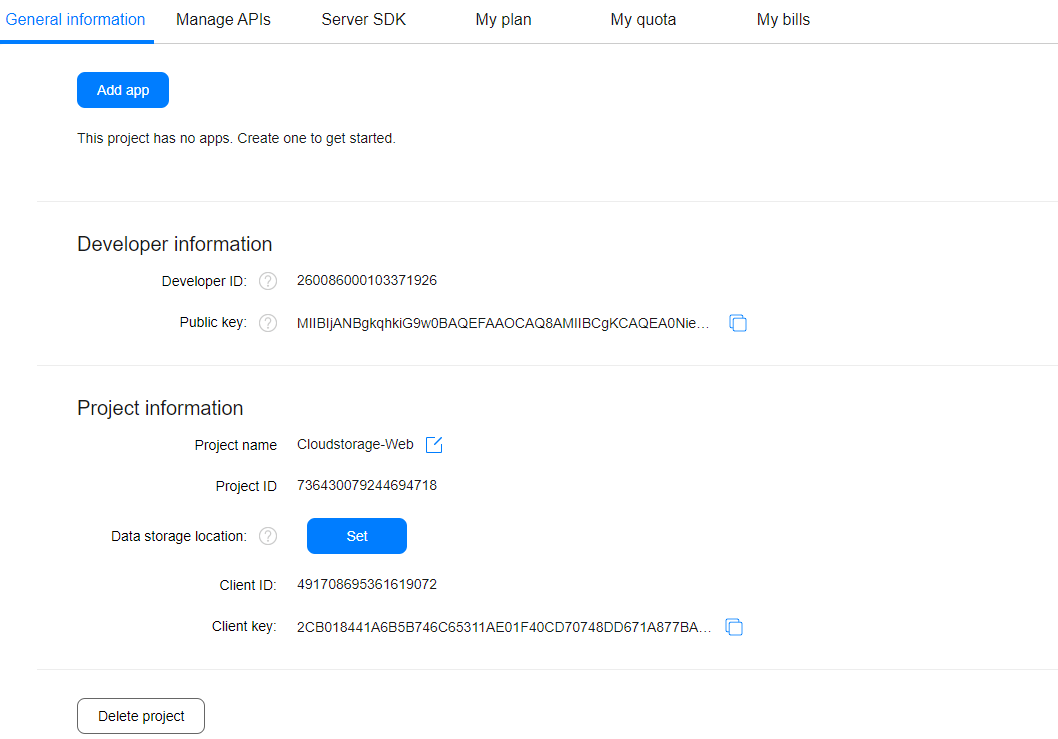
- Go to Project settings > General information. On the page displayed, click Add app.
- On the Add app page, set Platform to Web, enter the app name, and click OK.

- After the app is created, you can view app information such as the app ID and API key under My projects > Project settings > General information.
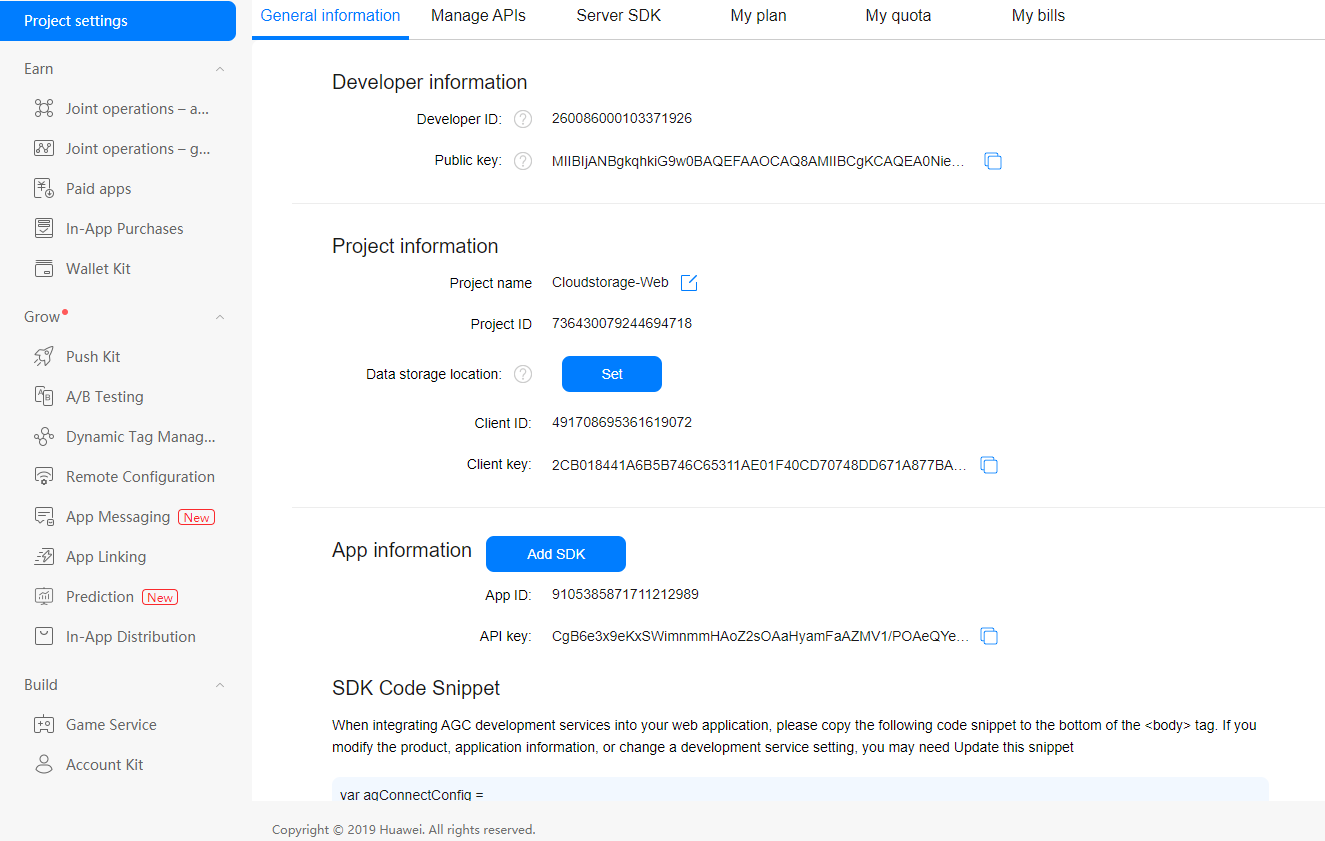
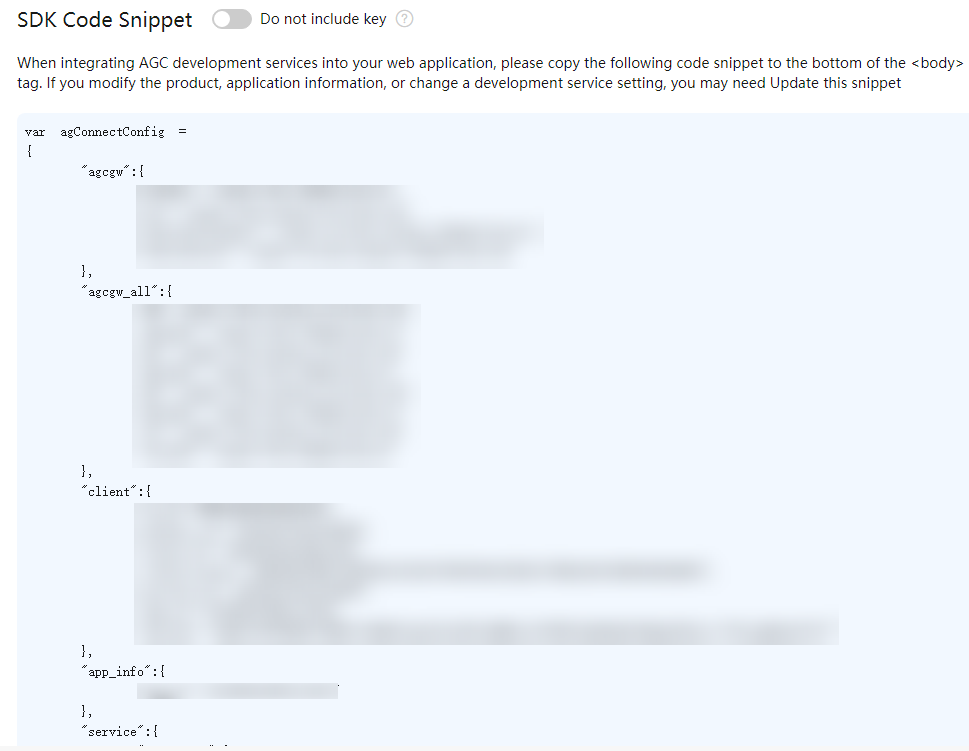
- Copy the app configuration information in the SDK code snippet for future use.
You can run commands to create a project. It is recommended that the project name be the same as the name of the app created in AppGallery Connect.
- Open the CLI and run the following command to install the global Vue CLI:
npm install --global vue-cli
- Open the CLI, go to the directory where the project is to be created, and run the following command to create a Vue CLI project. The parameter following webpack is the project name.
vue init webpack authcodelab
- After the project is created, use IntelliJ IDEA to open the created project.
The JavaScript SDK of AppGallery Connect is released in the npm repository. Before integrating the SDK, you need to initialize the npm project first.
- If the package.json file does not exist in your project directory, run the following command in the root directory of the project to create it:
npm init
- Use IntelliJ IDEA to open your project, create a main project file in the src directory, and enter the copied app configuration information during initialization.
var agConnectConfig = {
// App configuration information.
}
// Initialize AppGallery Connect.
agconnect.instance().configInstance(agConnectConfig);