App Multiplier is a system-side solution that splits the screen based on app activities. The left-right split-screen display technology, dual-window lifecycle management, and dual-window display mode and switching logic form the core of the App Multiplier solution. You can define the activity combinations based on service requirements to deliver the best in-app multi-window experience. You will only need to develop once, and deploy the feature on various devices.
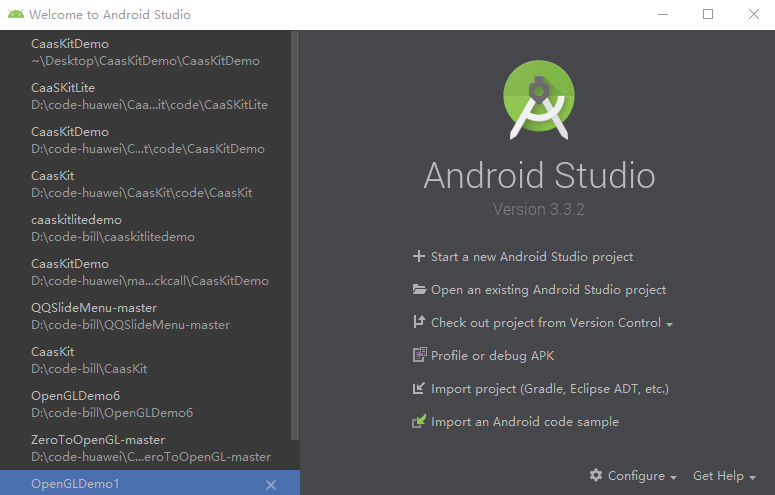
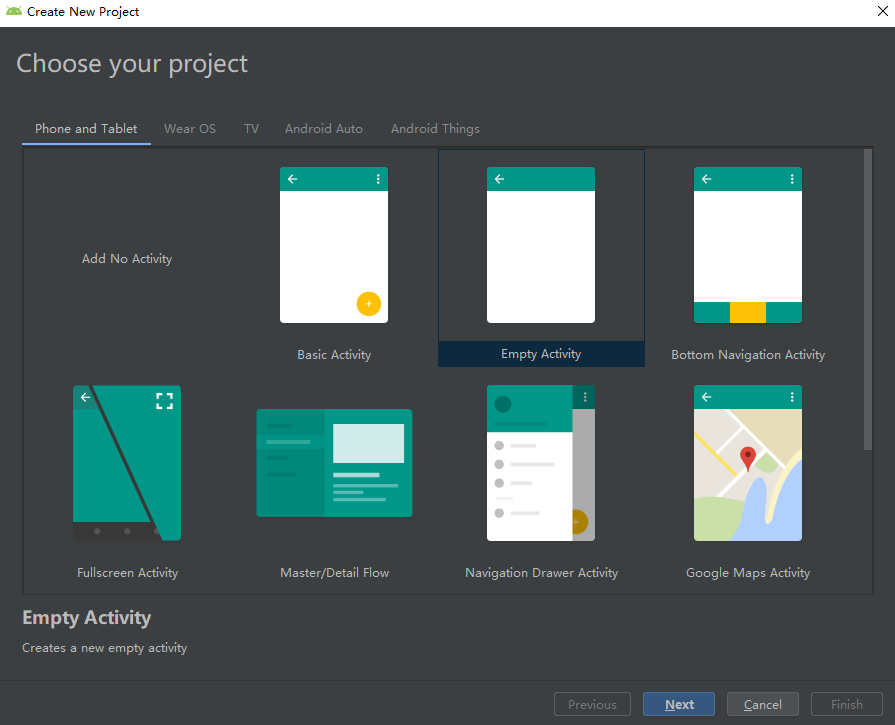
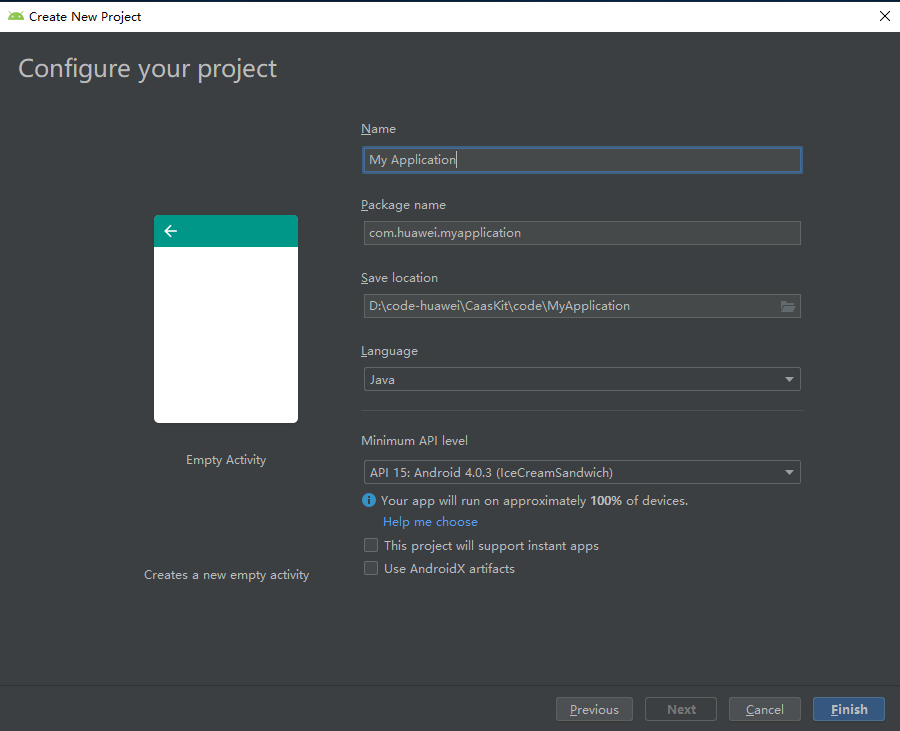
In this codelab, you will be able to create a demo project, integrate App Multiplier to the demo project, and complete the overall process of App Multiplier integration.
In this codelab, you will learn how to:
Create two activity pages A and B and establish the open relationship between the pages, for example, open the AActivity page from the MainActivity page, and open the BActivity page from the AActivity page.
An example is as follows:
com.huawei.appmultiplierdemo.MainActivity.java.
import android.content.Intent;
import android.support.v7.app.AppCompatActivity;
import android.os.Bundle;
import android.view.View;

public class MainActivity extends AppCompatActivity {

    @Override
    protected void onCreate(Bundle savedInstanceState) {
        super.onCreate(savedInstanceState);
        setContentView(R.layout.activity_main);
    }


    public void openA(View view) {
        Intent intent = new Intent(this, AActivity.class);
        startActivity(intent);
    }
}
<?xml version="1.0" encoding="utf-8"?>
<LinearLayout xmlns:android="http://schemas.android.com/apk/res/android"
    xmlns:app="http://schemas.android.com/apk/res-auto"
    xmlns:tools="http://schemas.android.com/tools"
    android:layout_width="match_parent"
    android:layout_height="match_parent"
    android:orientation="vertical"
    android:textAlignment="center"
    tools:context=".MainActivity">

    <TextView
        android:layout_width="match_parent"
        android:layout_height="wrap_content"
        android:text="X"
        android:textAlignment="center"
        android:textSize="36sp"
        app:layout_constraintBottom_toBottomOf="parent"
        app:layout_constraintLeft_toLeftOf="parent"
        app:layout_constraintRight_toRightOf="parent"
        app:layout_constraintTop_toTopOf="parent" />

    <Button
        android:id="@+id/button1"
        android:layout_width="match_parent"
        android:layout_height="wrap_content"
        android:onClick="openA"
        android:text="OpenA" />
</LinearLayout>
import android.content.Intent;
import android.support.v7.app.AppCompatActivity;
import android.os.Bundle;
import android.view.View;

public class AActivity extends AppCompatActivity {

    @Override
    protected void onCreate(Bundle savedInstanceState) {
        super.onCreate(savedInstanceState);
        setContentView(R.layout.activity_a);
    }

    public void openB(View view) {
        Intent intent = new Intent(this, BActivity.class);
        startActivity(intent);
    }
}
<?xml version="1.0" encoding="utf-8"?>
<LinearLayout xmlns:android="http://schemas.android.com/apk/res/android"
    xmlns:app="http://schemas.android.com/apk/res-auto"
    xmlns:tools="http://schemas.android.com/tools"
    android:layout_width="match_parent"
    android:layout_height="match_parent"
    android:orientation="vertical"
    tools:context=".AActivity">

    <TextView
        android:id="@+id/textView"
        android:layout_width="match_parent"
        android:layout_height="wrap_content"
        android:accessibilityLiveRegion="none"
        android:text="A"
        android:textAlignment="center"
        android:textSize="36sp"
        android:typeface="normal" />

    <Button
        android:id="@+id/buttonB"
        android:layout_width="match_parent"
        android:layout_height="wrap_content"
        android:onClick="openB"
        android:text="OpenB" />
</LinearLayout>
import android.content.Intent;
import android.support.v7.app.AppCompatActivity;
import android.os.Bundle;
import android.view.View;

public class BActivity extends AppCompatActivity {

    @Override
    protected void onCreate(Bundle savedInstanceState) {
        super.onCreate(savedInstanceState);
        setContentView(R.layout.activity_b);
    }
}
<?xml version="1.0" encoding="utf-8"?>
<LinearLayout xmlns:android="http://schemas.android.com/apk/res/android"
    xmlns:app="http://schemas.android.com/apk/res-auto"
    xmlns:tools="http://schemas.android.com/tools"
    android:layout_width="match_parent"
    android:layout_height="match_parent"
    android:orientation="vertical"
    tools:context=".BActivity">

    <TextView
        android:id="@+id/textViewB"
        android:layout_width="match_parent"
        android:layout_height="wrap_content"
        android:accessibilityLiveRegion="none"
        android:text="B"
        android:textAlignment="center"
        android:textSize="36sp"
        android:typeface="normal" />
</LinearLayout>
Add metadata to the application element in AndroidManifest.xml.
<meta-data android:name="EasyGoClient" android:value="true" />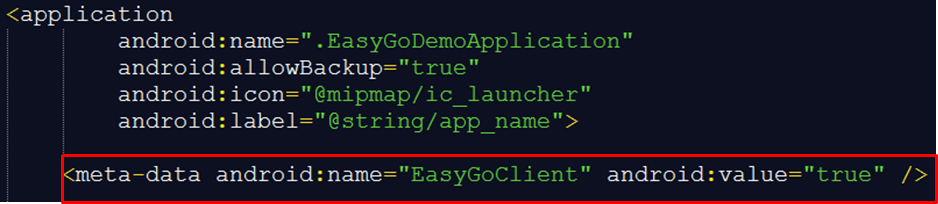
Create the easygo.json configuration file in the assets folder and configure the file based on the redirection modes in different scenarios. The following are the examples.
Shopping mode:
{
  "easyGoVersion": "1.0",
  "client": "com.huawei.appmultiplierdemo",
  "logicEntities": [
    {
      "head": {
        "function": "magicwindow",
        "required": "true"
      },
      "body": {
        "mode":"0",
        "activityPairs":[
        ],
        "transActivities":[
        ]
      }
    }
  ]
}
Navigation bar mode:
{
  "easyGoVersion": "1.0",
  "client": "com.huawei.appmultiplierdemo",
  "logicEntities": [
    {
      "head": {
        "function": "magicwindow",
        "required": "true"
      },
      "body": {
        "mode":"1",
        "activityPairs":[
          {"from":"com.huawei.appmultiplierdemo.MainActivity","to":"*"},
        ],
        "transActivities":[
        ]
      }
    }
  ]
}
User-defined mode:
{
  "easyGoVersion": "1.0",
  "client": "com.huawei.appmultiplierdemo",
  "logicEntities": [
    {
      "head": {
        "function": "magicwindow",
        "required": "true"
      },
      "body": {
        "mode":"1",
        "activityPairs":[
          {"from":"com.huawei.appmultiplierdemo.MainActivity","to":" com.huawei.appmultiplierdemo.AActivity "},
          {"from":"com.huawei.appmultiplierdemo.AActivity","to":"com.huawei.appmultiplierdemo.BActivity"}
        ],
        "transActivities":[
        ]
      }
    }
  ]
}
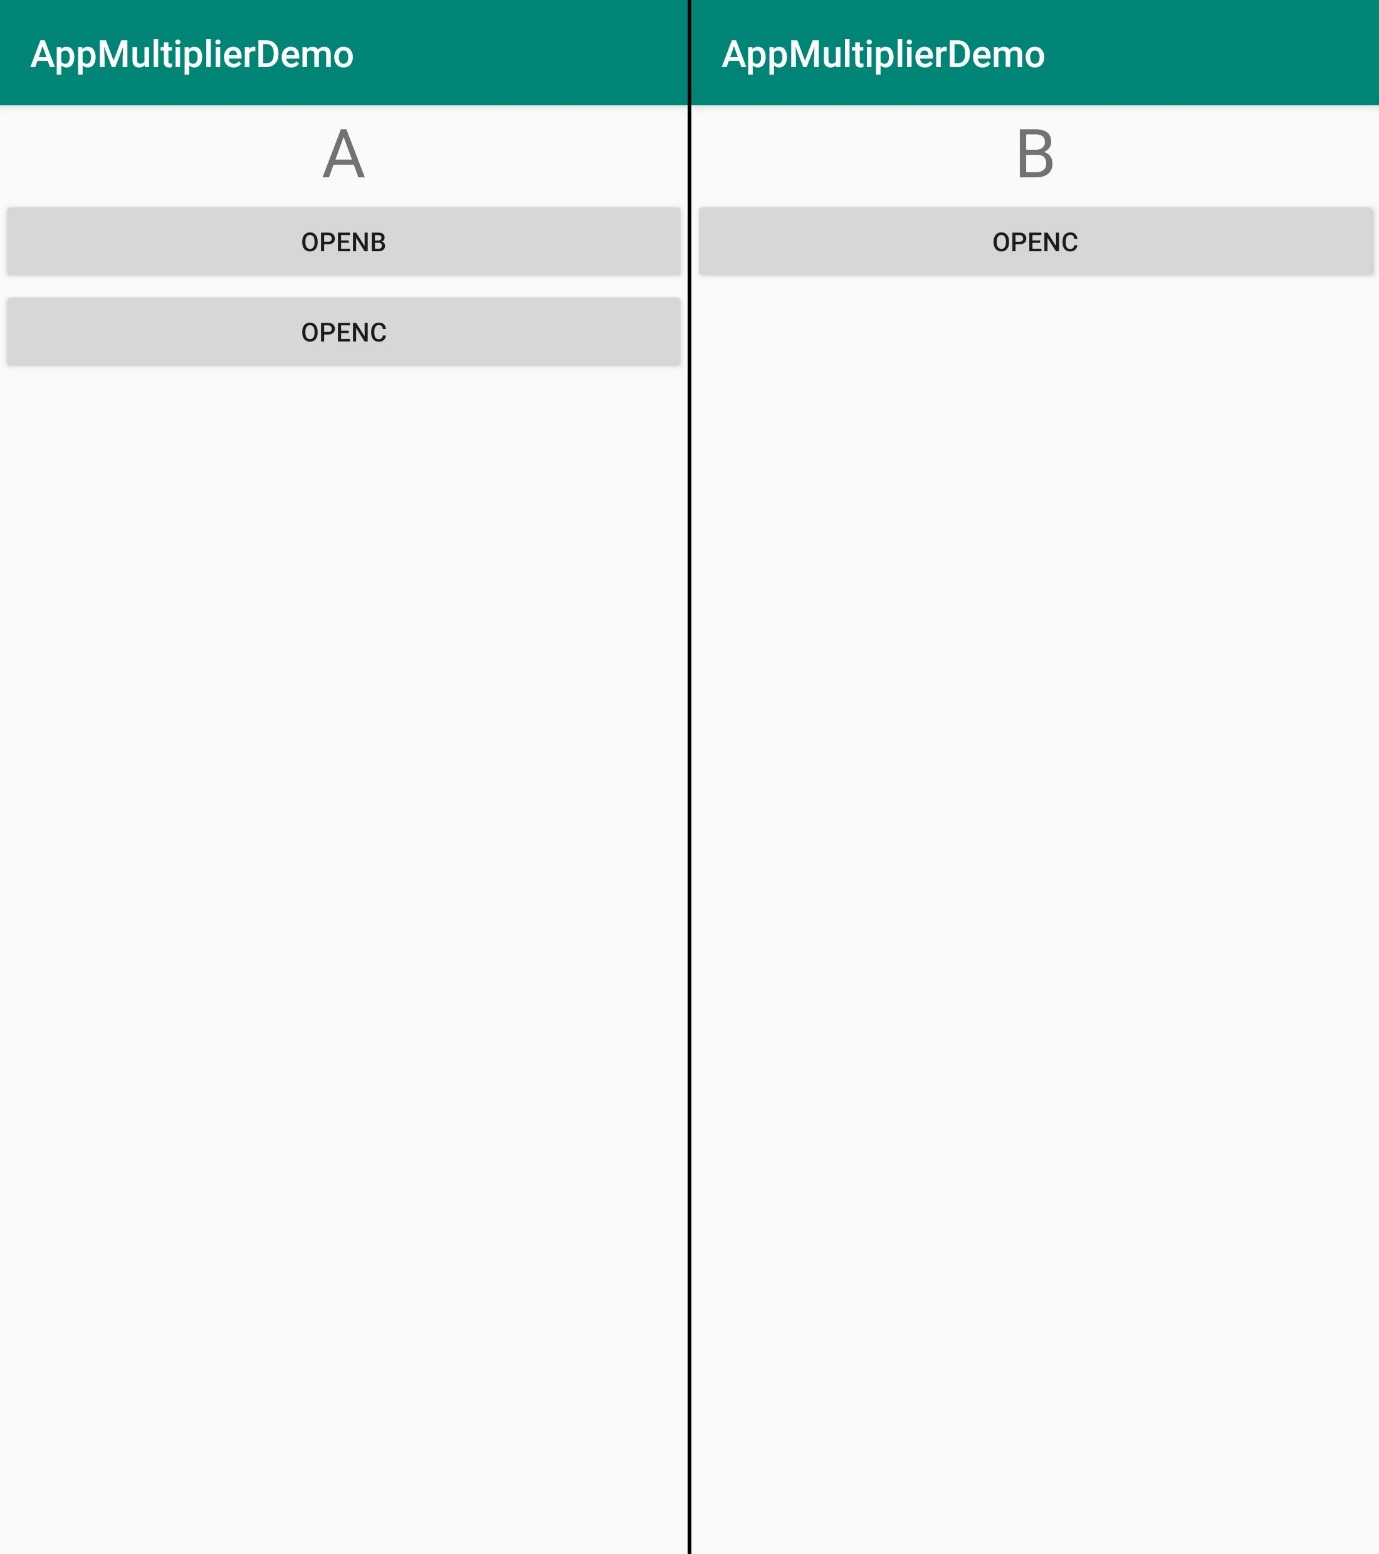
If the app can correctly implement the split-screen redirections between activities (as shown in the following figure), App Multiplier has been successfully configured.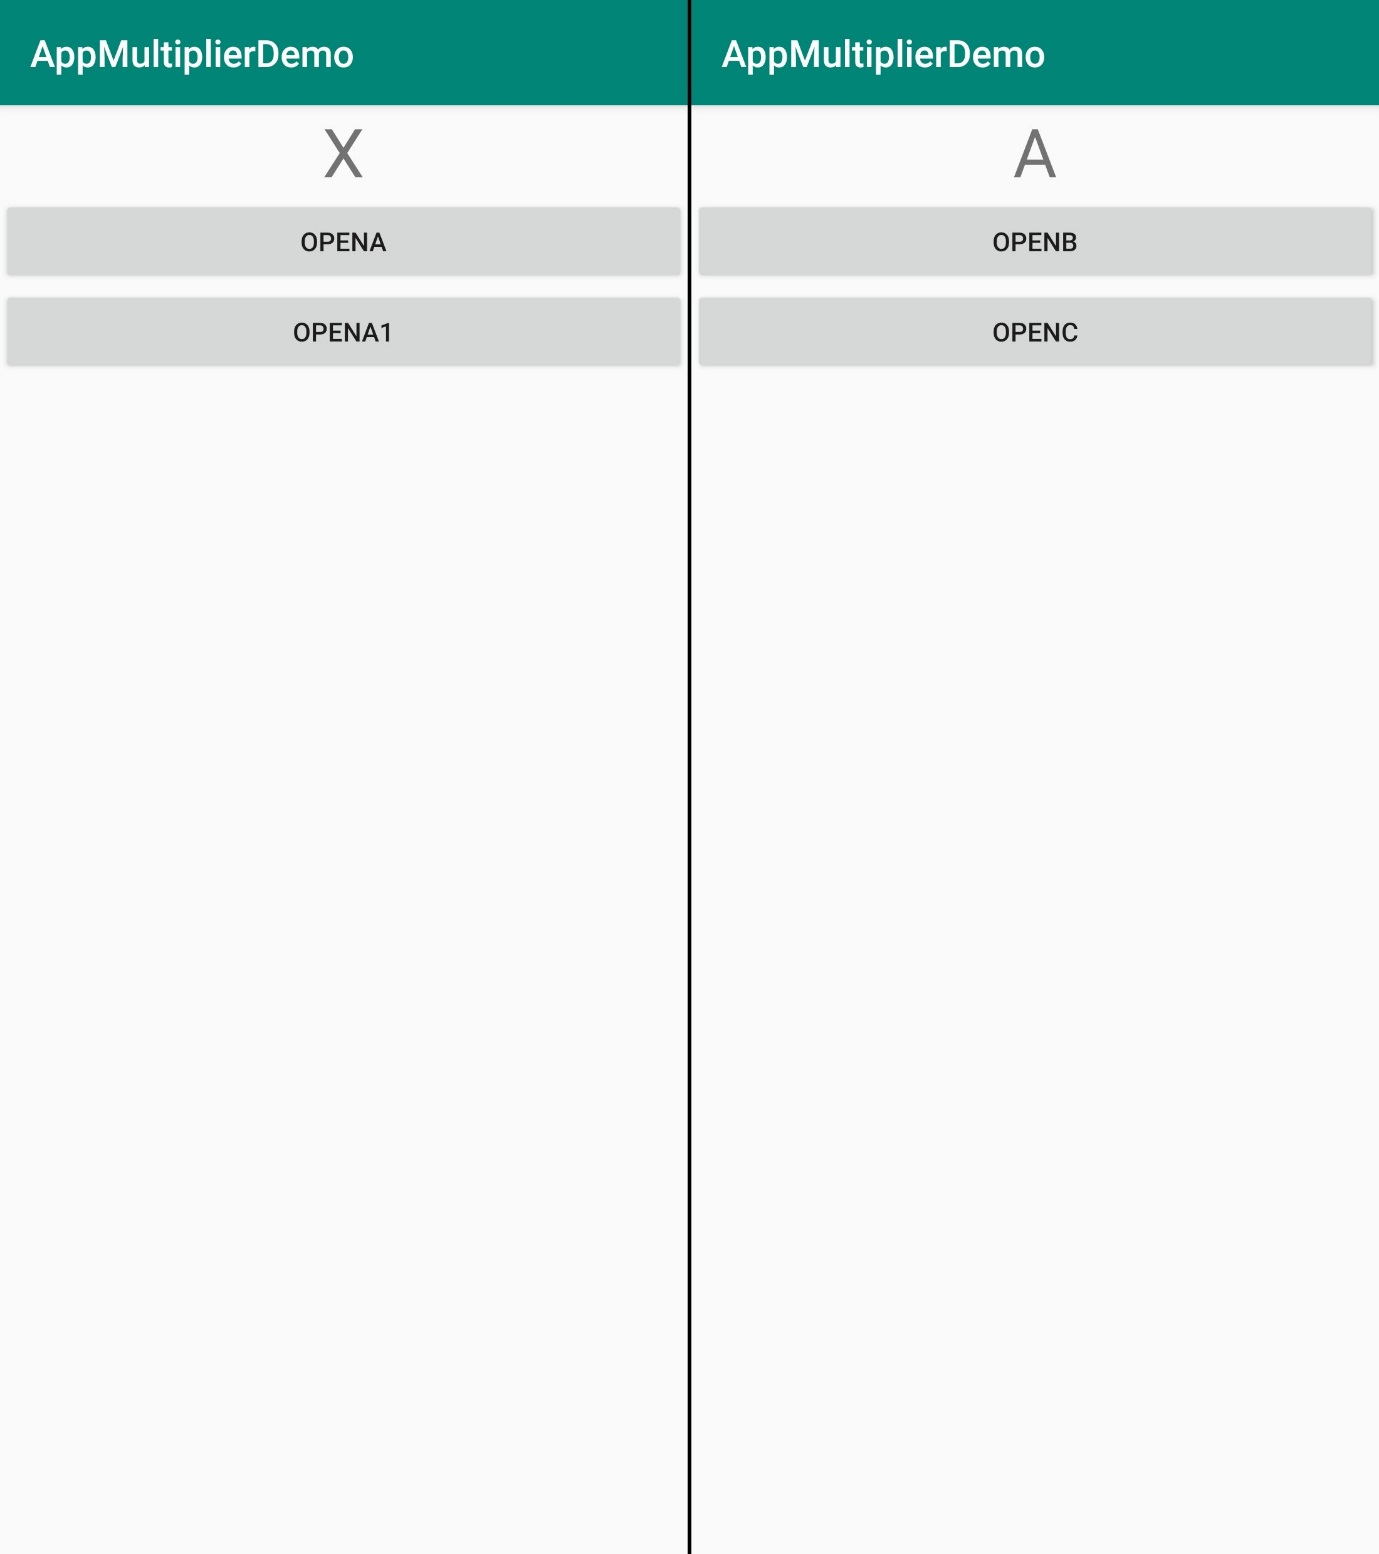
Well done. You have successfully completed the codelab and learned:
For more information, please click the following link:
To download the sample code, please click the button below: