

1. Introduction
Overview
Analytics Kit predefines rich analysis models to help you easily understand user behavior and gain in-depth insights into users, products, and content. As such, you can carry out data-driven operations and make informed decisions about app marketing and product optimization.
Analytics Kit implements the following functions using data collected from apps:
- Collects and reports custom events through coding.
- Sets up to 25 user attributes.
- Automatically collects events, calculates sessions, and predefines event IDs and parameters.
What You Will Create
In this codelab, you will create a demo app based on the provided demo project. After creating a demo app, you will be able to:
- Report events using the Analytics SDK.
- View event analysis reports on the cloud platform of Analytics Kit.
What You Will Learn
In this codelab, you will learn how to:
- Use Android Studio to efficiently integrate capabilities of Analytics Kit.
- Correctly use APIs of Analytics Kit.
2. What You Will Need
Hardware Requirements
- A computer (desktop or laptop)
- A Huawei phone used for running and debugging the developed app
Software Requirements
- For computers
- JDK version: 1.8 or later
- Android Studio version: 3.6.1 or later
- For Huawei phones
Android API level 18 (Android 4.3 Jelly Bean) or later
Required Knowledge
- Android app development basics
- Android multithreading
3. Integration Preparations
To integrate Analytics Kit, you must complete the following preparations:
- Create an app in AppGallery Connect.
- Create an Android Studio project.
- Add the app package name and save the configuration file.
- Add the AppGallery Connect plugin and the Maven repository in the project-level build.gradle file.
For details, please refer to Preparations.
- Sign in to AppGallery Connect and click My projects.
- Find your project and select the app that needs to integrate the Analytics SDK.
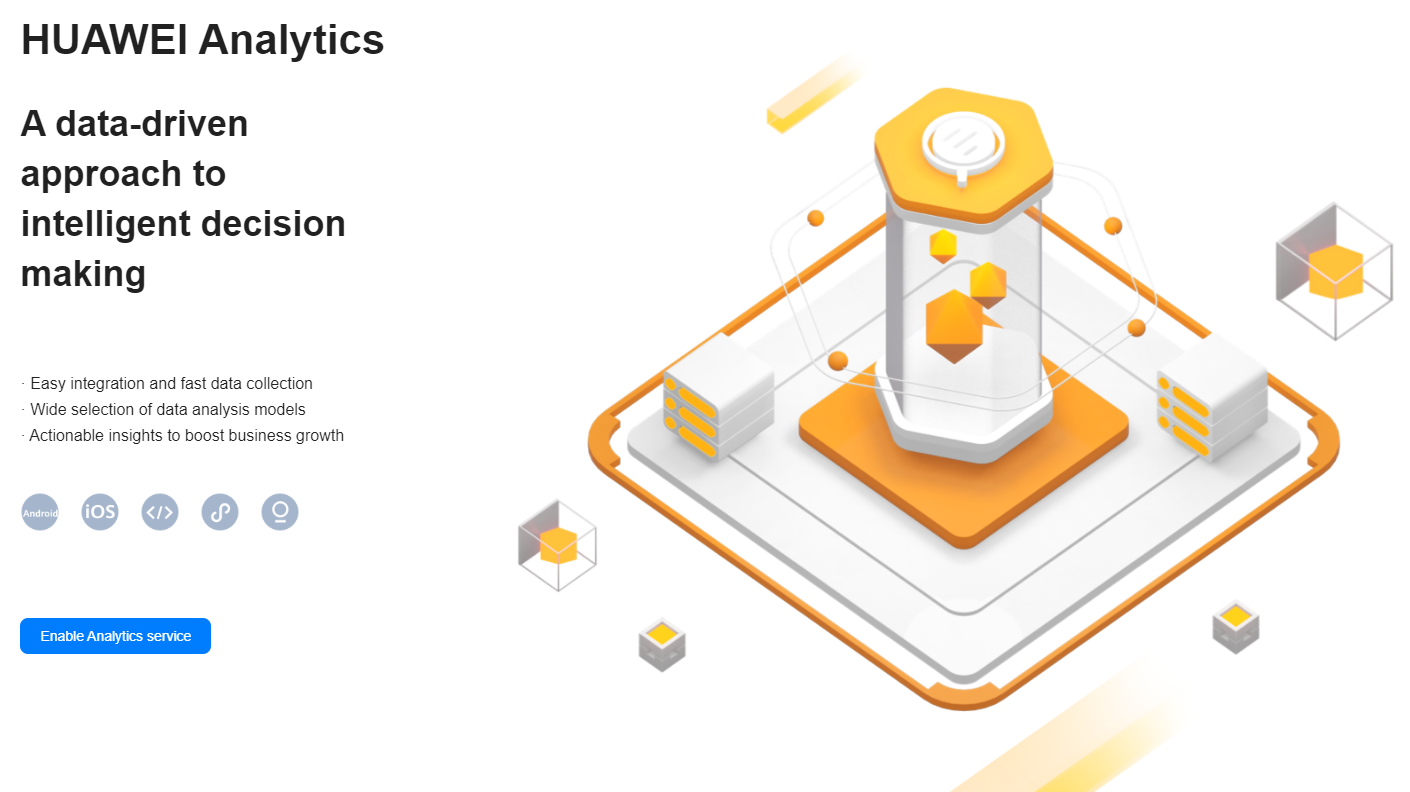
- Select any menu under HUAWEI Analytics and click Enable Analytics service. (You must have the app management permission to perform this operation.)
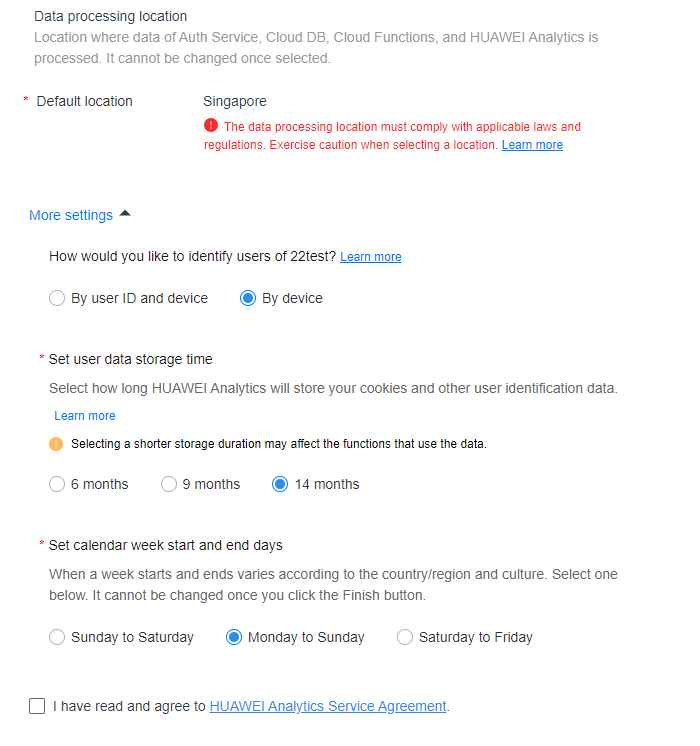
- On the Project access settings page displayed, set the data processing location and complete other settings. Then click Finish.
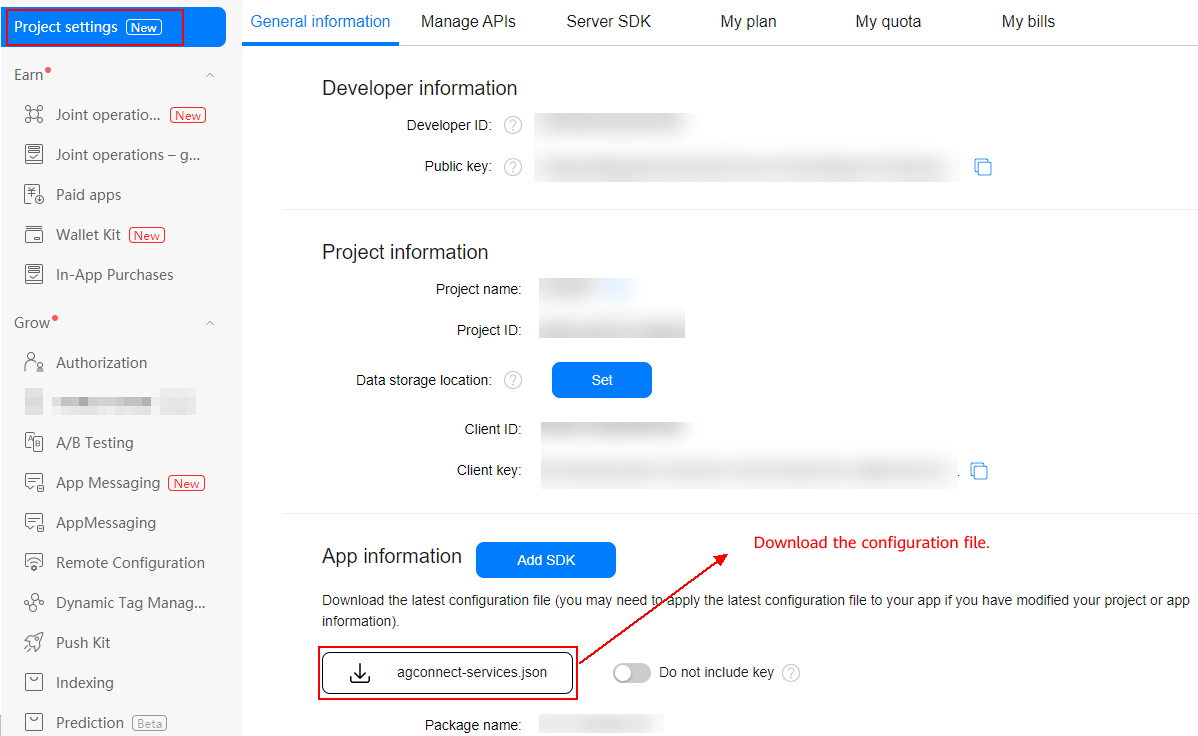
- Download the configuration file.
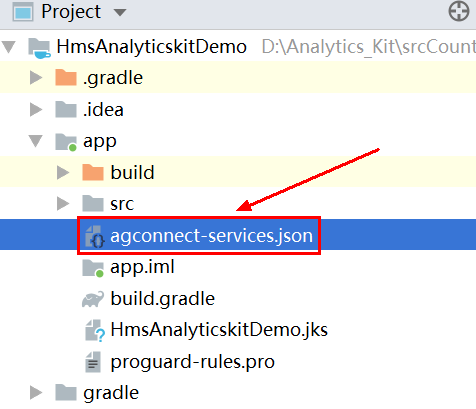
- In Android Studio, switch to the Project view and copy the agconnect-services.json file to your app-level directory.
Adding SDK Dependencies
- Add the Maven repository address and AppGallery Connect dependency to the build.gradle file of your project.
a) Open the project-level build.gradle file.
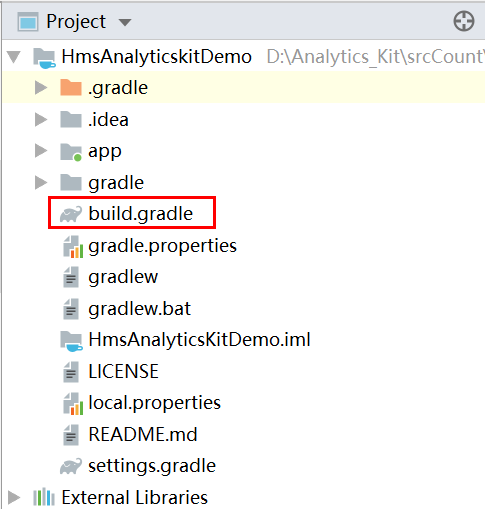
b) Configure the Maven repository address for the HMS Core SDK.
For details, please refer to Configuring the Maven Repository Address for the HMS Core SDK.c) Add the AppGallery Connect dependency to dependencies.
dependencies { classpath 'com.huawei.agconnect:agcp:1.6.0.300' } - Add the Analytics Kit dependency to the app-level build.gradle file.
a) Open the app-level build.gradle file.
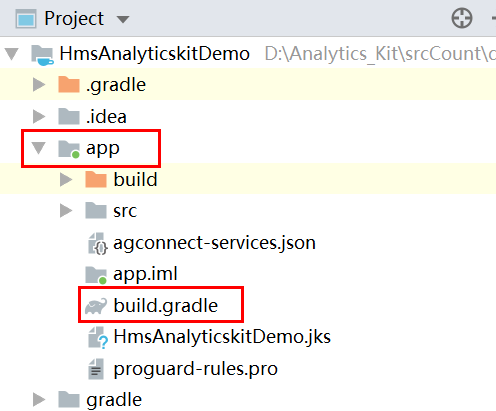
b) Add the build dependency to dependencies.
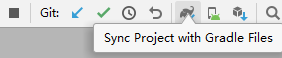
dependencies { implementation 'com.huawei.hms:hianalytics:6.7.0.300' } - Click Sync Now or Sync Project with Gradle Files to build a project.
c)Add the AppGallery Connect plugin configuration.
Method 1: add the following information under apply plugin: 'com.android.application' in the file header:
apply plugin: 'com.huawei.agconnect'Method 2: add the plugin configuration to the plugins block:
plugins {
  id 'com.android.application'
  // Add the following configuration:
  id 'com.huawei.agconnect'
}Configuring Obfuscation Scripts
1. Open the app-level obfuscation configuration file proguard-rules.pro of your project and add configurations to exclude the HMS Core SDK from obfuscation.
-ignorewarnings
-keepattributes *Annotation*
-keepattributes Exceptions
-keepattributes InnerClasses
-keepattributes Signature
-keepattributes SourceFile,LineNumberTable
-keep class com.huawei.hianalytics.**{*;}
-keep class com.huawei.updatesdk.**{*;}
-keep class com.huawei.hms.**{*;}
2. If you are using AndResGuard, add its trustlist to the obfuscation configuration file.
"R.string.hms*",
"R.string.connect_server_fail_prompt_toast",
"R.string.getting_message_fail_prompt_toast",
"R.string.no_available_network_prompt_toast",
"R.string.third_app_*",
"R.string.upsdk_*",
"R.layout.hms*",
"R.layout.upsdk_*",
"R.drawable.upsdk*",
"R.color.upsdk*",
"R.dimen.upsdk*",
"R.style.upsdk*",
"R.string.agc*"
4. Accessing Analytics Kit
In this section, you will try to build a demo with the question answering function to learn how to use the main APIs of Analytics Kit. We have prepared the code for you, meaning you only need to follow the instructions in each step below to learn how to use Analytics Kit to report the events you are interested in, such as answering questions, calculating scores, and setting user attributes.
Extracting Sample Code to the src Directory
Copying Code Files
Copy all Java files from the code directory to your project.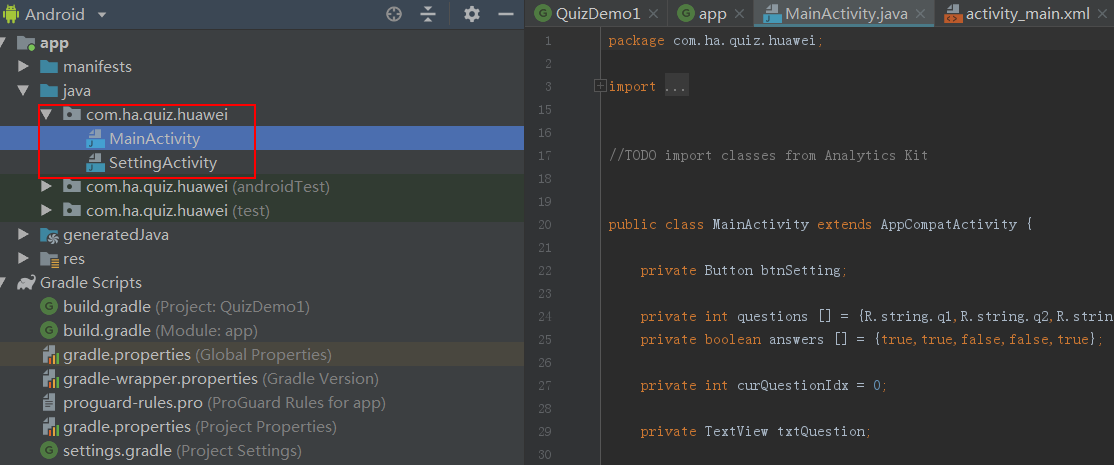
Copying Resource Files
Copy all resource files from the res directory to your project.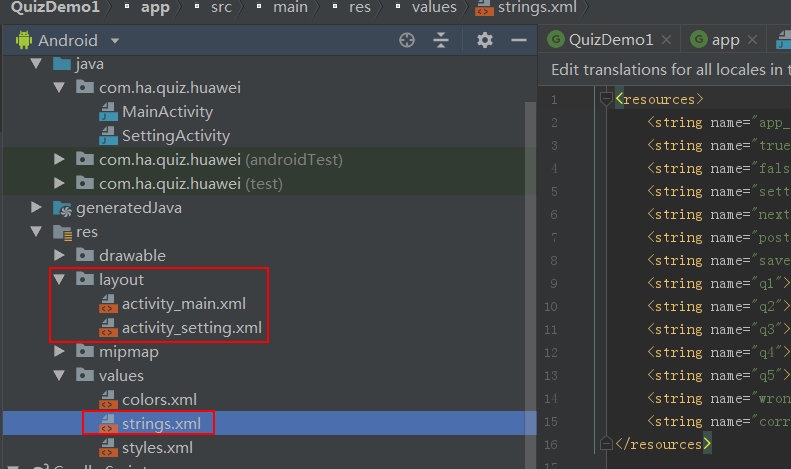
Modifying AndroidManifest.xml
- Configure the app installation source, for example, AppGallery, in meta-data in the application element.
- Declare SettingActivity in the application element.
<application
  ......
  <meta-data
      android:name="install_channel"
      android:value="AppGallery">
  </meta-data>
  ......
</application><application
<activity> android:name=".SettingActivity">
</activity>
</application>Your app is so far loaded with the required functions. Next, you will use Analytics Kit to report the events that interest you.
Modifying the MainActivity Class
- Add the following code to import classes from Analytics Kit:
- Add the following code to define a variable for the Analytics Kit instance:
- Add the following code in the onCreate method to initialize Analytics Kit:
- Add the following code to implement the reportAnswerEvt method:
- Add the following code to implement the postScore method:
// TODO: Import classes from Analytics Kit.
 import com.huawei.hms.analytics.HiAnalytics;
 import com.huawei.hms.analytics.HiAnalyticsInstance;
 import com.huawei.hms.analytics.HiAnalyticsTools;
 import static com.huawei.hms.analytics.type.HAEventType.*;
 import static com.huawei.hms.analytics.type.HAParamType.*;
private int score = 0;

  // TODO: Define a variable for the Analytics Kit instance.
  HiAnalyticsInstance instance;
@Override
  protected void onCreate(Bundle savedInstanceState) {
      super.onCreate(savedInstanceState);
      setContentView(R.layout.activity_main);

      // TODO: Initialize Analytics Kit.
      // Enable Analytics Kit logging.
      HiAnalyticsTools.enableLog();
      // Generate an Analytics Kit instance.
      instance = HiAnalytics.getInstance(this);

      txtQuestion = (TextView)findViewById(R.id.question_text_view);
      txtQuestion.setText(questions[curQuestionIdx]);
  }
private void reportAnswerEvt(String answer) {
  // TODO: Report a custom event.
  // Event name: Answer
  // Event parameters:
  //  -- question: String
  //  -- answer: String
  //  -- answerTime: String

  // Initialize parameters.
  Bundle bundle = new Bundle();
  bundle.putString("question", txtQuestion.getText().toString().trim());
  bundle.putString("answer",answer);
  SimpleDateFormat sdf = new SimpleDateFormat("yyyy-MM-dd HH:mm:ss", Locale.ENGLISH);
  bundle.putString("answerTime",sdf.format(new Date()));

  // Report a custom event.
  instance.onEvent("Answer", bundle);
}private void postScore() {
// TODO: Report a score through the SUBMITSCORE event.
// Initialize parameters.
Bundle bundle = new Bundle();
bundle.putLong(SCORE, score);
// Report a predefined event.
instance.onEvent(SUBMITSCORE, bundle);
}Modifying the SettingActivity Class
- Add the following code to import classes from Analytics Kit:
- Add the following code to define a variable for the Analytics Kit instance:
- Add the following code to initialize Analytics Kit:
- Add the following code to save user attributes:>
// TODO: Import classes from Analytics Kit.
  import com.huawei.hms.analytics.HiAnalytics;
  import com.huawei.hms.analytics.HiAnalyticsInstance;
// TODO: Define a variable for the Analytics Kit instance.
  HiAnalyticsInstance instance;
// TODO: Generate an Analytics Kit instance.
  instance = HiAnalytics.getInstance(this);
btnSave.setOnClickListener(new View.OnClickListener() {
  @Override
  public void onClick(View view) {
      editFavorSport = (EditText)findViewById(R.id.edit_favorite_sport);
      // TODO: Set users' favorite sport using the setUserProfile API.
      instance.setUserProfile("favor_sport",strFavorSport);
  }
});
For details about APIs, please refer to the Analytics Kit API Reference.
5. Testing Your App
Start the app in the emulator and trigger event reporting as instructed.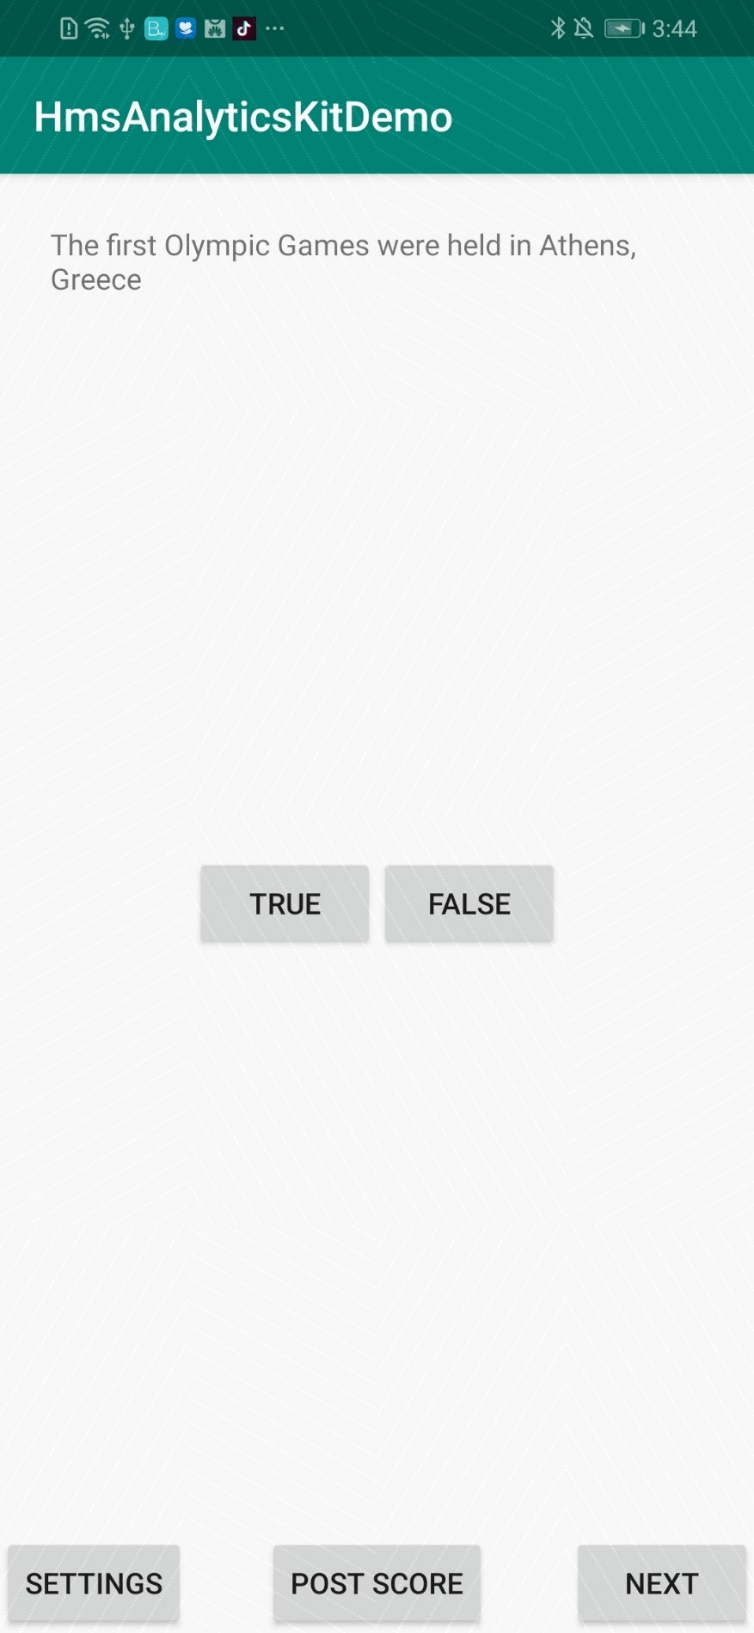
6. Viewing Data
- Sign in to AppGallery Connect and click My projects.
- Find your project, and click the app to view its data.
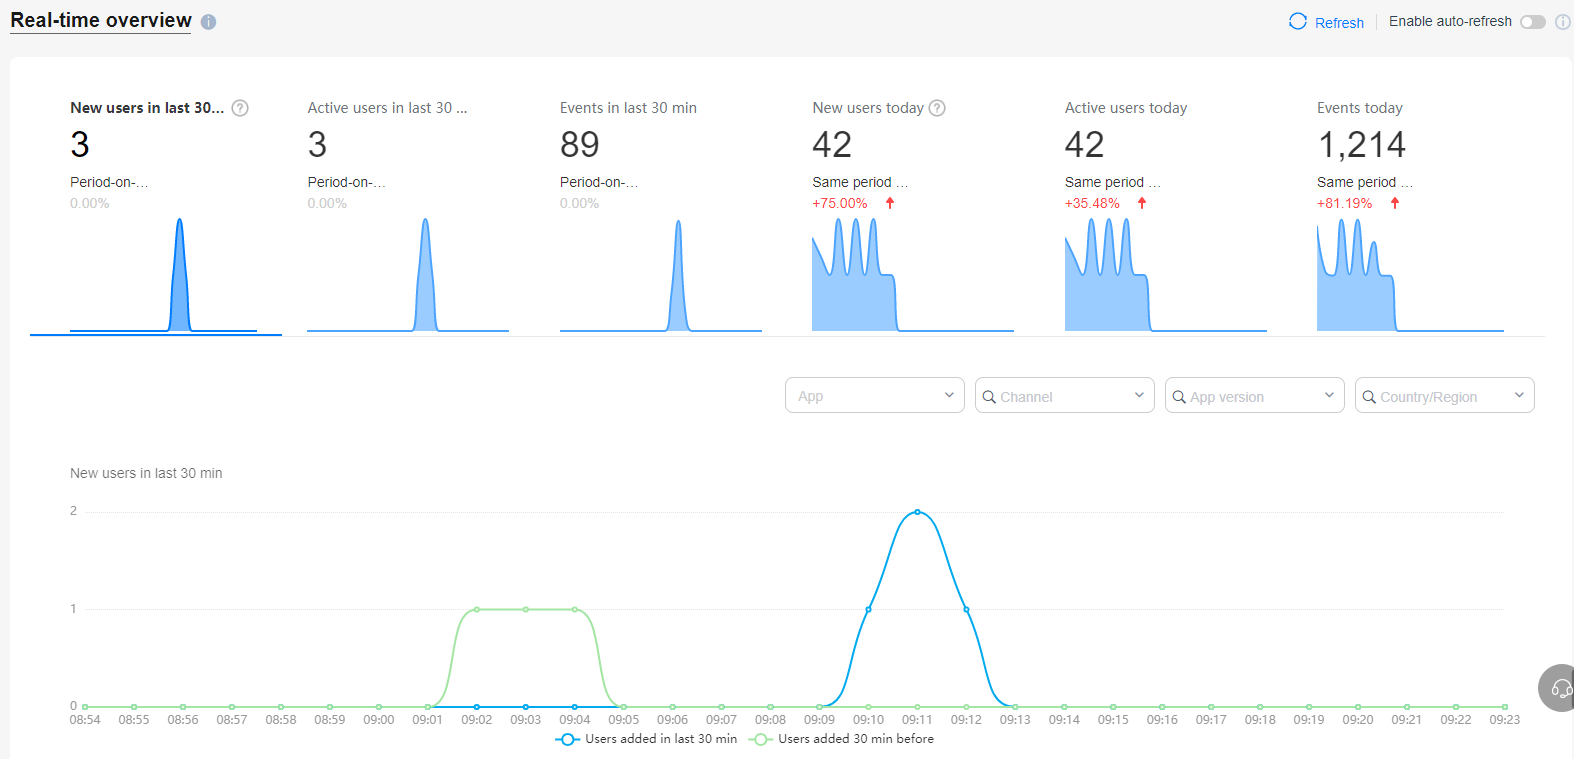
- Go to HUAWEI Analytics > Overview > Real-time overview.
- Check the data. For details, please refer to the Analytics Kit operation guide.
7. Debugging Your App
- Run the following command to enable the debug mode on an Android device:
- View the reported debugging data.
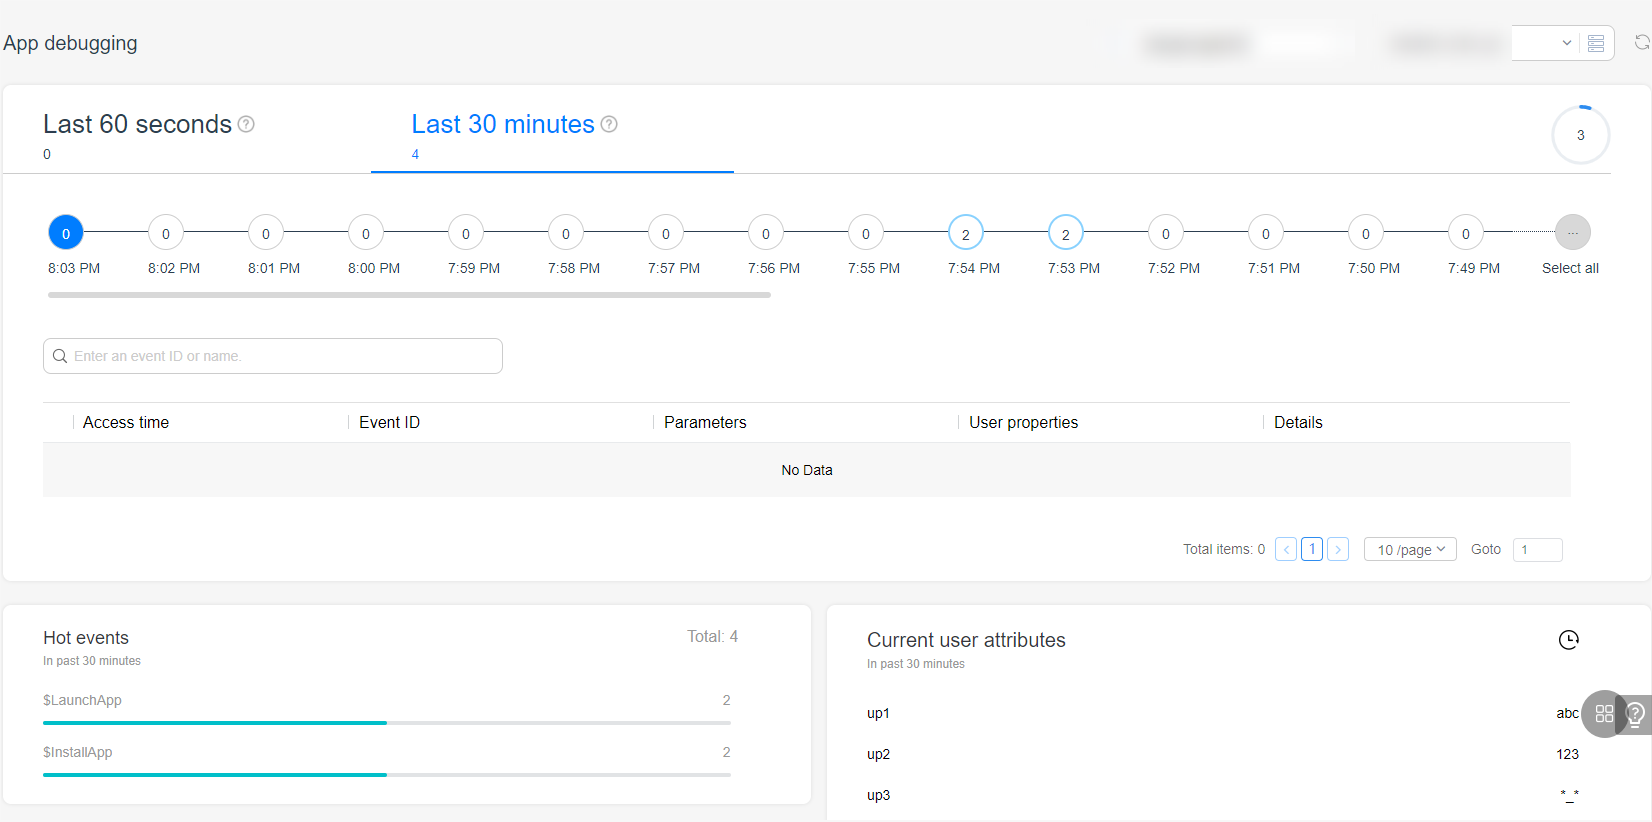
adb shell setprop debug.huawei.hms.analytics.app <package_name>After the debug mode is enabled, all triggered events are reported to the App debugging page in real time.
To disable the debug mode, run the following command:
adb shell setprop debug.huawei.hms.analytics.app .none.FAQs
How should I perform initialization?
Initialize Analytics Kit in the main thread by using the onCreate() method of the first app activity. Otherwise, the processing of automatically collected lifecycle events may be affected.
How does Analytics Kit identify users?
Analytics Kit identifies users through an Anonymous Application ID (AAID).
When will the AAID be reset? How does Analytics Kit collect user statistics after AAID reset?
- The user reinstalls the app.
- The user restores the device to its factory settings.
- The user clears the app data.
- The app calls the clearCachedData() API.
A user is counted as a new one after their AAID is reset.
The AAID will be reset in the following scenarios:
What permissions are required for using Analytics Kit?
- android.permission.INTERNET
- android.permission.ACCESS_NETWORK_STATE
- com.huawei.appmarket.service.commondata.permission.GET_COMMON_DATA
Analytics Kit requires the following permissions, which have been preset in Analytics Kit. You do not need to apply for these permissions.
Why can't I view the analysis result of the data reported during the test?
- When app debugging is disabled, you can only view some analysis results on the Real-time overview page. Analysis results on other pages such as Event analysis and Launch analysis are available only after the corresponding data is processed on the next day.
- When app debugging is enabled, the reported test data will not be analyzed and can only be viewed on the App debugging page.
What should I do if a gradle-wrapper.properties file error is reported?
This error may occur if the Gradle version configured in the sample code of Analytics Kit is later than the one you currently use. To correct the error, you are advised to change the Gradle version to an earlier version, for example, gradle-4.10.2-all.
8. Congratulations
Well done. You have successfully completed this codelab and learned how to:
- Integrate Analytics Kit.
- Call APIs of Analytics Kit.
9. Reference
For more information, please click the following link:
Related documents
To download the sample code, please click the button below: