The Map SDK for Android provides a set of APIs for map development in Android. The map data covers most countries and regions outside the Chinese mainland, and supports multiple languages. Map Kit uses the WGS 84 GPS coordinate system, which can meet most map development requirements outside the Chinese mainland. You can easily add map-related functions in your Android app, including:
In this codelab, you can develop map-related apps, for example:
In this codelab, you will learn how to:
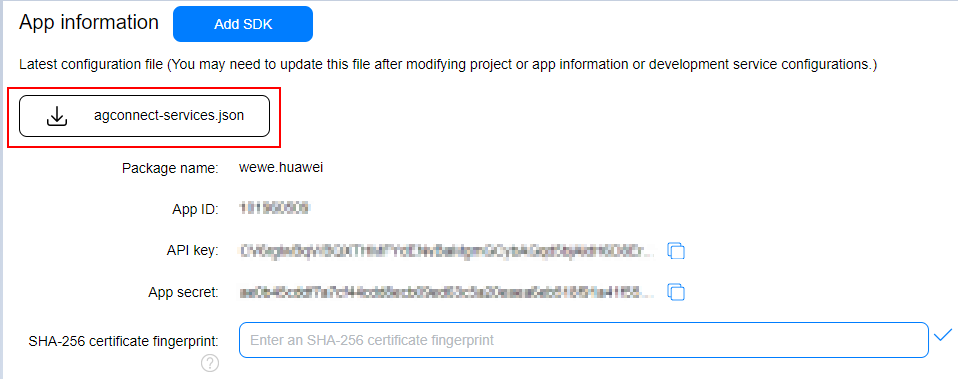
To integrate Map Kit, you must complete the following preparations:
1. - Sign in to AppGallery Connect and click My projects.
2. - Find your project from the project list and click the app for which you need to enable Map Kit on the project card.
3. - Go to Project settings > Manage APIs and enable Map Kit.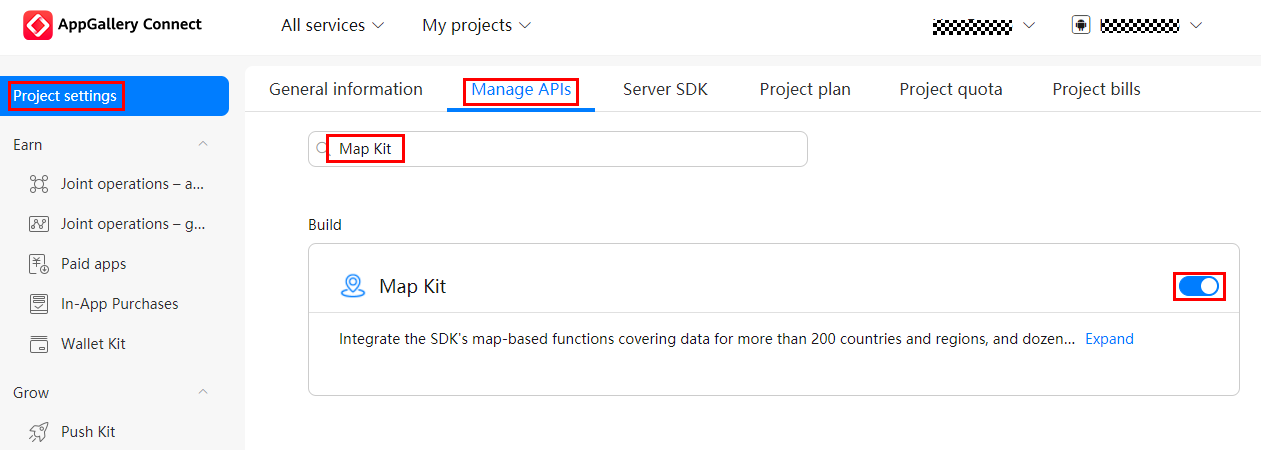
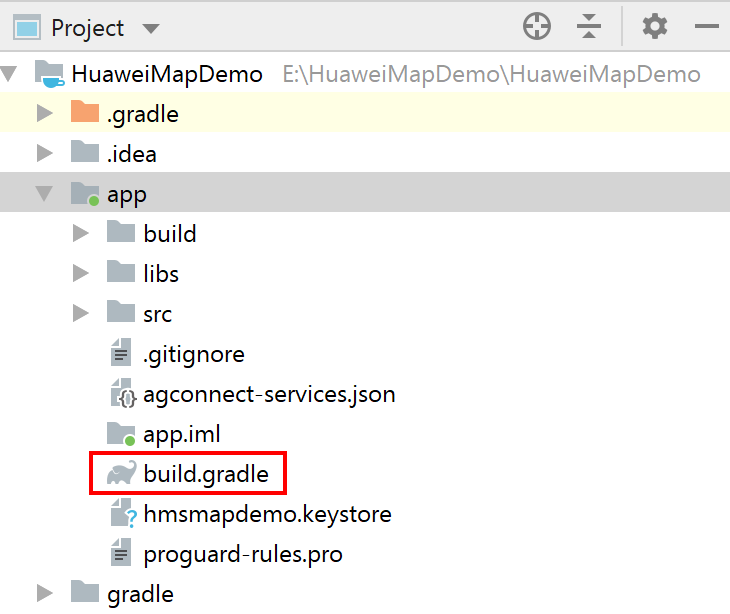
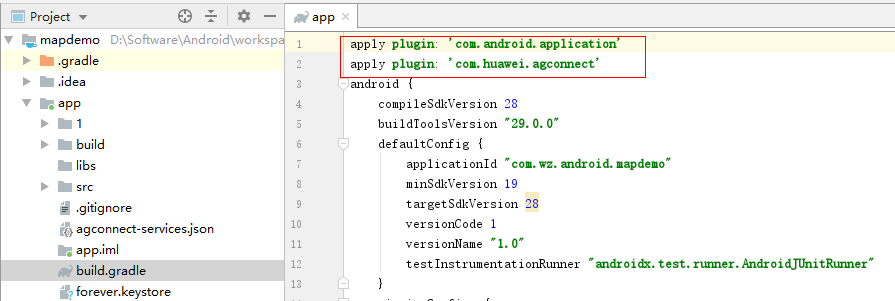
dependencies {
	implementation 'com.huawei.hms:maps:{version}'
}
<uses-permission android:name="android.permission.ACCESS_COARSE_LOCATION"/>
<uses-permission android:name="android.permission.ACCESS_FINE_LOCATION"/>
<uses-permission android:name="android.permission.INTERNET"/>
<uses-permission android:name="android.permission.ACCESS_NETWORK_STATE"/>
<?xml version="1.0" encoding="utf-8"?>
<LinearLayout xmlns:android="http://schemas.android.com/apk/res/android"
    android:layout_width="match_parent"
    android:layout_height="match_parent"
    android:orientation="vertical">

    <com.huawei.hms.maps.MapView
       xmlns:map="http://schemas.android.com/apk/res-auto"
        android:id="@+id/mapView"
        android:layout_width="match_parent"
        android:layout_height="match_parent"
        map:cameraTargetLat="51"
        map:cameraTargetLng="10"
        map:cameraZoom="8.5"
        map:mapType="normal"
        map:uiCompass="true"
        map:uiZoomControls="true" />
</LinearLayout>
package com.wz.android.mapdemo;
import androidx.appcompat.app.AppCompatActivity;
import android.os.Bundle;
import android.util.Log;
import com.huawei.hms.maps.HuaweiMap;
import com.huawei.hms.maps.MapView;
import com.huawei.hms.maps.OnMapReadyCallback;
/**
* Map activity entrance class.
*/
public class MainActivity extends AppCompatActivity implements OnMapReadyCallback {
private static final String TAG = "MapViewDemoActivity";
// Huawei map.
private HuaweiMap hMap;
private MapView mMapView;
private static final String MAPVIEW_BUNDLE_KEY = "MapViewBundleKey";
@Override
protected void onCreate(Bundle savedInstanceState) {
super.onCreate(savedInstanceState);
setContentView(R.layout.activity_main);
// Obtain a MapView instance.
mMapView = findViewById(R.id.mapView);
Bundle mapViewBundle = null;
if (savedInstanceState != null) {
mapViewBundle = savedInstanceState.getBundle(MAPVIEW_BUNDLE_KEY);
}
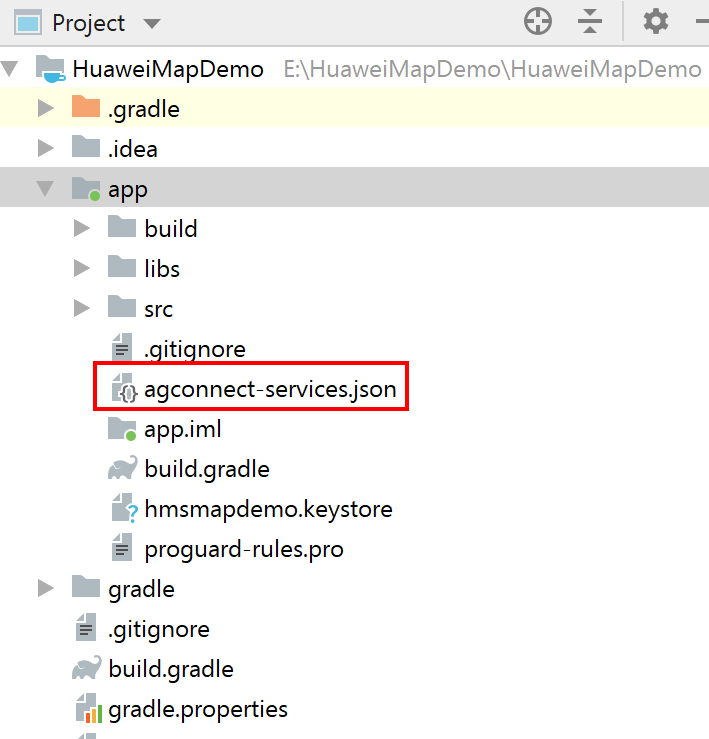
// Please replace Your API key with the API key in
// agconnect-services.json.
MapsInitializer.setApiKey("Your API key");
mMapView.onCreate(mapViewBundle);
// Obtain a map instance.
mMapView.getMapAsync(this);
}
@Override
public void onMapReady(HuaweiMap map) {
// Obtain a map instance from callback.
Log.d(TAG, "onMapReady: ");
hMap = map;
}
}
Kotlin sample code:
package com.huawei.mapkitsample

import android.os.Bundle
import android.util.Log
import androidx.appcompat.app.AppCompatActivity
import com.huawei.hms.maps.CameraUpdateFactory
import com.huawei.hms.maps.HuaweiMap
import com.huawei.hms.maps.MapView
import com.huawei.hms.maps.OnMapReadyCallback
import com.huawei.hms.maps.model.LatLng
import com.huawei.hms.maps.util.LogM

/**
* Map activity entrance class.
 */

class MapViewDemoActivity : AppCompatActivity(), OnMapReadyCallback {

        // HUAWEI map
        private var hMap: HuaweiMap? = null

        private var mMapView: MapView? = null

        companion object {
            private const val TAG = "MapViewDemoActivity"
            private const val MAPVIEW_BUNDLE_KEY = "MapViewBundleKey"
        }

        override fun onCreate(savedInstanceState: Bundle?) {
            LogM.d(TAG, "onCreate:")
            super.onCreate(savedInstanceState)
            setContentView(R.layout.activity_mapview_demo)
            mMapView = findViewById(R.id.mapView)
            var mapViewBundle: Bundle? = null
            if (savedInstanceState != null) {
                mapViewBundle =
                savedInstanceState.getBundle(MAPVIEW_BUNDLE_KEY)
            }
            mMapView?.apply {
                onCreate(mapViewBundle)
                getMapAsync(this@MapViewDemoActivity)
            }
        }

        override fun onMapReady(map: HuaweiMap) {
            Log.d(TAG, "onMapReady: ")
            hMap = map
        }
}
@Override
protected void onStart() {
    super.onStart();
    mMapView.onStart();
}

@Override
protected void onStop() {
    super.onStop();
    mMapView.onStop();
}

@Override
protected void onDestroy() {
    super.onDestroy();
    mMapView.onDestroy();
}

@Override
protected void onPause() {
    mMapView.onPause();
    super.onPause();
}

@Override
protected void onResume() {
    super.onResume();
    mMapView.onResume();
}
Kotlin sample code:
override fun onStart() {
    super.onStart()
    mMapView?.onStart()
}

override fun onStop() {
    super.onStop()
    mMapView?.onStop()
}

override fun onDestroy() {
    super.onDestroy()
    mMapView?.onDestroy()
}

override fun onPause() {
    mMapView?.onPause()
    super.onPause()
}

override fun onResume() {
    super.onResume()
    mMapView?.onResume()
}
private static boolean hasPermissions(Context context, String... permissions) {
    if (Build.VERSION.SDK_INT >= Build.VERSION_CODES.M && permissions != null) {
        for (String permission : permissions) {
            if (ActivityCompat.checkSelfPermission(context, permission) != PackageManager.PERMISSION_GRANTED) {
                return false;
            }
        }
    }
    return true;
}
Kotlin sample code:
private fun hasPermissions(context: Context, vararg permissions: String): Boolean {
    if (Build.VERSION.SDK_INT >= Build.VERSION_CODES.M) {
        for (permission in permissions) {
            if (ActivityCompat.checkSelfPermission(context, permission) != PackageManager.PERMISSION_GRANTED) {
                return false
            }
        }
    }
    return true
}
Open Gradle built in Android Studio and double-click installDebug to install the developed demo app.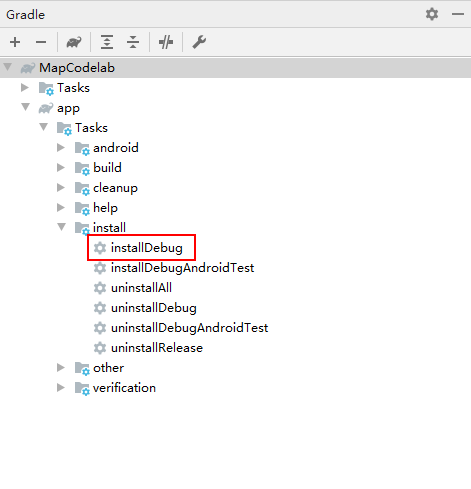
Open the developed app and check whether it can display a map properly.
Well done. You have successfully completed this codelab and learned how to: