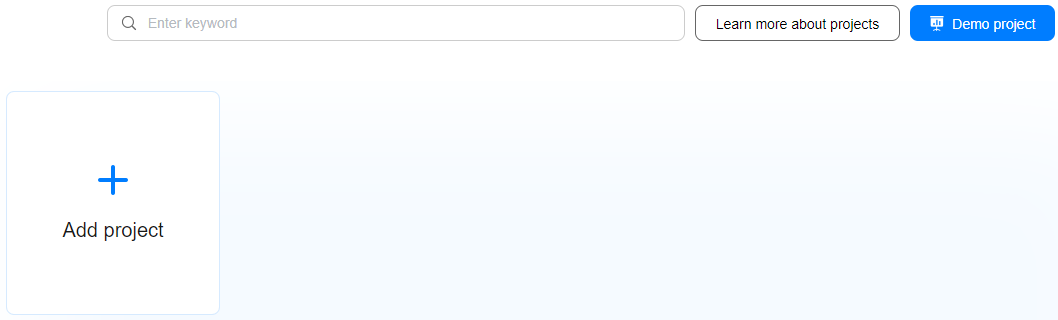
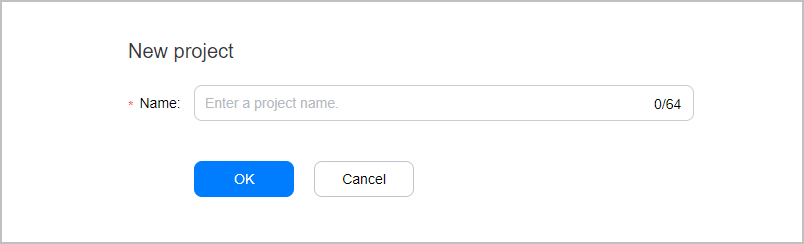
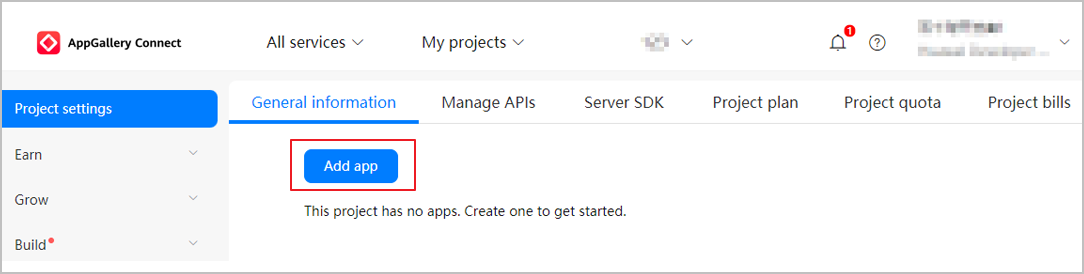
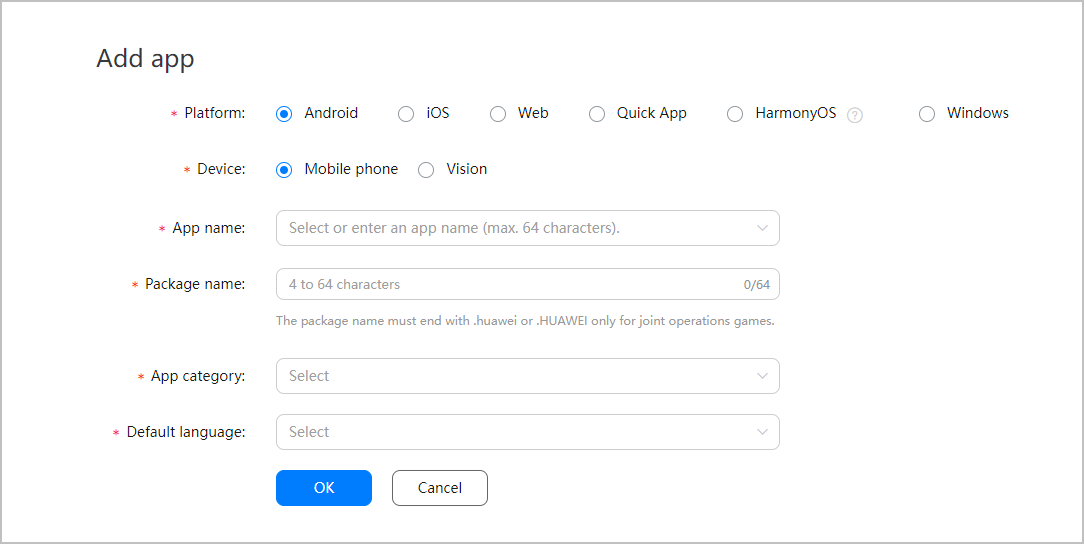
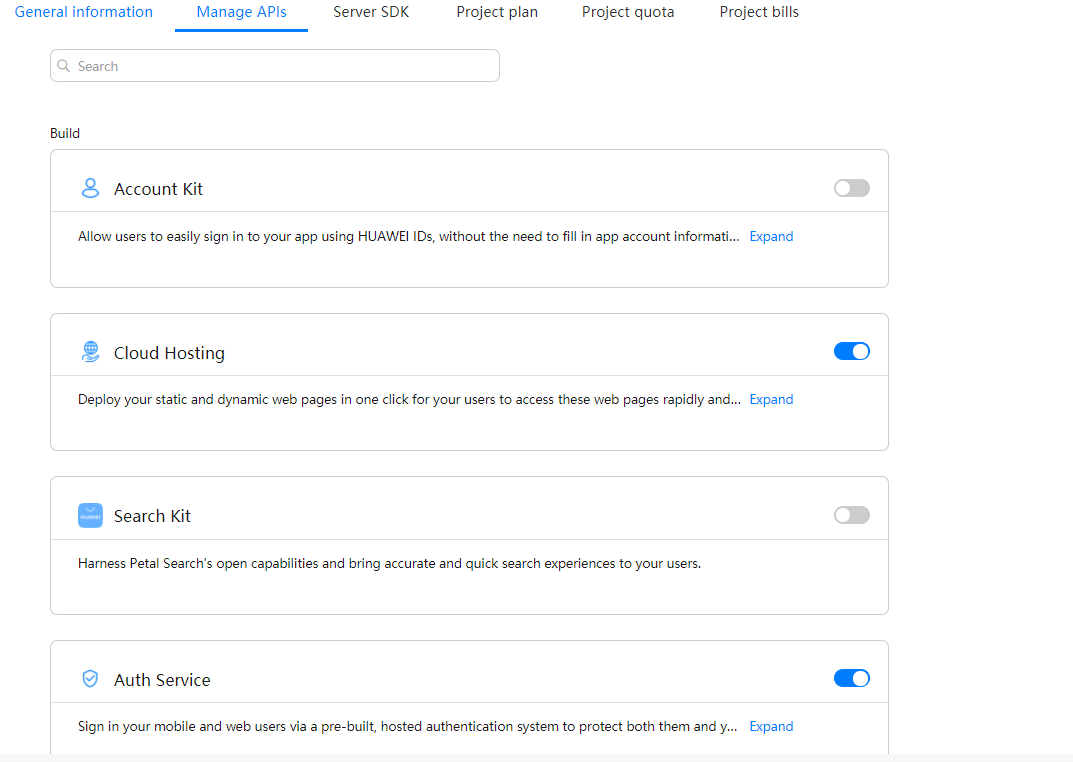
In this section, you will create a project and an app in AppGallery Connect.
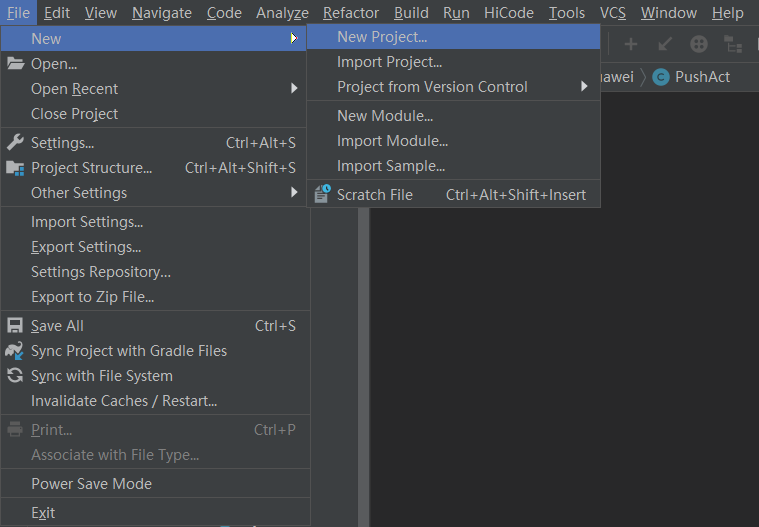
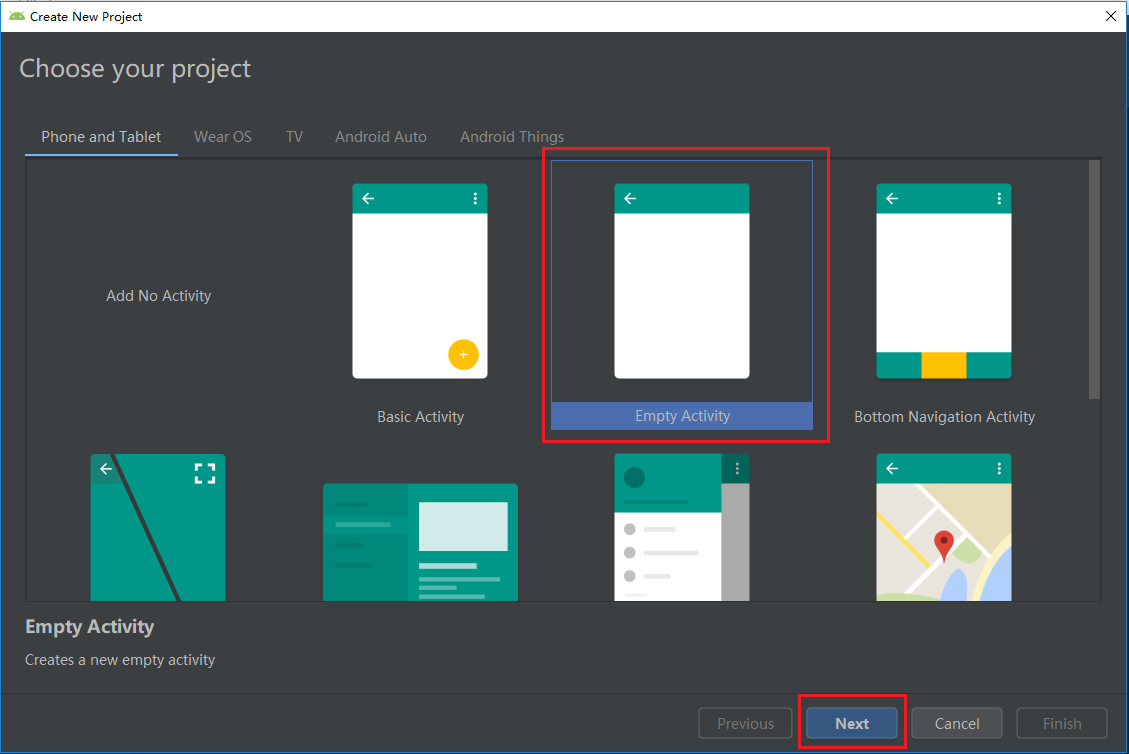
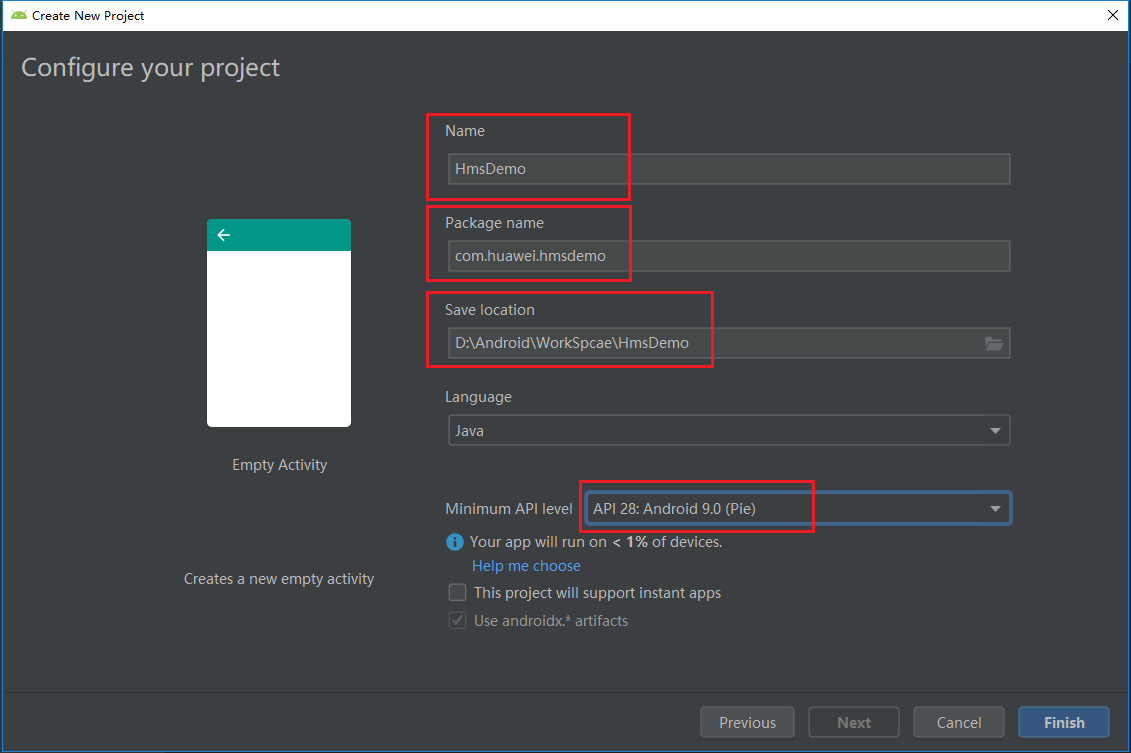
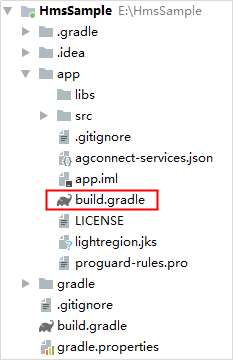
In this section, you will create an Android Studio project for your app. During the creation, you will need to use the app name and package name that you have specified in AppGallery Connect.
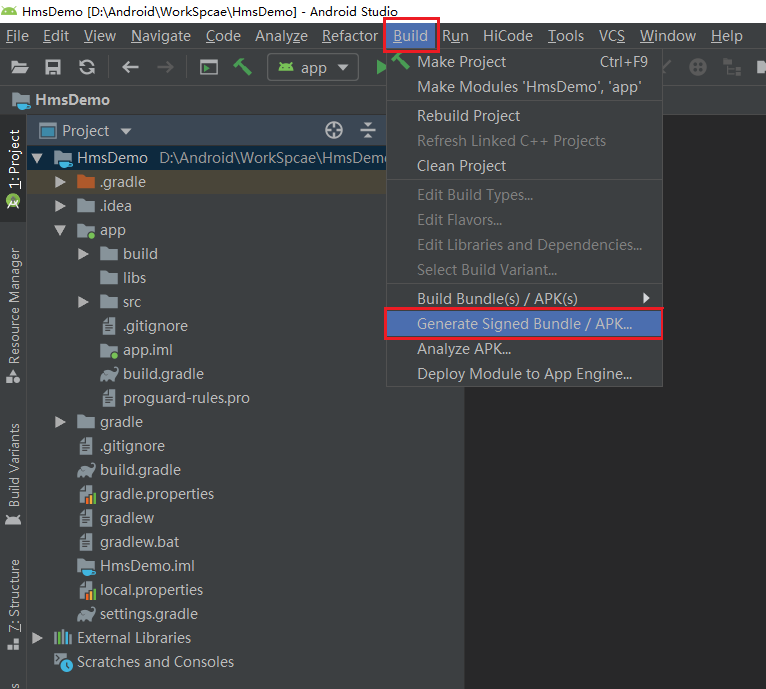
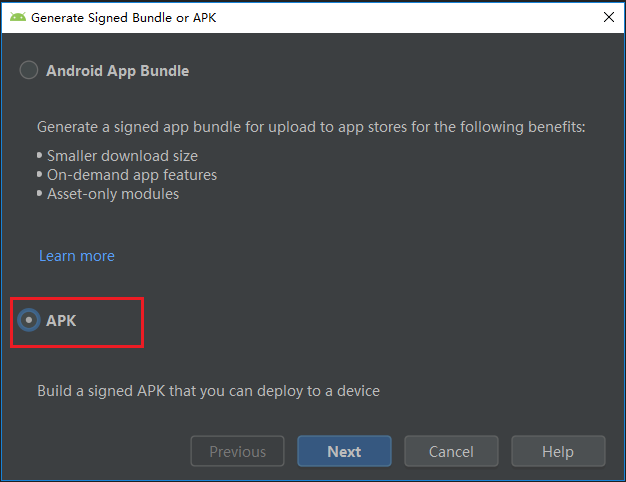
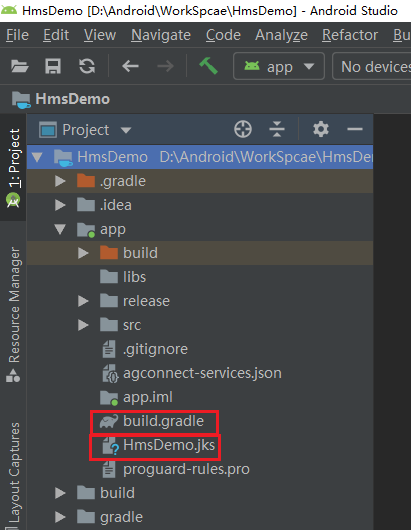
In this section, you will create a signing certificate file and use it to sign your APK in Android Studio. This signing certificate file will be used to generate an SHA-256 fingerprint later.
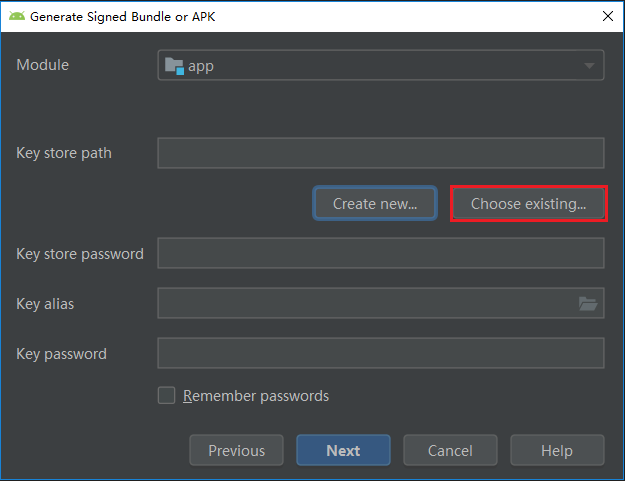
If you do not have a signing certificate file, click Create new.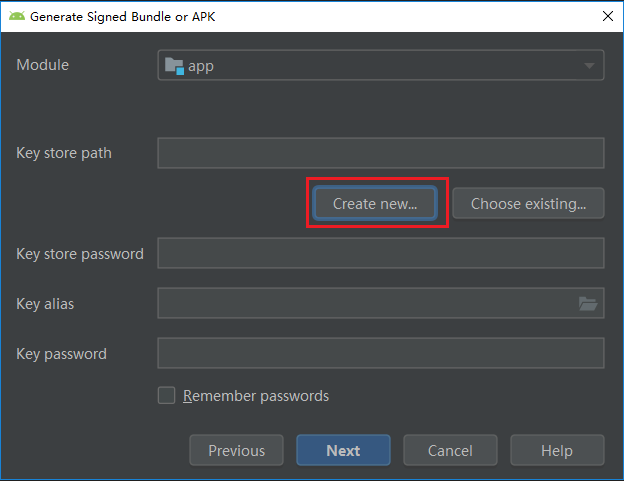
On the page displayed, set related parameters including Key store path, Password, and Alias.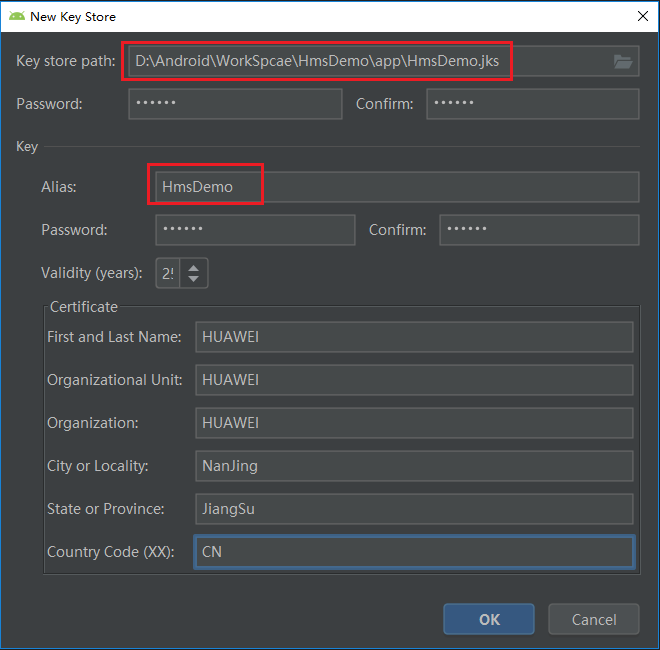
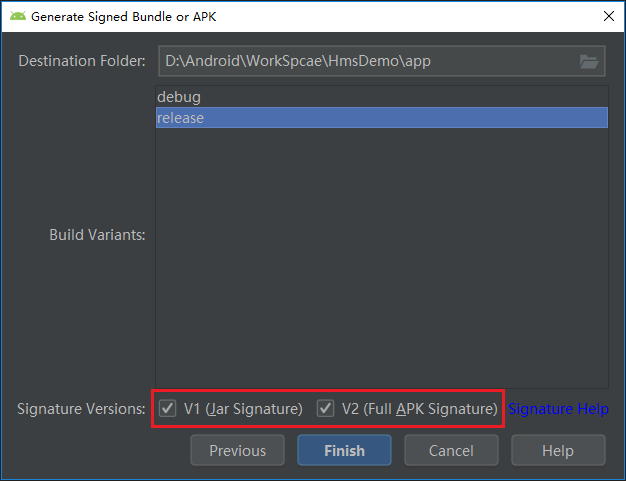
After the signing certificate file is created successfully, the Generate Signed Bundle or APK page will be displayed, showing the signing certificate file information. Click Next on this page.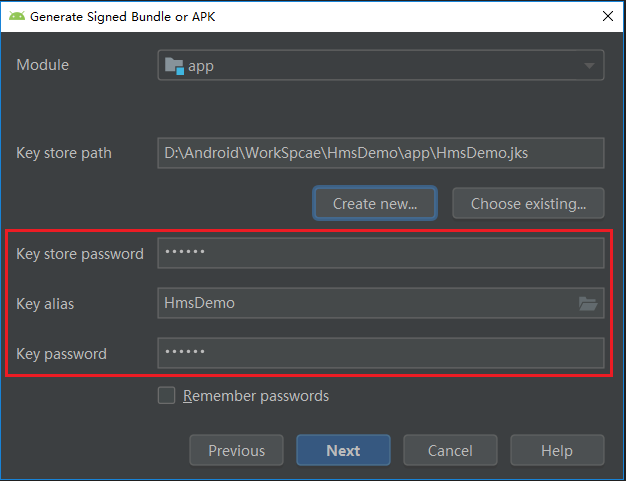
In this section, you will generate an SHA-256 fingerprint using the signing certificate file and keytool provided by the JDK.
cd C:\Program Files\Java\jdk\bin
b) Run keytool -list -v -keystore<keystore-file> and respond as prompted. In the command, <keystore-file> indicates the absolute path to the app's signing certificate.keytool -list -v -keystore C:\TestApp.jks
c) Obtain the SHA-256 certificate fingerprint.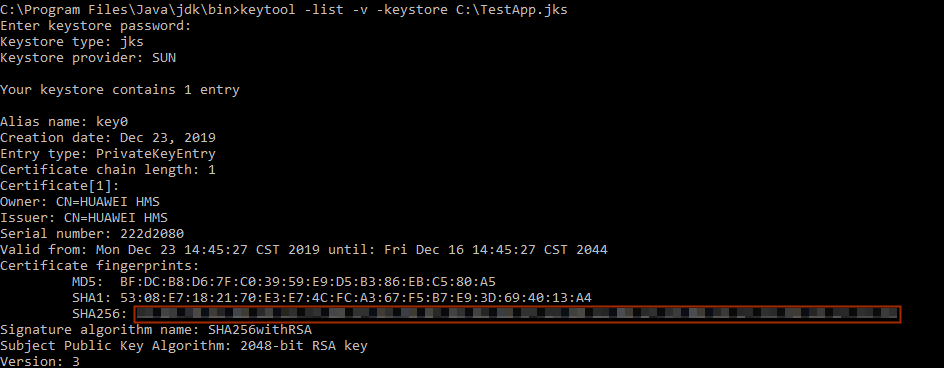
keytool -list -v -keystore /Users/admin/Downloads/HmsDemo.jks
c) Obtain the SHA-256 certificate fingerprint.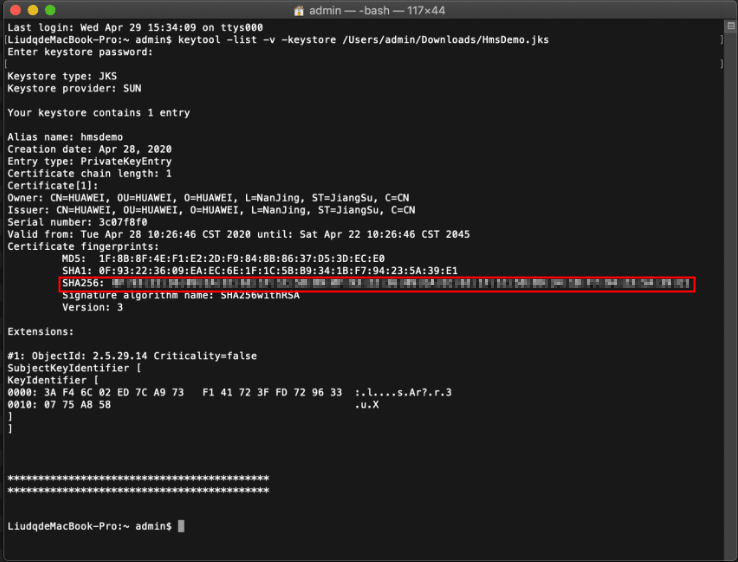
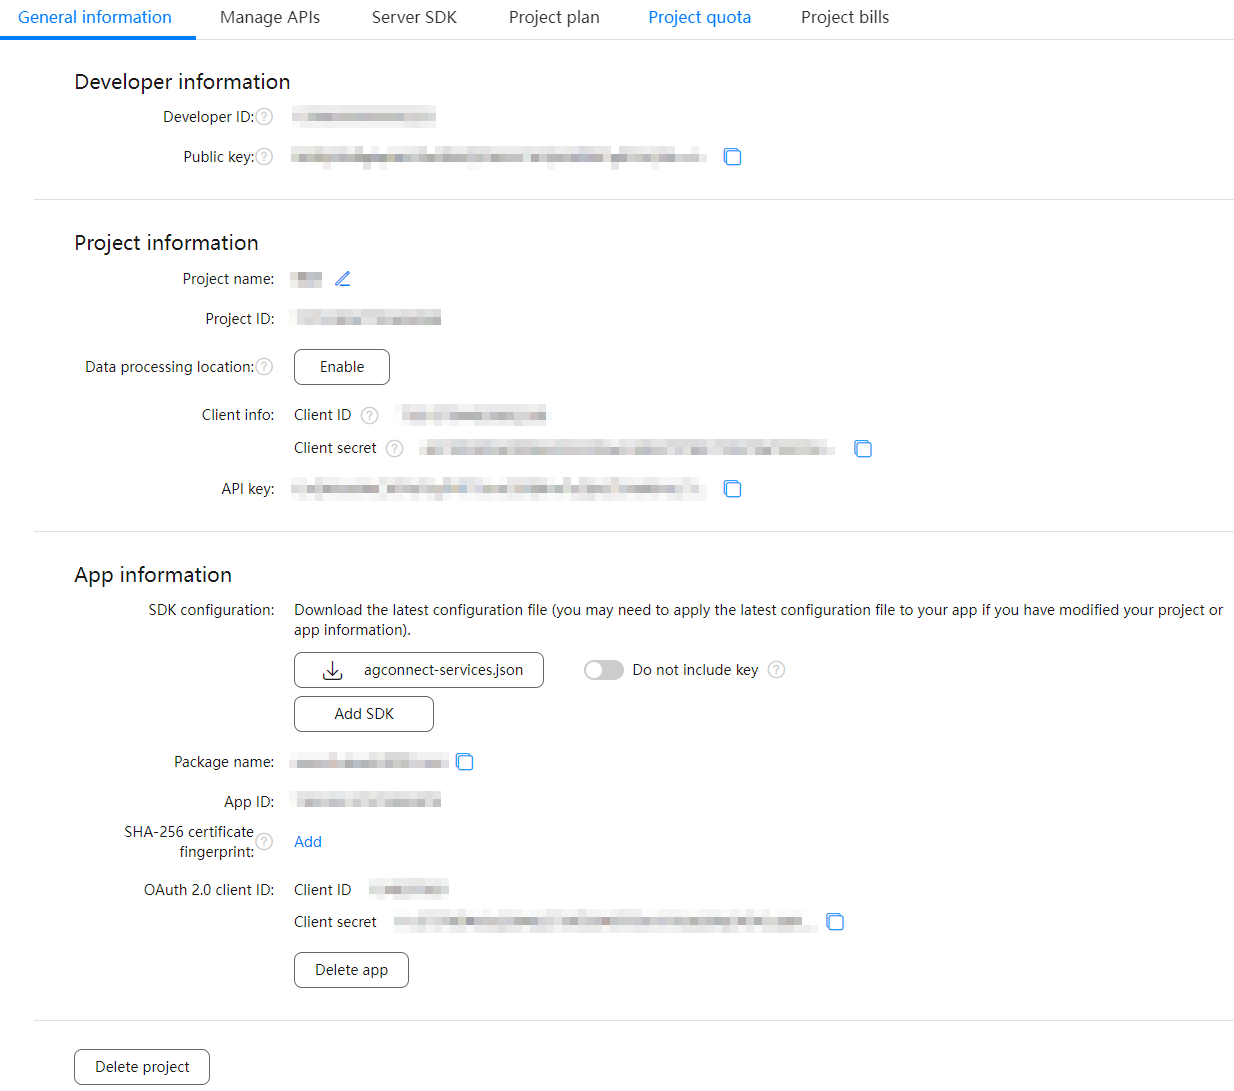
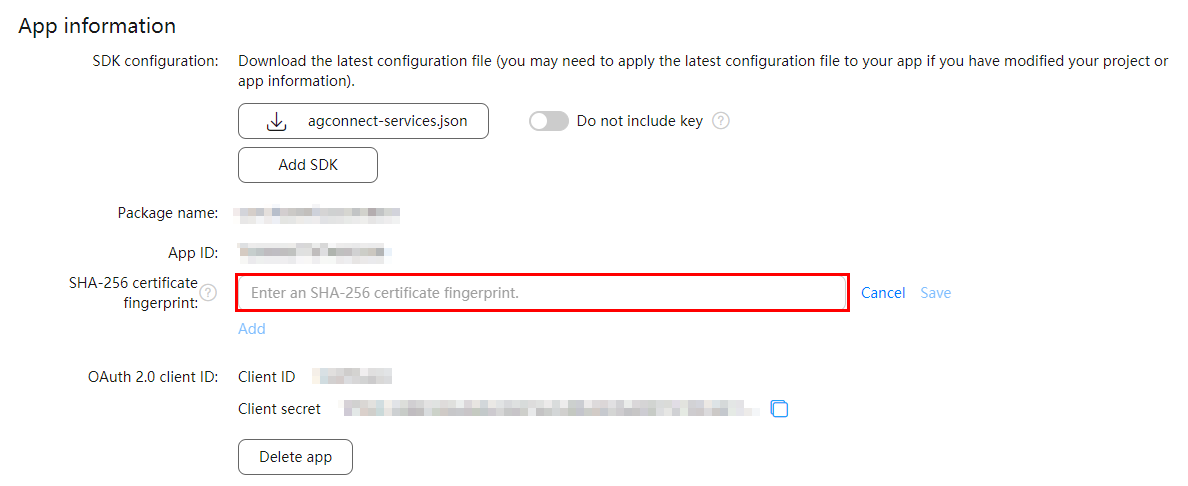
In this section, you will configure the generated SHA-256 certificate fingerprint in AppGallery Connect.

Gradle plugin earlier than 7.0 | Gradle plugin 7.0 | Gradle plugin 7.1 or later |
buildscript {
    repositories {
        google()
        jcenter()
        // Configure the Maven repository address for the HMS Core SDK.
        maven {url 'https://developer.huawei.com/repo/'}
    }
    dependencies {
        ...
        // Add the AppGallery Connect plugin configuration. You are advised to use the latest plugin version.
        classpath 'com.huawei.agconnect:agcp:1.6.0.300'
    }
}

allprojects {
    repositories {
        google()
        jcenter()
        // Configure the Maven repository address for the HMS Core SDK.
        maven {url 'https://developer.huawei.com/repo/'}
    }
}
buildscript {
    repositories {
        google()
        jcenter()
        // Configure the Maven repository address for the HMS Core SDK.
        maven {url 'https://developer.huawei.com/repo/'}
    }
    dependencies {
        ...
        // Add the AppGallery Connect plugin configuration. You are advised to use the latest plugin version.
        classpath 'com.huawei.agconnect:agcp:1.6.0.300'
    }
}
dependencyResolutionManagement {
    ...
    repositories {
        google()
        jcenter()
        // Configure the Maven repository address for the HMS Core SDK.
        maven {url 'https://developer.huawei.com/repo/'}
    }
}

buildscript {
    dependencies {
        ...
        // Add the AppGallery Connect plugin configuration. You are advised to use the latest plugin version.
        classpath 'com.huawei.agconnect:agcp:1.6.0.300'
    }
}
pluginManagement {
    repositories {
        gradlePluginPortal()
        google()
        mavenCentral()
        // Configure the Maven repository address for the HMS Core SDK.
        maven { url 'https://developer.huawei.com/repo/' }
    }
}
dependencyResolutionManagement {
    ...
    repositories {
        google()
        mavenCentral()
        // Configure the Maven repository address for the HMS Core SDK.
        maven { url 'https://developer.huawei.com/repo/' }
    }
}
apply plugin: 'com.huawei.agconnect'
plugins {
    id 'com.android.application'
    // Add the following configuration:
    id 'com.huawei.agconnect'
}
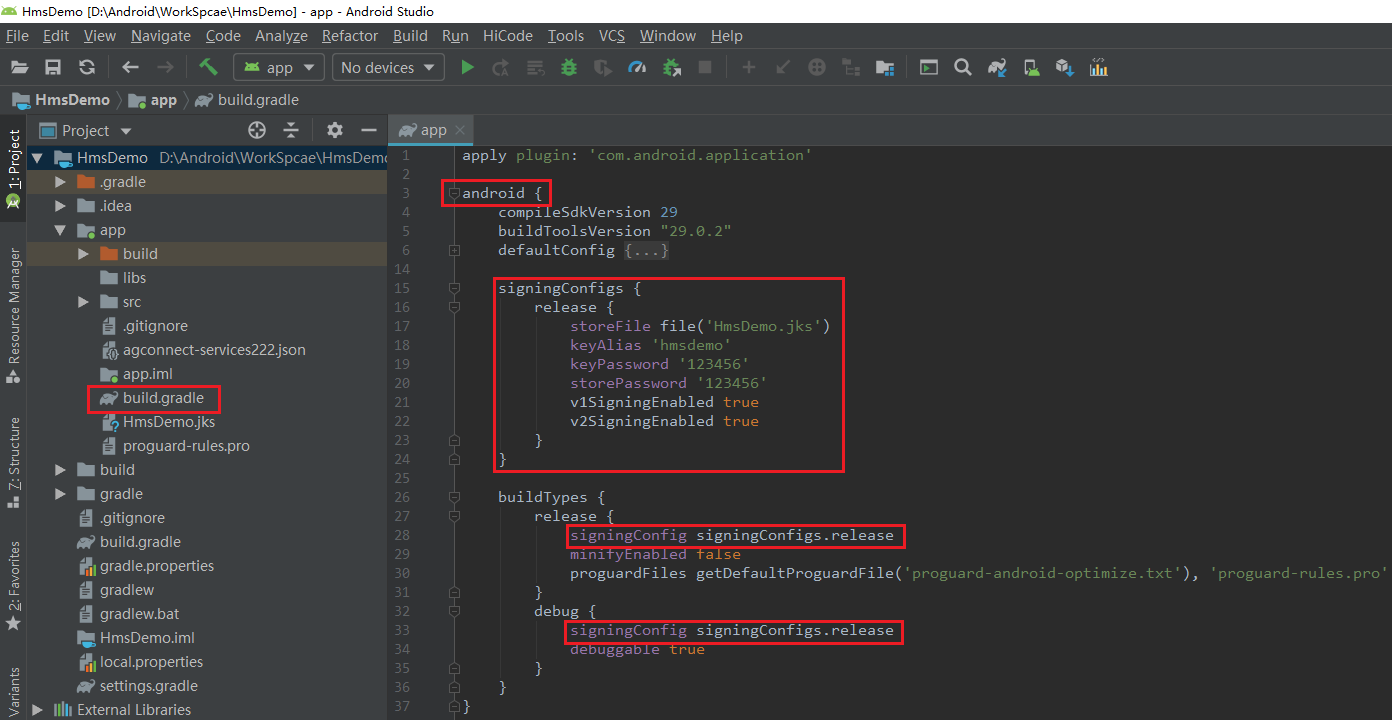
signingConfigs {
     release {
         storeFile file('HmsDemo.jks')
         keyAlias 'hmsdemo'
         keyPassword '123456'
         storePassword '123456'
         v1SigningEnabled true
         v2SigningEnabled true
     }
}

buildTypes {
     release {
         signingConfig signingConfigs.release
         minifyEnabled false
         proguardFiles getDefaultProguardFile('proguard-android-optimize.txt'), 'proguard-rules.pro'
     }
     debug {
         signingConfig signingConfigs.release
         debuggable true
     }
}
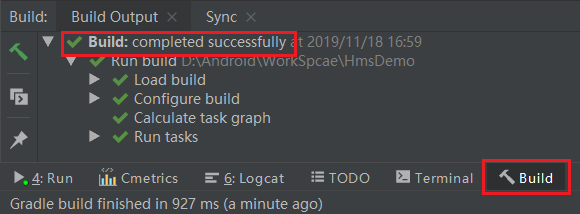
Click Sync Now to synchronize the project.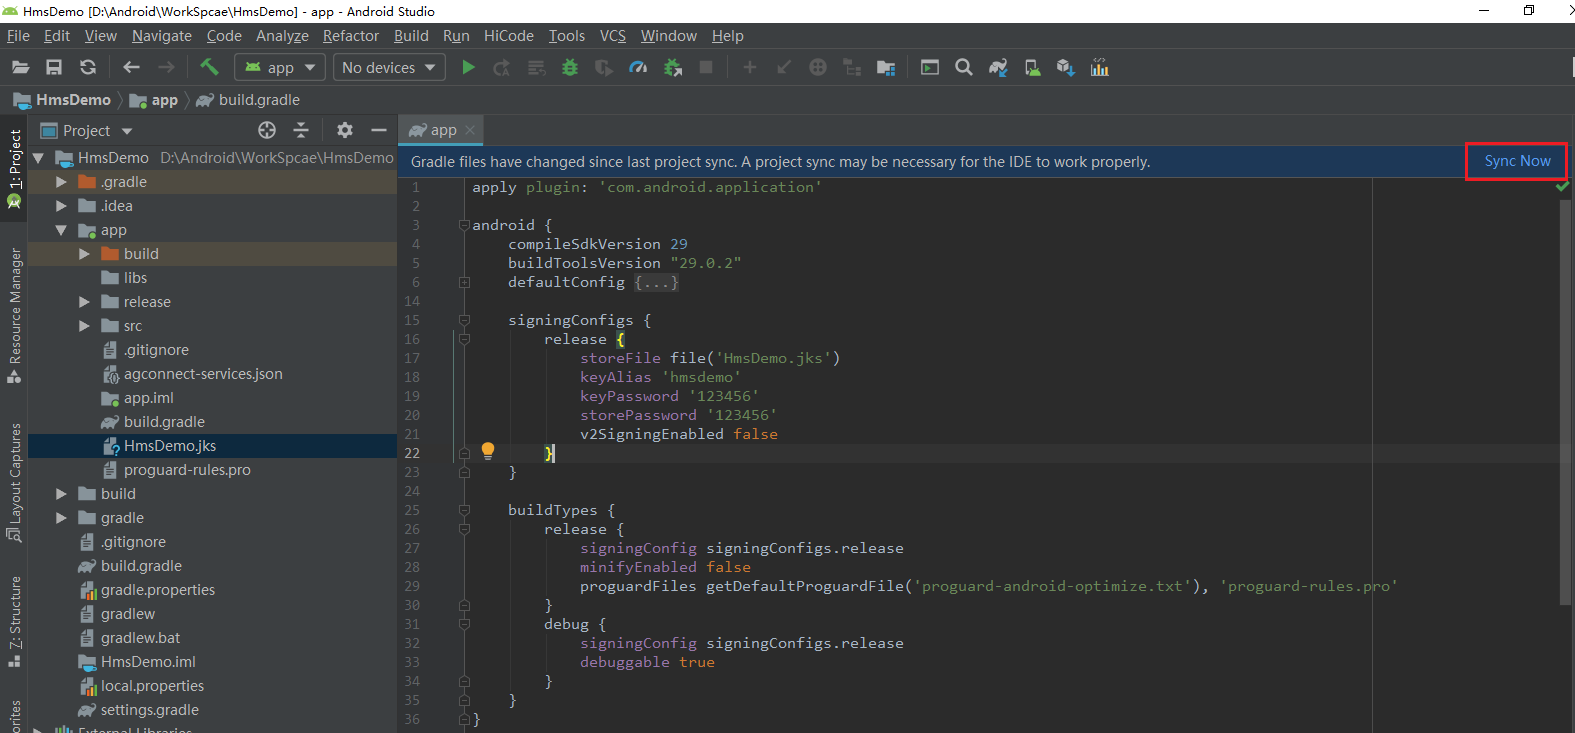
If "completed successfully" is displayed, the project is synchronized successfully. Integration preparations are now completed.