Scene Kit is a lightweight 3D graphics rendering engine that features high performance and low consumption. It provides advanced descriptive APIs for you to edit, operate, and render 3D materials.
Scene Kit provides you with scenario-based graphics SDK and fine-grained graphics SDK. You can integrate the kit into an app using the desired SDK.
In this codelab, you will integrate Scene Kit and use the sample code to experience 3D rendering capabilities that Scene Kit provides for different scenarios.
With the sample code, you can experience the following:
In this codelab, you will learn how to:
To integrate Scene Kit, you need to prepare as follows:
If you have enabled certain services in AppGallery Connect, add the agconnect-services.json file to your app.
Step 1 - Sign in to AppGallery Connect and click My projects.
Step 2 - Find your app project and click the app that needs to integrate the HMS Core SDK.
Step 3 - Go to Project settings > General information. In the App information area, download the agconnect-services.json file.
Step 4 - Copy the agconnect-services.json file to your app's root directory.
—-End
The procedure for configuring the Maven repository address in Android Studio is different for Gradle plugin earlier than 7.0, Gradle plugin 7.0, and Gradle plugin 7.1 or later. Click a relevant link below to find the configuration procedure for the specific Gradle plugin version.
Gradle plugin earlier than 7.0 | Gradle plugin 7.0 | Gradle plugin 7.1 or later |
Gradle plugin earlier than 7.0
a. Open the build.gradle file in the root directory of your Android Studio project.
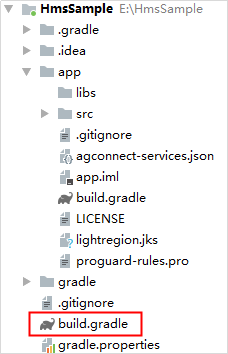
b. Add the AppGallery Connect plugin and the Maven repository.
buildscript {
    repositories {
        google()
        jcenter()
        // Configure the Maven repository address for the HMS Core SDK.
        maven {url 'https://developer.huawei.com/repo/'}
    }
    dependencies {
        ...
        // Add the AppGallery Connect plugin configuration. You are advised to use the latest plugin version.
        classpath 'com.huawei.agconnect:agcp:1.6.0.300'
    }
}

allprojects {
    repositories {
        google()
        jcenter()
        // Configure the Maven repository address for the HMS Core SDK.
        maven {url 'https://developer.huawei.com/repo/'}
    }
}
Gradle plugin 7.0
a. Open the build.gradle file in the root directory of your Android Studio project.
b. Add the AppGallery Connect plugin and the Maven repository.
buildscript {
    repositories {
        google()
        jcenter()
        // Configure the Maven repository address for the HMS Core SDK.
        maven {url 'https://developer.huawei.com/repo/'}
    }
    dependencies {
        ...
        // Add the AppGallery Connect plugin configuration. You are advised to use the latest plugin version.
        classpath 'com.huawei.agconnect:agcp:1.6.0.300'
    }
}
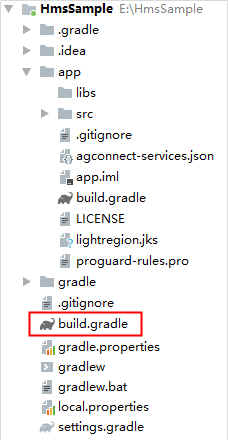
c. Open the project-level settings.gradle file and configure the Maven repository address for the HMS Core SDK.
dependencyResolutionManagement {
    ...
    repositories {
        google()
        jcenter()
        // Configure the Maven repository address for the HMS Core SDK.
        maven {url 'https://developer.huawei.com/repo/'}
    }
}
Gradle plugin 7.1 or later
a. Open the build.gradle file in the root directory of your Android Studio project.
b. If the agconnect-services.json file has been added to the app, go to buildscript > dependencies and add the AppGallery Connect plugin configuration.
buildscript {
    dependencies {
        ...
        // Add the AppGallery Connect plugin configuration. You are advised to use the latest plugin version.
        classpath 'com.huawei.agconnect:agcp:1.6.0.300'
    }
}
c. Open the project-level settings.gradle file and configure the Maven repository address for the HMS Core SDK.
pluginManagement {
    repositories {
        gradlePluginPortal()
        google()
        mavenCentral()
        // Configure the Maven repository address for the HMS Core SDK.
        maven { url 'https://developer.huawei.com/repo/' }
    }
}
dependencyResolutionManagement {
    ...
    repositories {
        google()
        mavenCentral()
        // Configure the Maven repository address for the HMS Core SDK.
        maven { url 'https://developer.huawei.com/repo/' }
    }
}
Step 1 - Open the app-level build.gradle file in your project.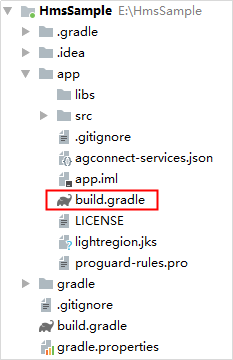
Step 2 - Add build dependencies in the dependencies block.
dependencies {
    implementation 'com.huawei.scenekit:scenekit-render-foundation:{version}'
}
dependencies {
    implementation 'com.huawei.scenekit:scenekit-render-foundation:{version}'
    implementation 'com.huawei.scenekit:scenekit-render-extension:{version}'
}
dependencies {
    implementation 'com.huawei.scenekit:scenekit-math:{version}'
}
dependencies {
    implementation 'com.huawei.scenekit:scenekit-ux-ar:{version}'
}
dependencies {
    implementation 'com.huawei.scenekit:sdk:{version}'
}
dependencies {
    implementation 'com.huawei.scenekit:full-sdk:{version}'
}
dependencies {
    implementation 'com.huawei.scenekit:scenekit-fluid-foundation:{version}'
}
dependencies {
    implementation 'com.huawei.scenekit:scenekit-fluid-foundation:{version}'
    implementation 'com.huawei.scenekit:scenekit-fluid-extension:{version}'
}
—-End
Scene Kit provides the following sample codes for different SDKs:
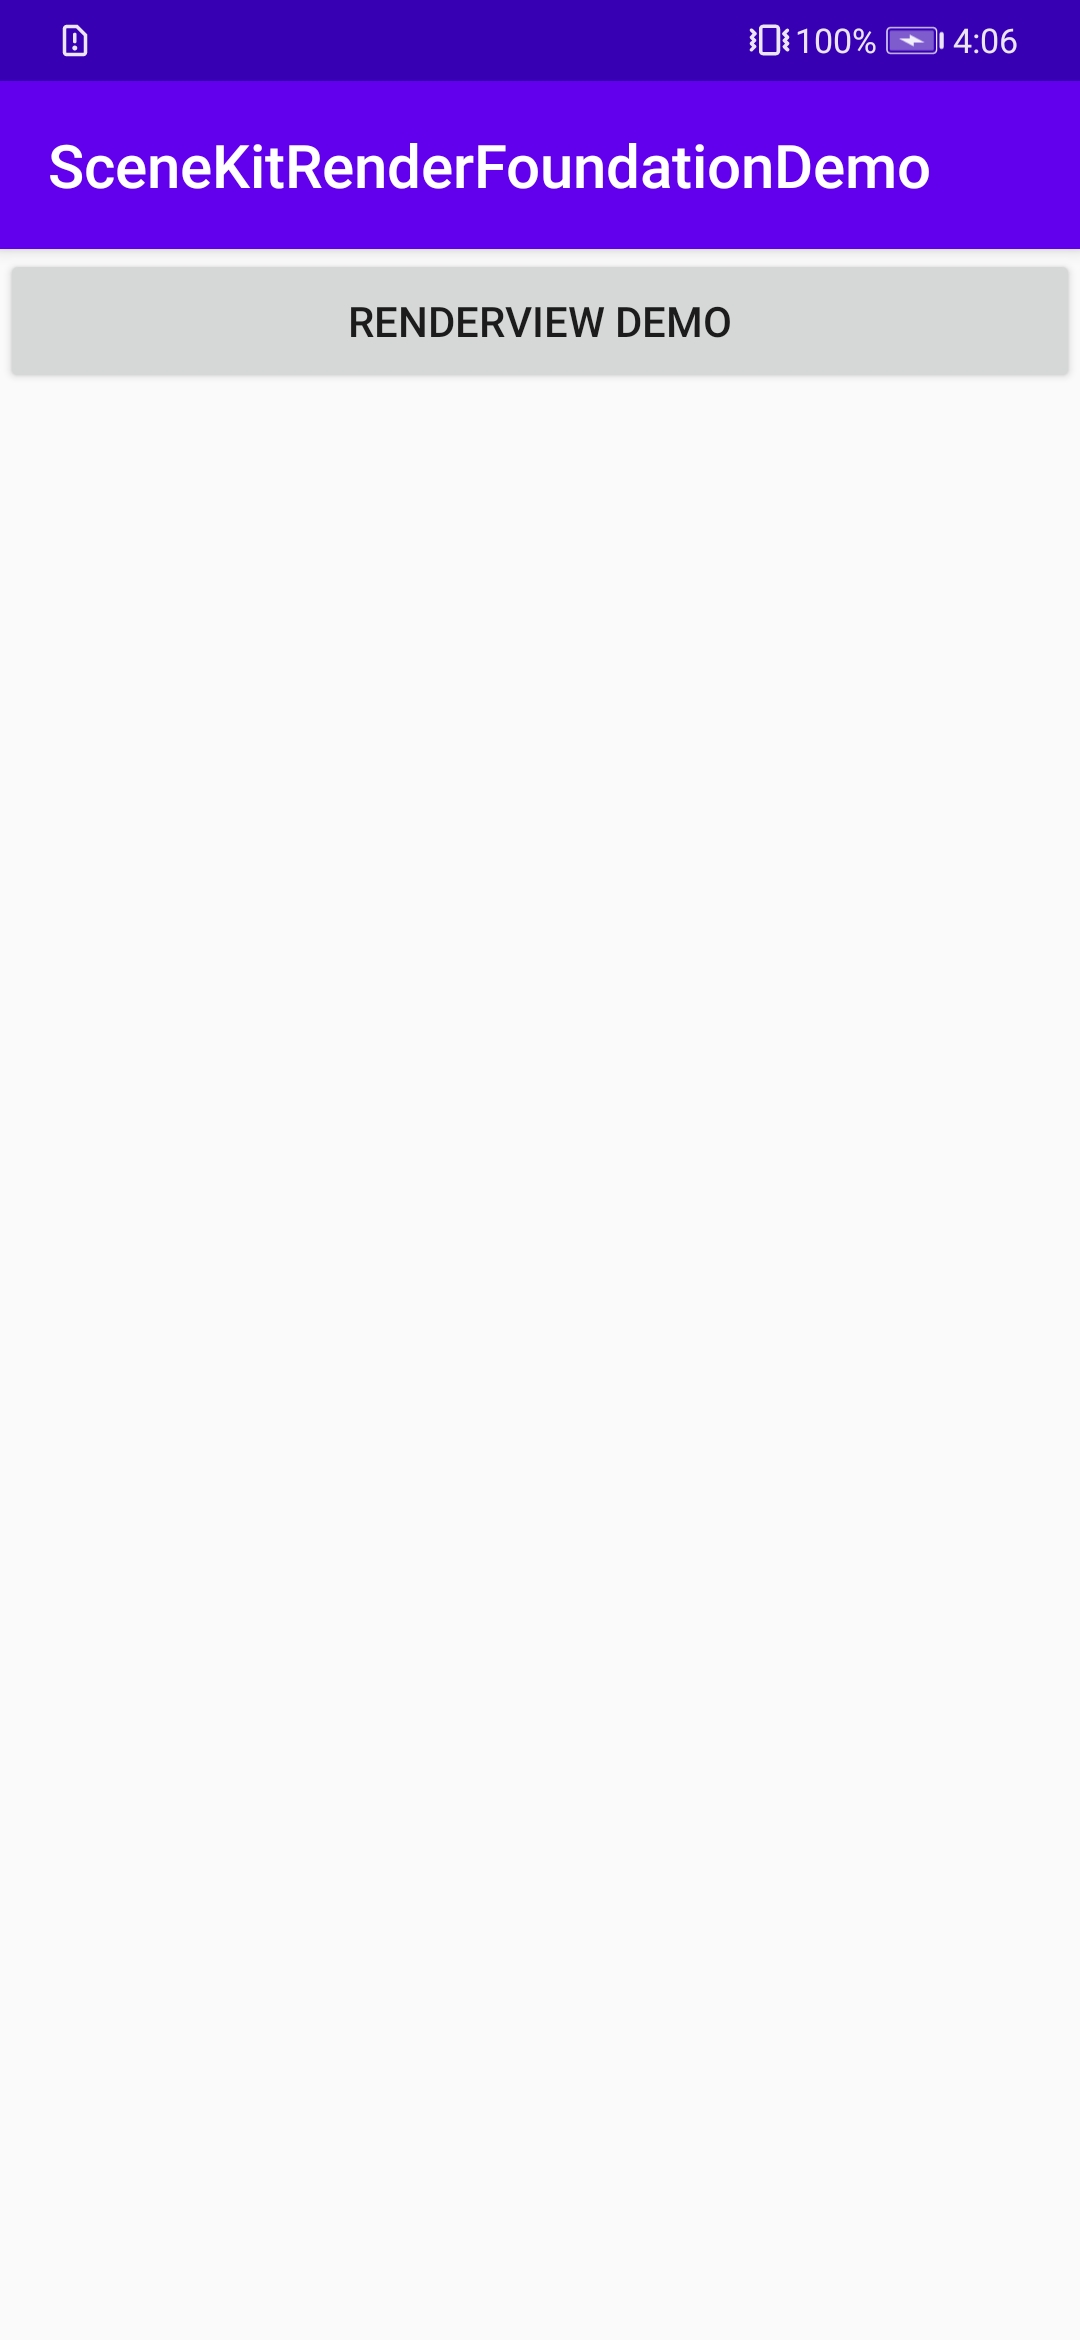
Download the sample code hms-scene-fine-grained-demo. Open the project in Android Studio and synchronize it, click the Run 'app' icon to run the Android Studio project to generate an APK file and install it on the test phone.
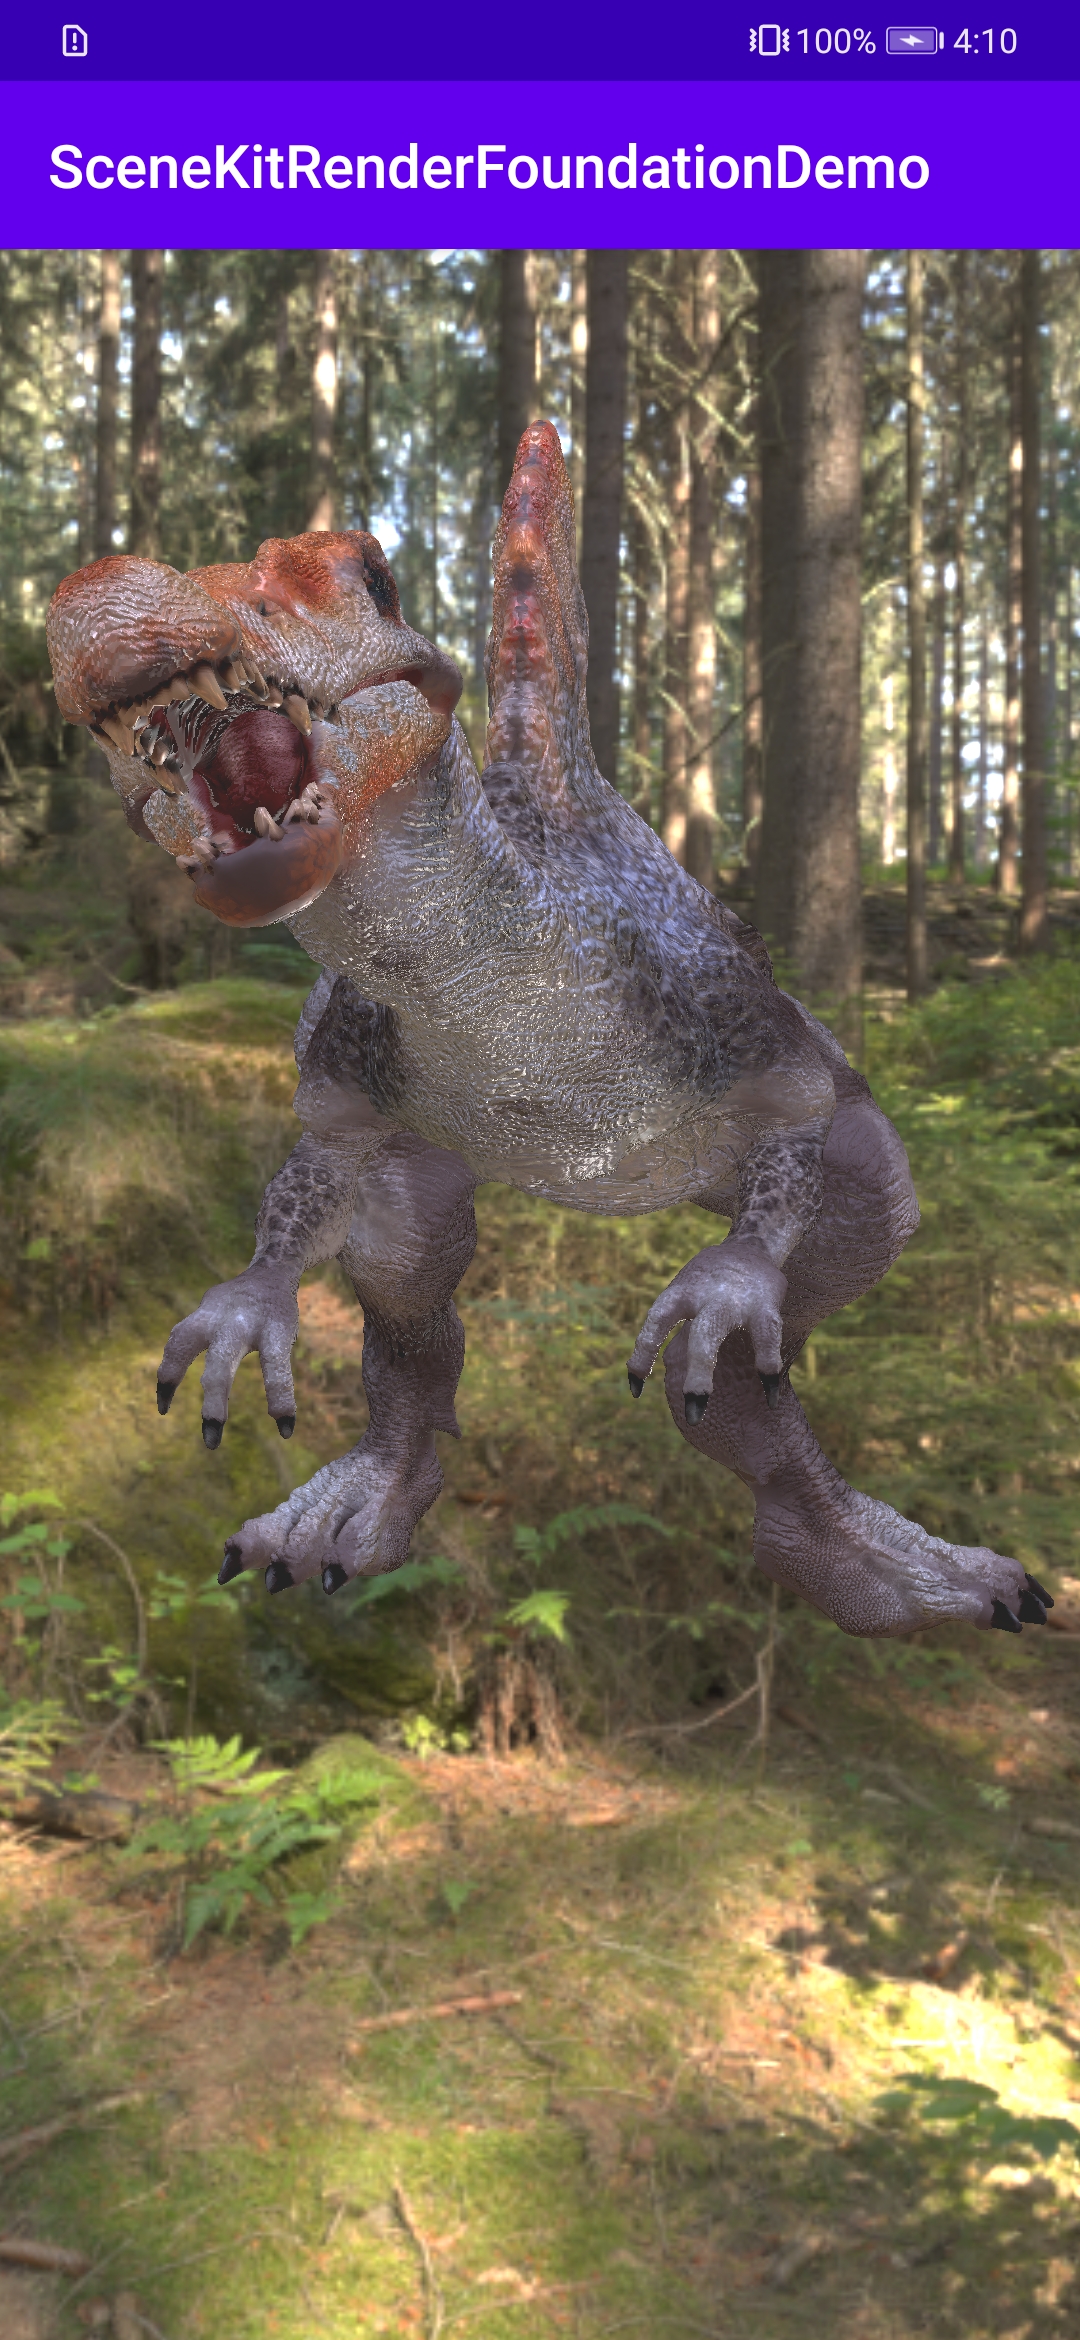
Open the demo app, and then you will see a screen like the following figure on the left. Tap RENDERVIERW DEMO to check the rendering effect which is shown as the following figure on the right:
|
|
The material used in the RenderView demo is Spinosaurus_animation created by seirogan. We have not made any changes to this material. For its license details, please refer to CC Attribution.
Set a 3D model and environment map.
    private void loadModel() {
        Model.builder()
            // You can use other 3D models instead.
            .setUri(Uri.parse("Spinosaurus_animation/scene.gltf"))
            .load(this, new ModelLoadEventListener(new WeakReference<>(this)));
    }

    private void loadTextures() {
        Texture.builder()
            // You can use other skybox textures instead.
            .setUri(Uri.parse("Forest/output_skybox.dds"))
            .load(this, new SkyBoxTextureLoadEventListener(new WeakReference<>(this)));
        Texture.builder()
            // You can use other specular maps instead. Note that the specular map should match the skybox texture.
            .setUri(Uri.parse("Forest/output_specular.dds"))
            .load(this, new SpecularEnvTextureLoadEventListener(new WeakReference<>(this)));
        Texture.builder()
            // You can use other diffuse maps instead. Note that the diffuse map should match the skybox texture.
            .setUri(Uri.parse("Forest/output_diffuse.dds"))
            .load(this, new DiffuseEnvTextureLoadEventListener(new WeakReference<>(this)));
    }
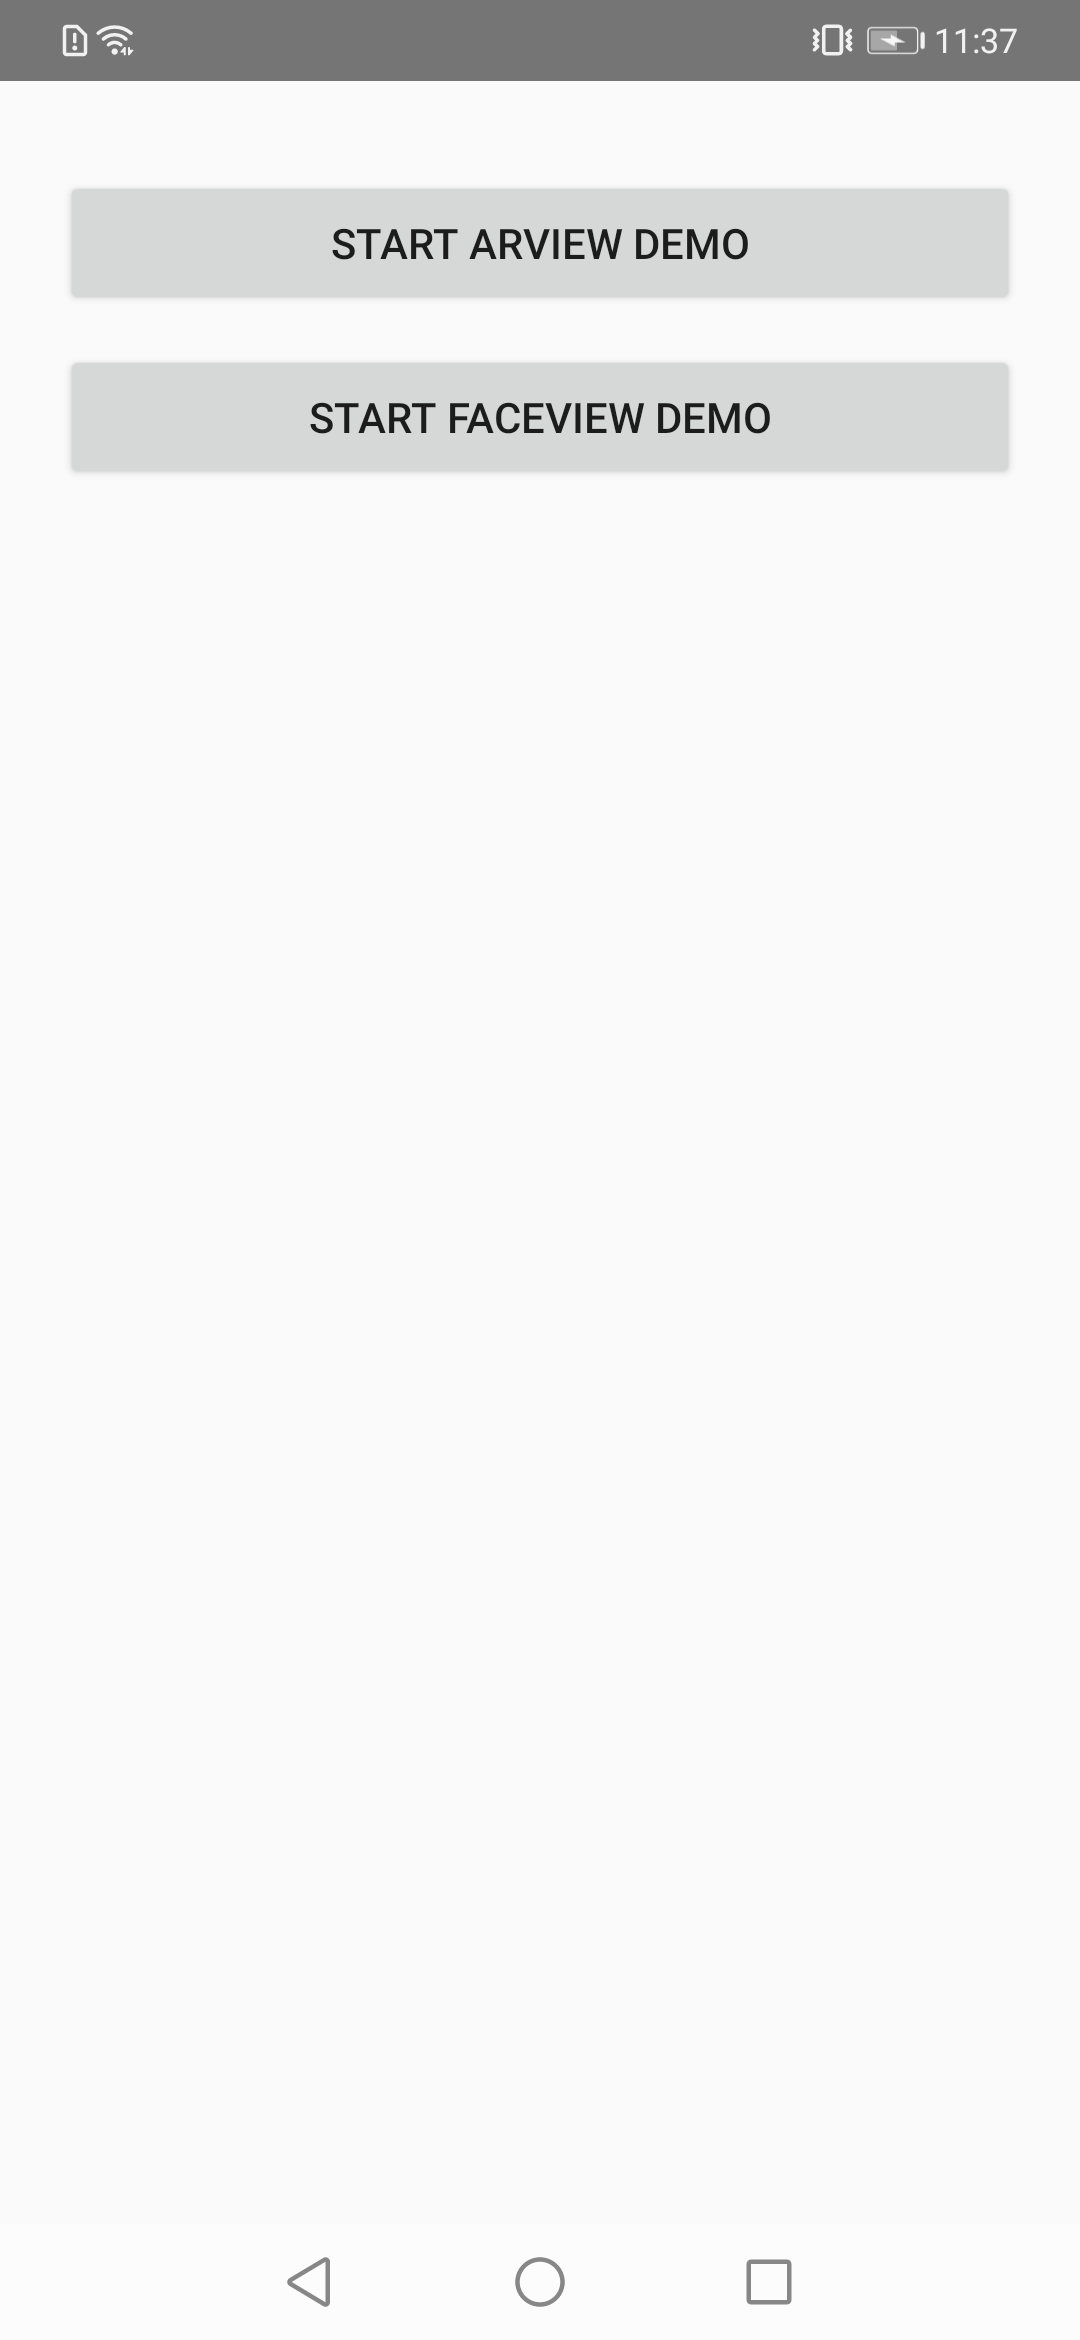
Download the sample code hms-scene-ar-face-demo. Open the project in Android Studio and synchronize it, click the Run 'app' icon to run the Android Studio project to generate an APK file and install it on the test phone.
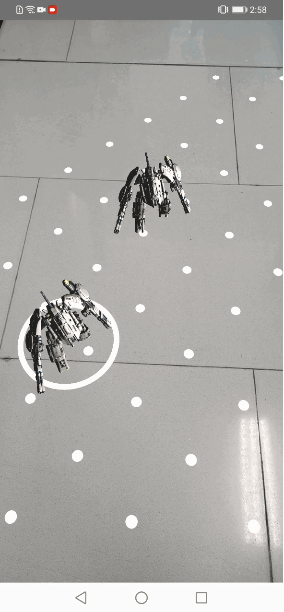
Open the demo app, and then you will see a screen like the following figure on the left. Tap START ARVIERW DEMO. After a plane is recognized, a 3D model will be put on the plane, with a rendering effect as shown in the following figure in the middle. Tap START FACEVIERW DEMO. After a face is recognized, the app will present a rendering effect as shown in the following figure on the right.
|
|
|
The material used in the ARView demo is Robo_OBJ_pose4 created by Artem Shupa-Dubrova. We have not made any changes to this material. For its license details, please refer to CC Attribution-NoDerivs.
Set a 3D model by using ARView.
    private void loadAsset() {
        if (testModel != null) {
            return;
        }
        Model.builder()
            // You can use other 3D models instead.
            .setUri(Uri.parse("Robot/scene.gltf"))
            .load(getApplicationContext(), new Resource.OnLoadEventListener<Model>() {
                @Override
                public void onLoaded(Model model) {
                    Toast.makeText(ARViewActivity.this, "load success.", Toast.LENGTH_SHORT).show();
                    testModel = model;
                }

                @Override
                public void onException(Exception exception) {
                    Toast.makeText(ARViewActivity.this, exception.getMessage(), Toast.LENGTH_SHORT).show();
                }
            });
    }
Set a 3D model by using FaceView.
    @Override
    protected void onCreate(Bundle savedInstanceState) {
        super.onCreate(savedInstanceState);
        setContentView(R.layout.activity_face_detection);
        faceView = findViewById(R.id.container1);
        setupIBL();
        // You can use other 3D materials instead.
        AssetFeature beaverAsset = new AssetFeature("Fox/fox.glb", FaceLandmark.TIP_OF_NOSE);
        beaverAsset
        // Set the initial position, size, and angle of the model.
            .setOffsetPosition(new Vector3(0.0f, -0.1f, 0.0f))
            .setInitialScale(new Vector3(0.01f, 0.01f, 0.01f))
            .setOffsetRotation(new Quaternion(new Vector3(1.0f, 0.0f, 0.0f), 0));
        loadAsset(beaverAsset);
    }
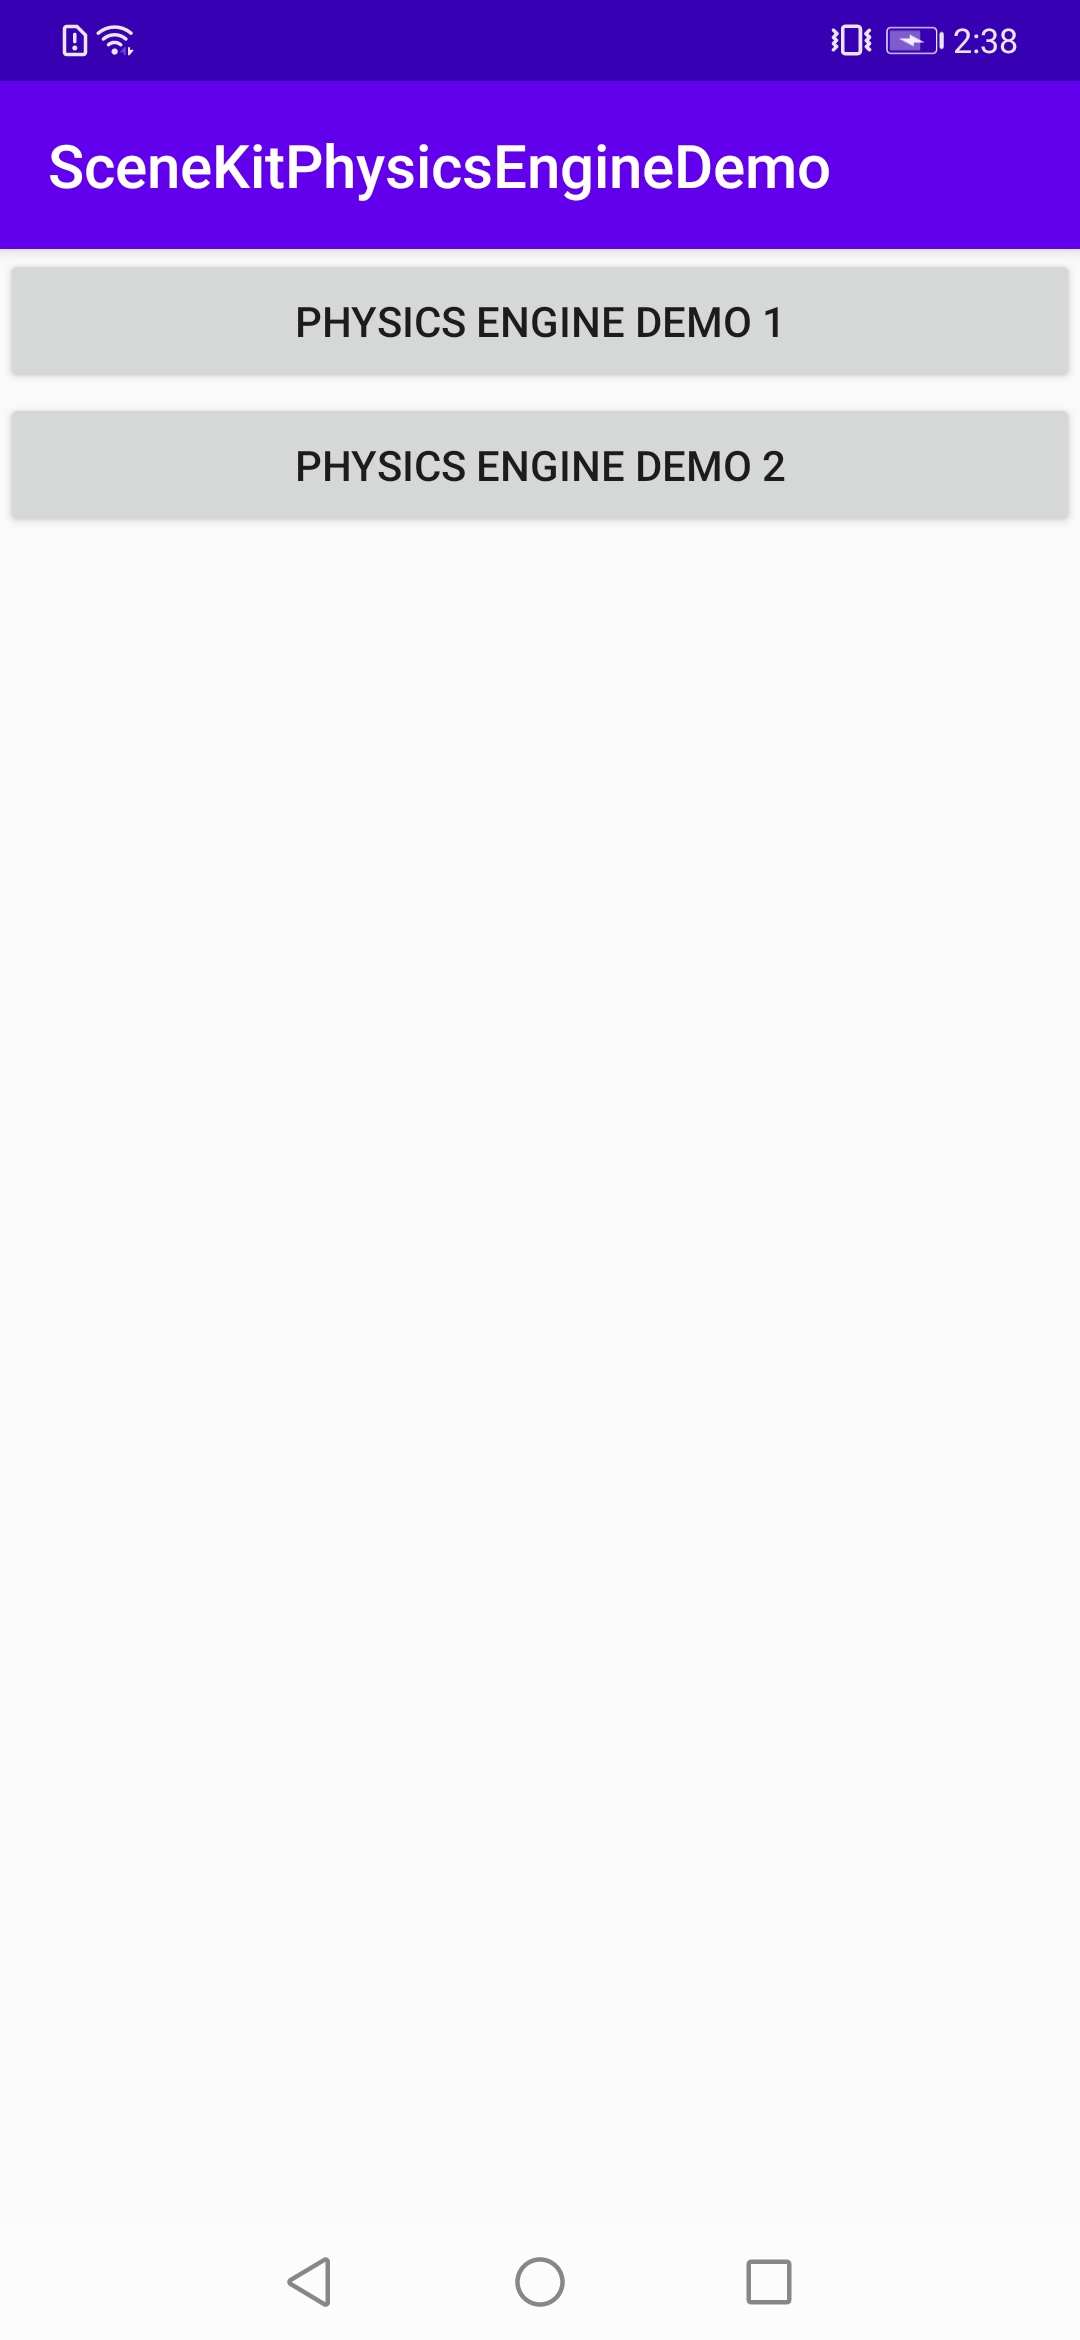
Download the sample code hms-scene-physics-engine-demo. Open the project in Android Studio and synchronize it, click the Run 'app' icon to run the Android Studio project to generate an APK file and install it on the test phone.
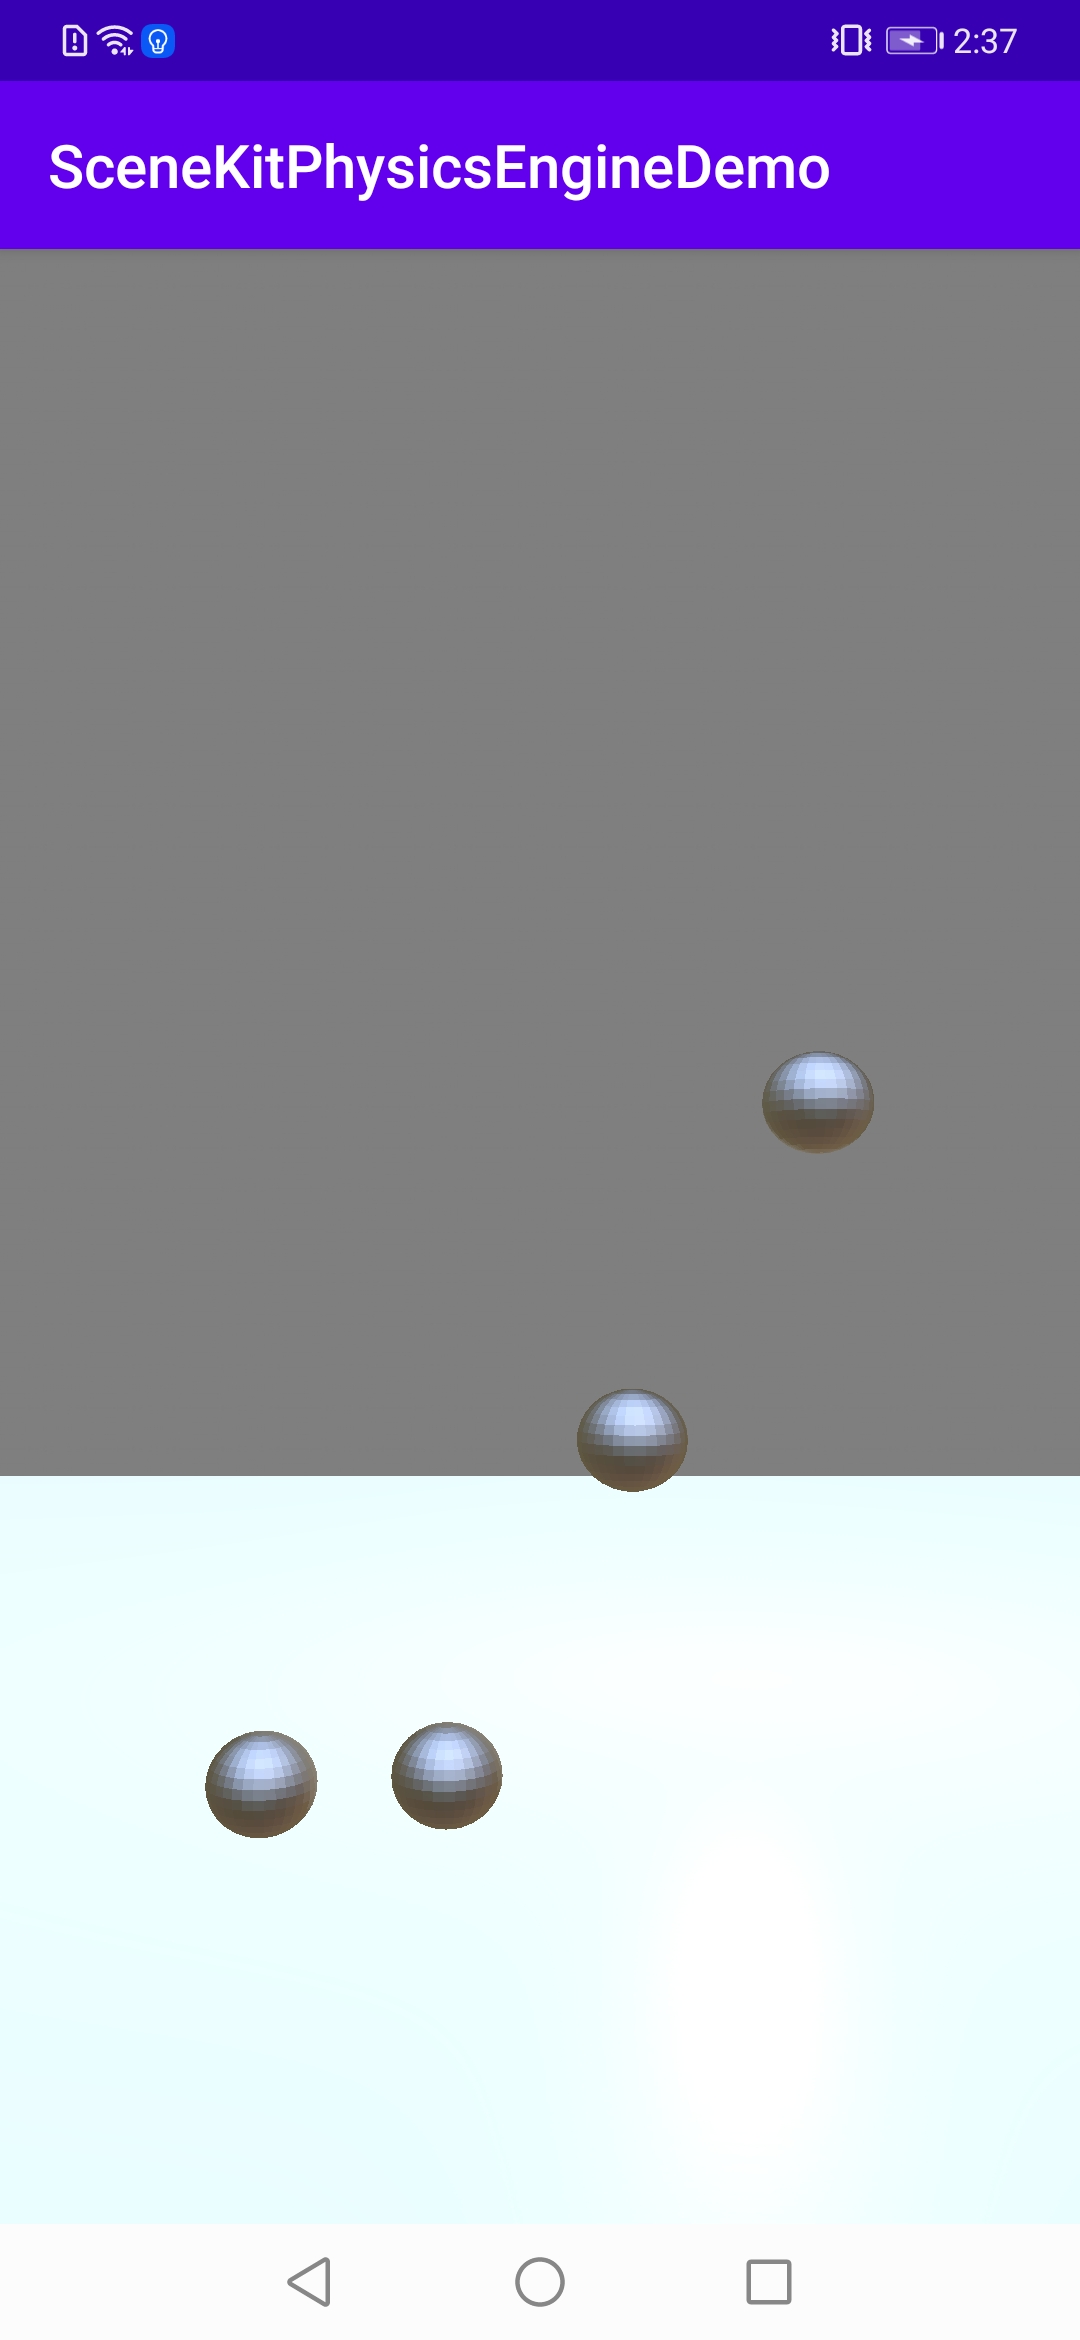
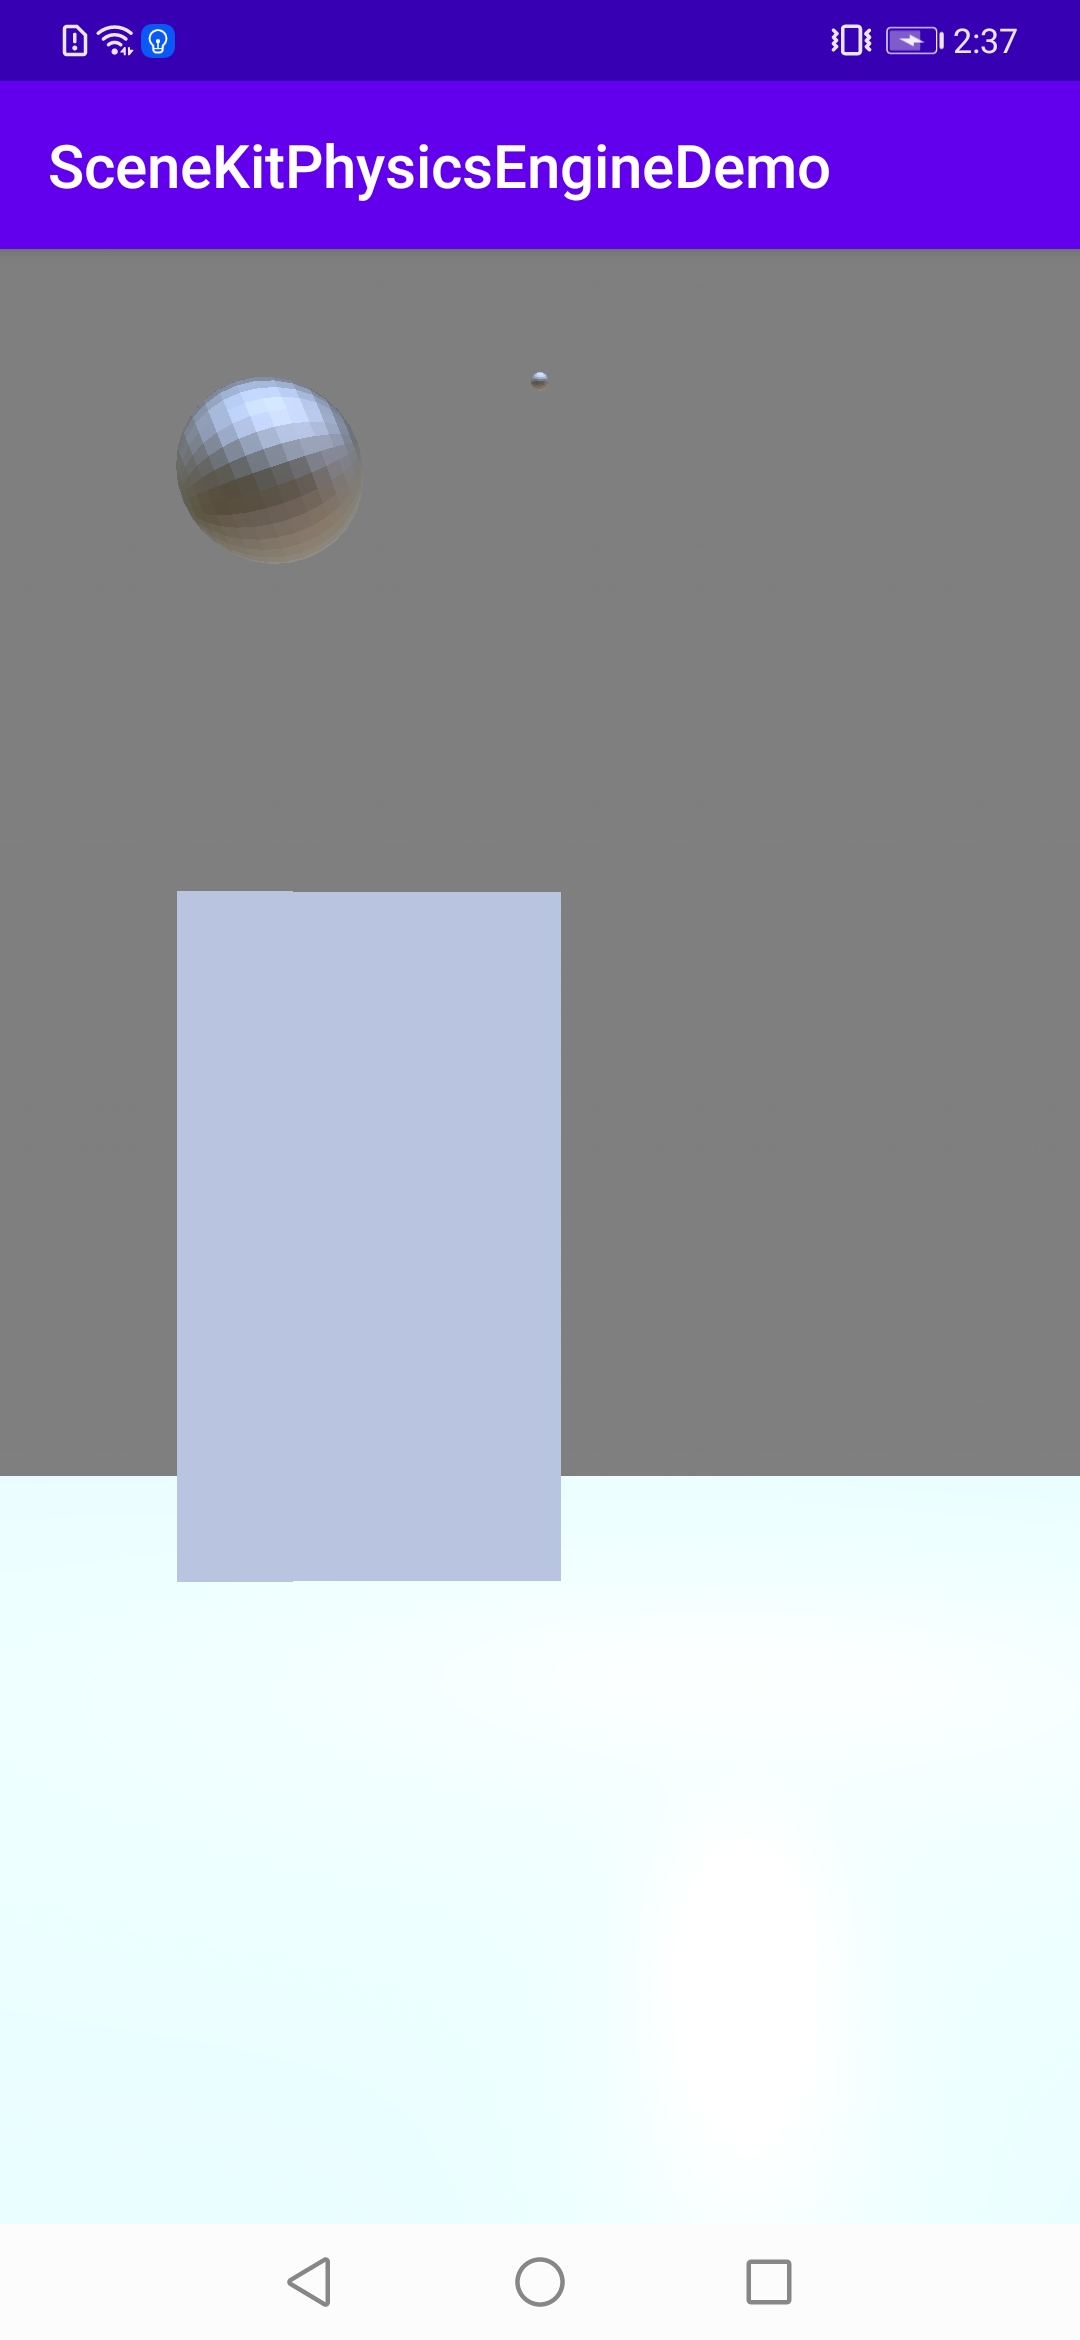
Open the demo app, and then you will see a screen like the following figure on the left. Tap PHYSICS ENGINE DEMO 1 to see a simulated scene (as shown in the following figure in the middle) where four balls are simultaneously falling with different elasticity coeffcients. Tap PHYSICS ENGINE DEMO 2 to see a simulated scene (as shown in the following figure on the right) where different objects have different constraints.
|
|
|
Example 1: Set the physics specifications of the ground and balls.
    @Override
    public void onLoaded(Model model) {
        PhysicsEngineSampleOneActivity sampleActivity = weakRef.get();
        if (sampleActivity == null || sampleActivity.isDestroyed()) {
            Model.destroy(model);
            return;
        }
        // Set the physics specifications of the ground.
        if (isGround) {
            sampleActivity.groundModel = model;
            Node groundNode = sampleActivity.renderView.getScene().createNodeFromModel(model);
            groundNode.addComponent(Collider.descriptor())
                .createBoxShape()
                .setExtent(new Vector3(1000f, 1f, 1000f));
            groundNode.getComponent(Transform.descriptor())
                .setPosition(new Vector3(0f, -3f, 0f)).setScale(new Vector3(20f, 1f, 20f));
            groundNode.addComponent(RigidBody.descriptor())
                .setRestitution(1f)
                .setGroup((short) 1)
                .setKinematic(false)
                .setFriction(10f)
                .setMask((short) 1)
                .setMass(0);
            return;
        }
        sampleActivity.sphereModel = model;
        // Set the physics specifications of the balls.
        for (int index = 0; index < 4; index++) {
            Node node = sampleActivity.renderView.getScene().createNodeFromModel(model);
            Transform transform = node.getComponent(Transform.descriptor());
            transform.setScale(new Vector3(0.6f, 0.6f, 0.6f));
            transform.setPosition(new Vector3(-3.0f + 2 * index, 10.0f, 10.0f));
            node.addComponent(Collider.descriptor())
                .createSphereShape().setRadius(0.6f);
            node.addComponent(RigidBody.descriptor())
                .setMask((short) 1)
                .setGroup((short) 1)
                .setFriction(10.0f)
                .setKinematic(false)
                .setMass(1.0f)
                .setRestitution( 0.3f * index);
        }
    }
Example 2: Set the point-to-point constraint and hinge constraint.
    // Set the point-to-point constraint.
    private void addPoint2PointConstraint() {
        Node staticNode = loadModel(ballModel, new Vector3(0.1f, 0.1f, 0.1f), new Vector3(0, 15, 10));
        staticNode.addComponent(RigidBody.descriptor())
            .setMass(0)
            .setKinematic(false)
            .setGroup((short) 0)
            .setMask((short) 0);
        staticNode.addComponent(Collider.descriptor())
            .createSphereShape()
            .setRadius(0.1f);
        Node targetNode = loadModel(ballModel, new Vector3(1f, 1f, 1f), new Vector3(2, 15, 10));
        targetNode.addComponent(RigidBody.descriptor())
            .setMass(1)
            .setLinearDamping(0)
            .setAngularDamping(0);
        targetNode.addComponent(Collider.descriptor())
            .createSphereShape()
            .setRadius(0.77f);
        Point2PointConstraint constraint = targetNode.addComponent(Point2PointConstraint.descriptor());
        constraint.setPivotA(new Vector3(0, 0, 0));
        constraint.setPivotB(new Vector3(0, 3, 0));
        constraint.setNodeA(staticNode);
        constraint.setNodeB(targetNode);
    }

    // Set the hinge constraint.
    private void addHingeConstraint() {
        Node staticNode = loadModel(boxModel, new Vector3(0.2f, 8, 0.25f), new Vector3(0.12f, 5, 10));
        staticNode.addComponent(Collider.descriptor()).createBoxShape().setExtent(new Vector3(0.1f, 4, 0.125f));
        staticNode.addComponent(RigidBody.descriptor())
            .setMass(0)
            .setGroup((short) 0)
            .setMask((short) 0);
        Node targetNode = loadModel(boxModel, new Vector3(4, 8, 0.25f), new Vector3(-2, 5, 10));
        targetNode.addComponent(Collider.descriptor()).createBoxShape().setExtent(new Vector3(1.98f, 4, 0.125f));
        targetNode.addComponent(RigidBody.descriptor())
            .setMass(1)
            .setAngularDamping(0)
            .setLinearDamping(0)
            .applyImpulse(new Vector3(15, 0, 15), new Vector3(1, 0, 0));
        HingeConstraint hinge = targetNode.addComponent(HingeConstraint.descriptor());
        hinge.setNodeA(targetNode);
        hinge.setNodeB(staticNode);
        hinge.setLowerLimit(0.f)
            .setUpperLimit((float) Math.PI)
            .setPivotA(new Vector3(2, 0, 0))
            .setPivotB(Vector3.ZERO)
            .setAxisA(Vector3.UP)
            .setAxisB(Vector3.UP);
    }
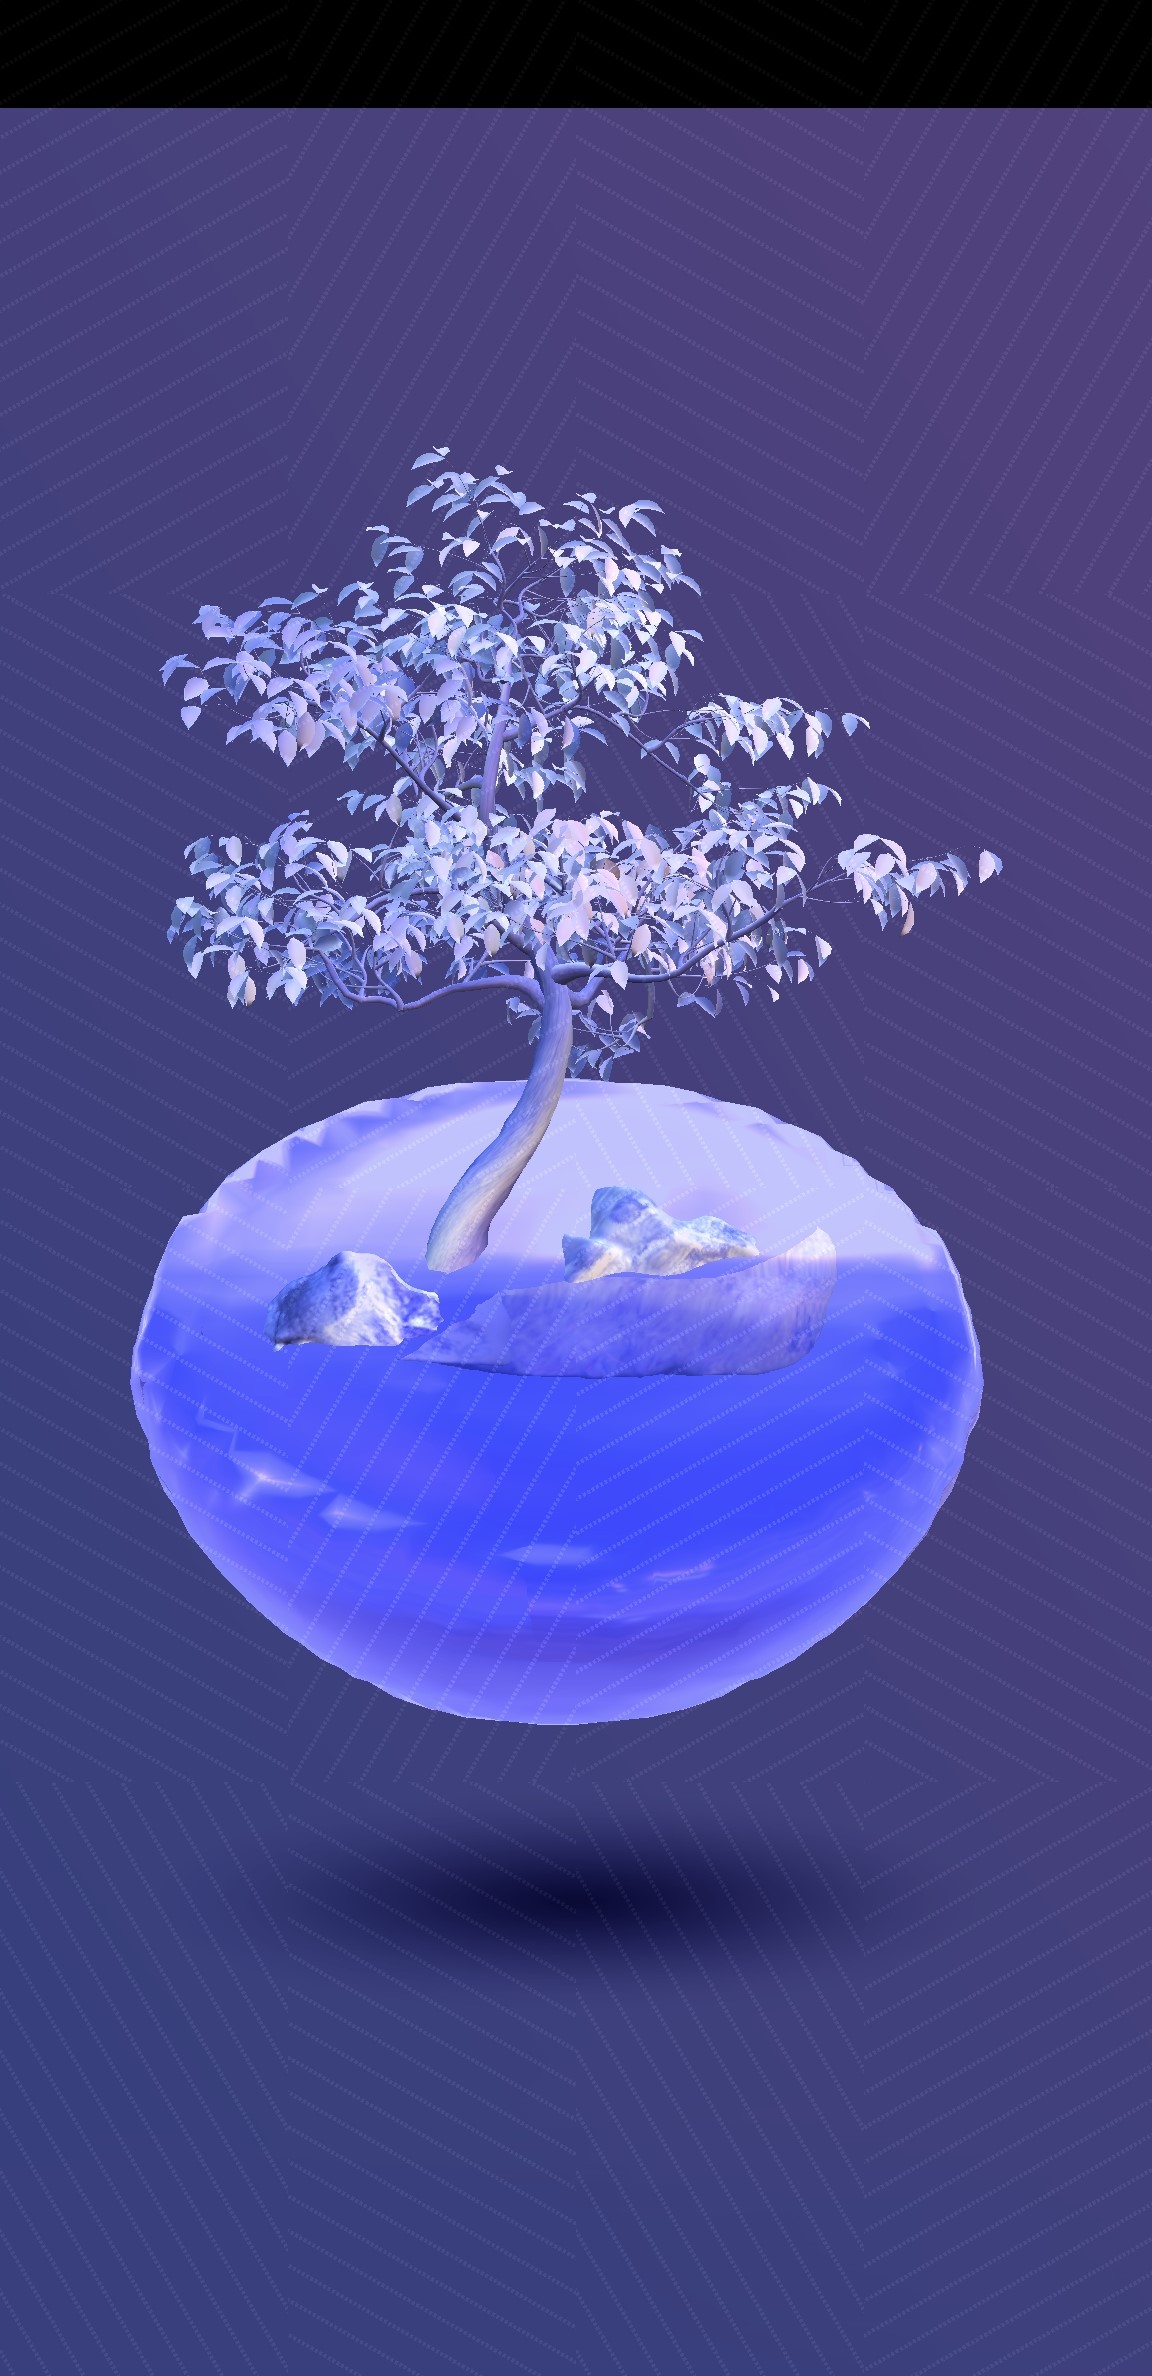
Download the sample code hms-scene-3d-fluid-demo. Open the project in Android Studio and synchronize it. Then, choose Run 'app' to run your project to generate an APK and install it on the test phone.
Open the demo app, and then you will see a screen shown in the left figure. Tap START DEMO. Shake the phone to simulate liquid sloshing, as shown in the right figure.
|
|
Download the sample code hms-scene-demo. Open the project in Android Studio and synchronize it, click the Run 'app' icon to run the Android Studio project to generate an APK file and install it on the test phone.
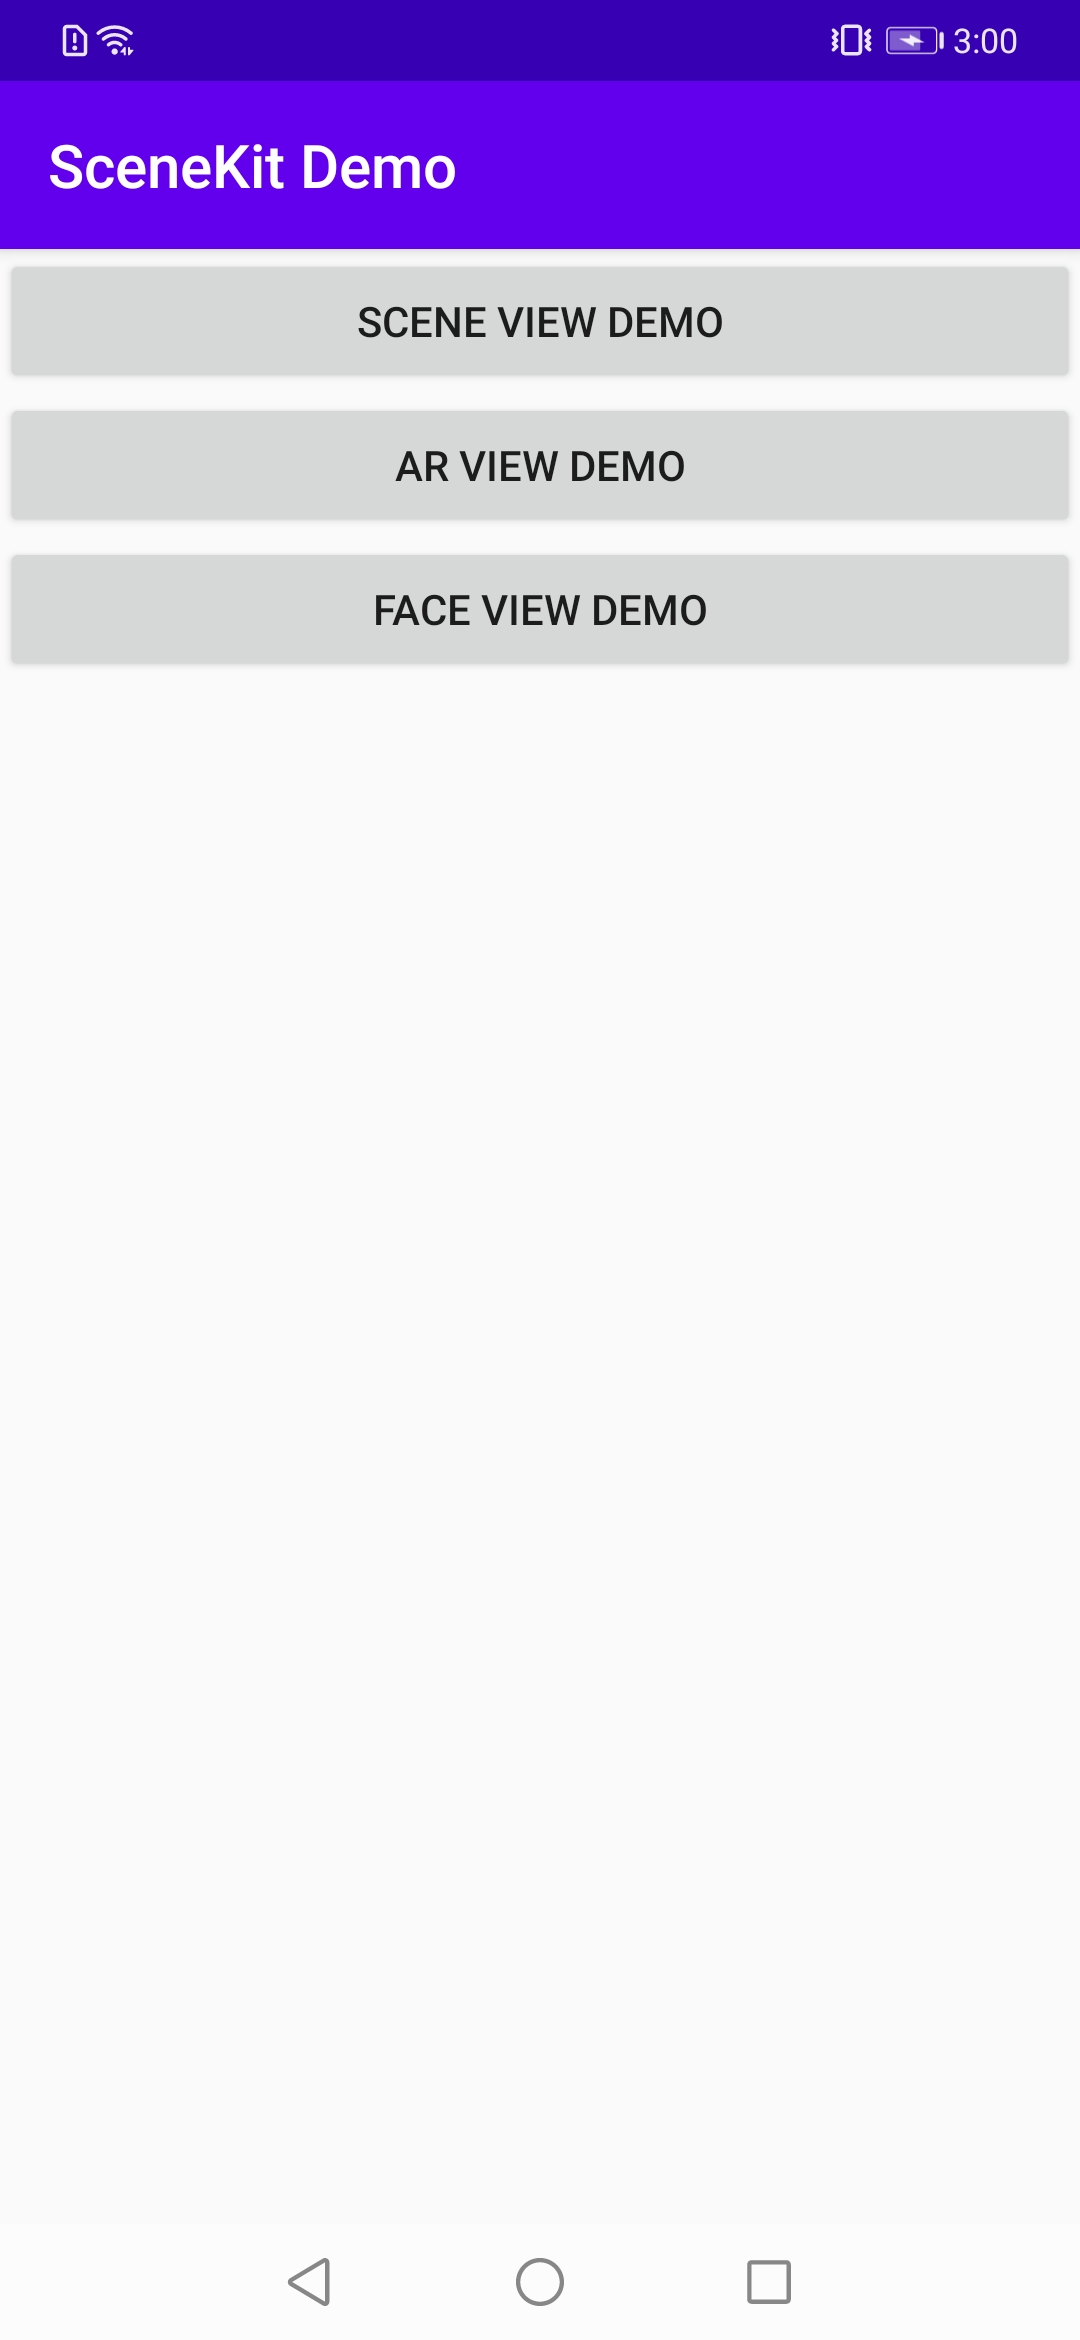
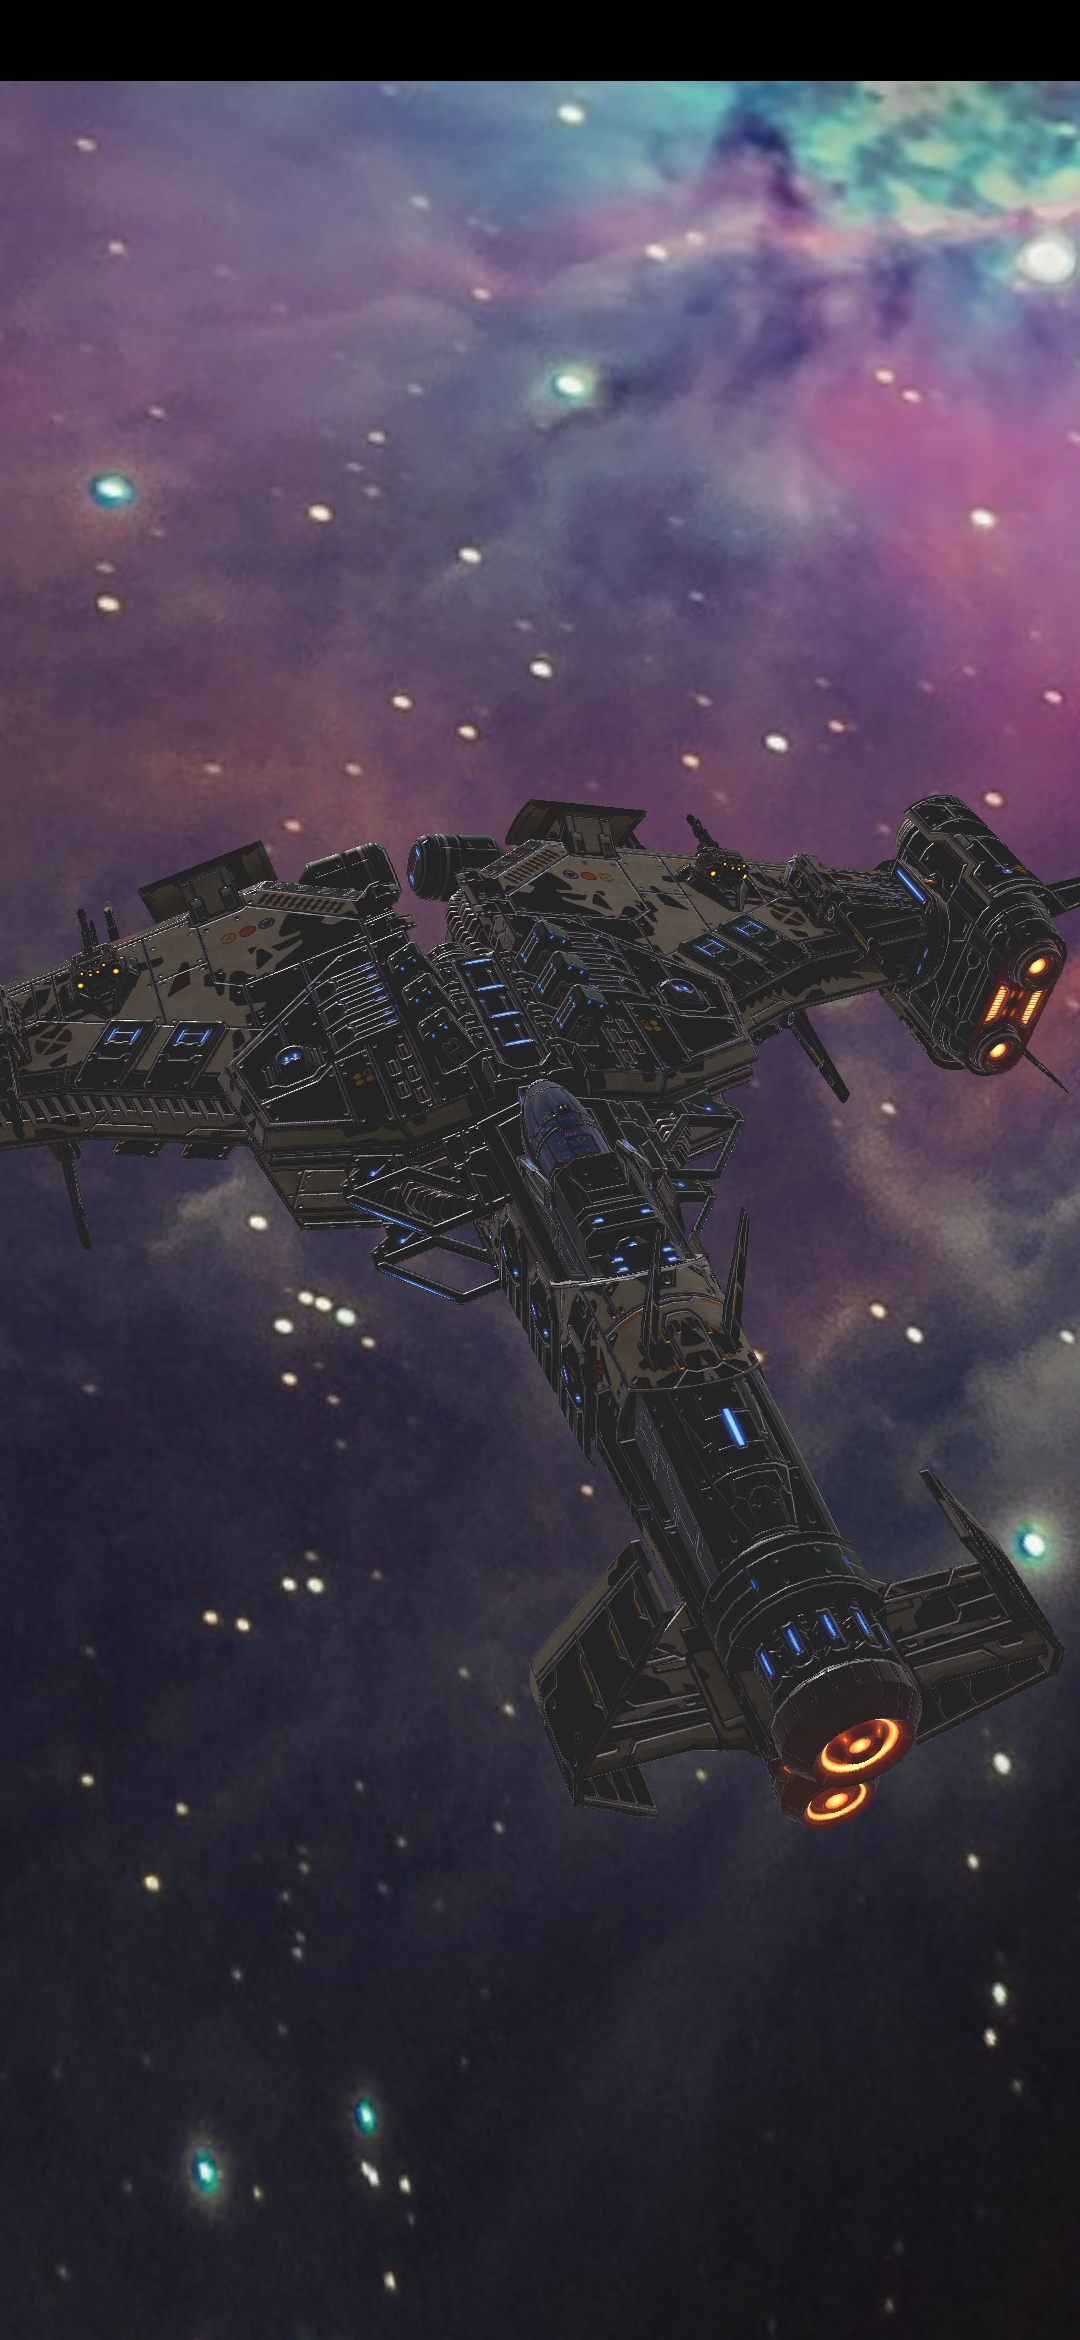
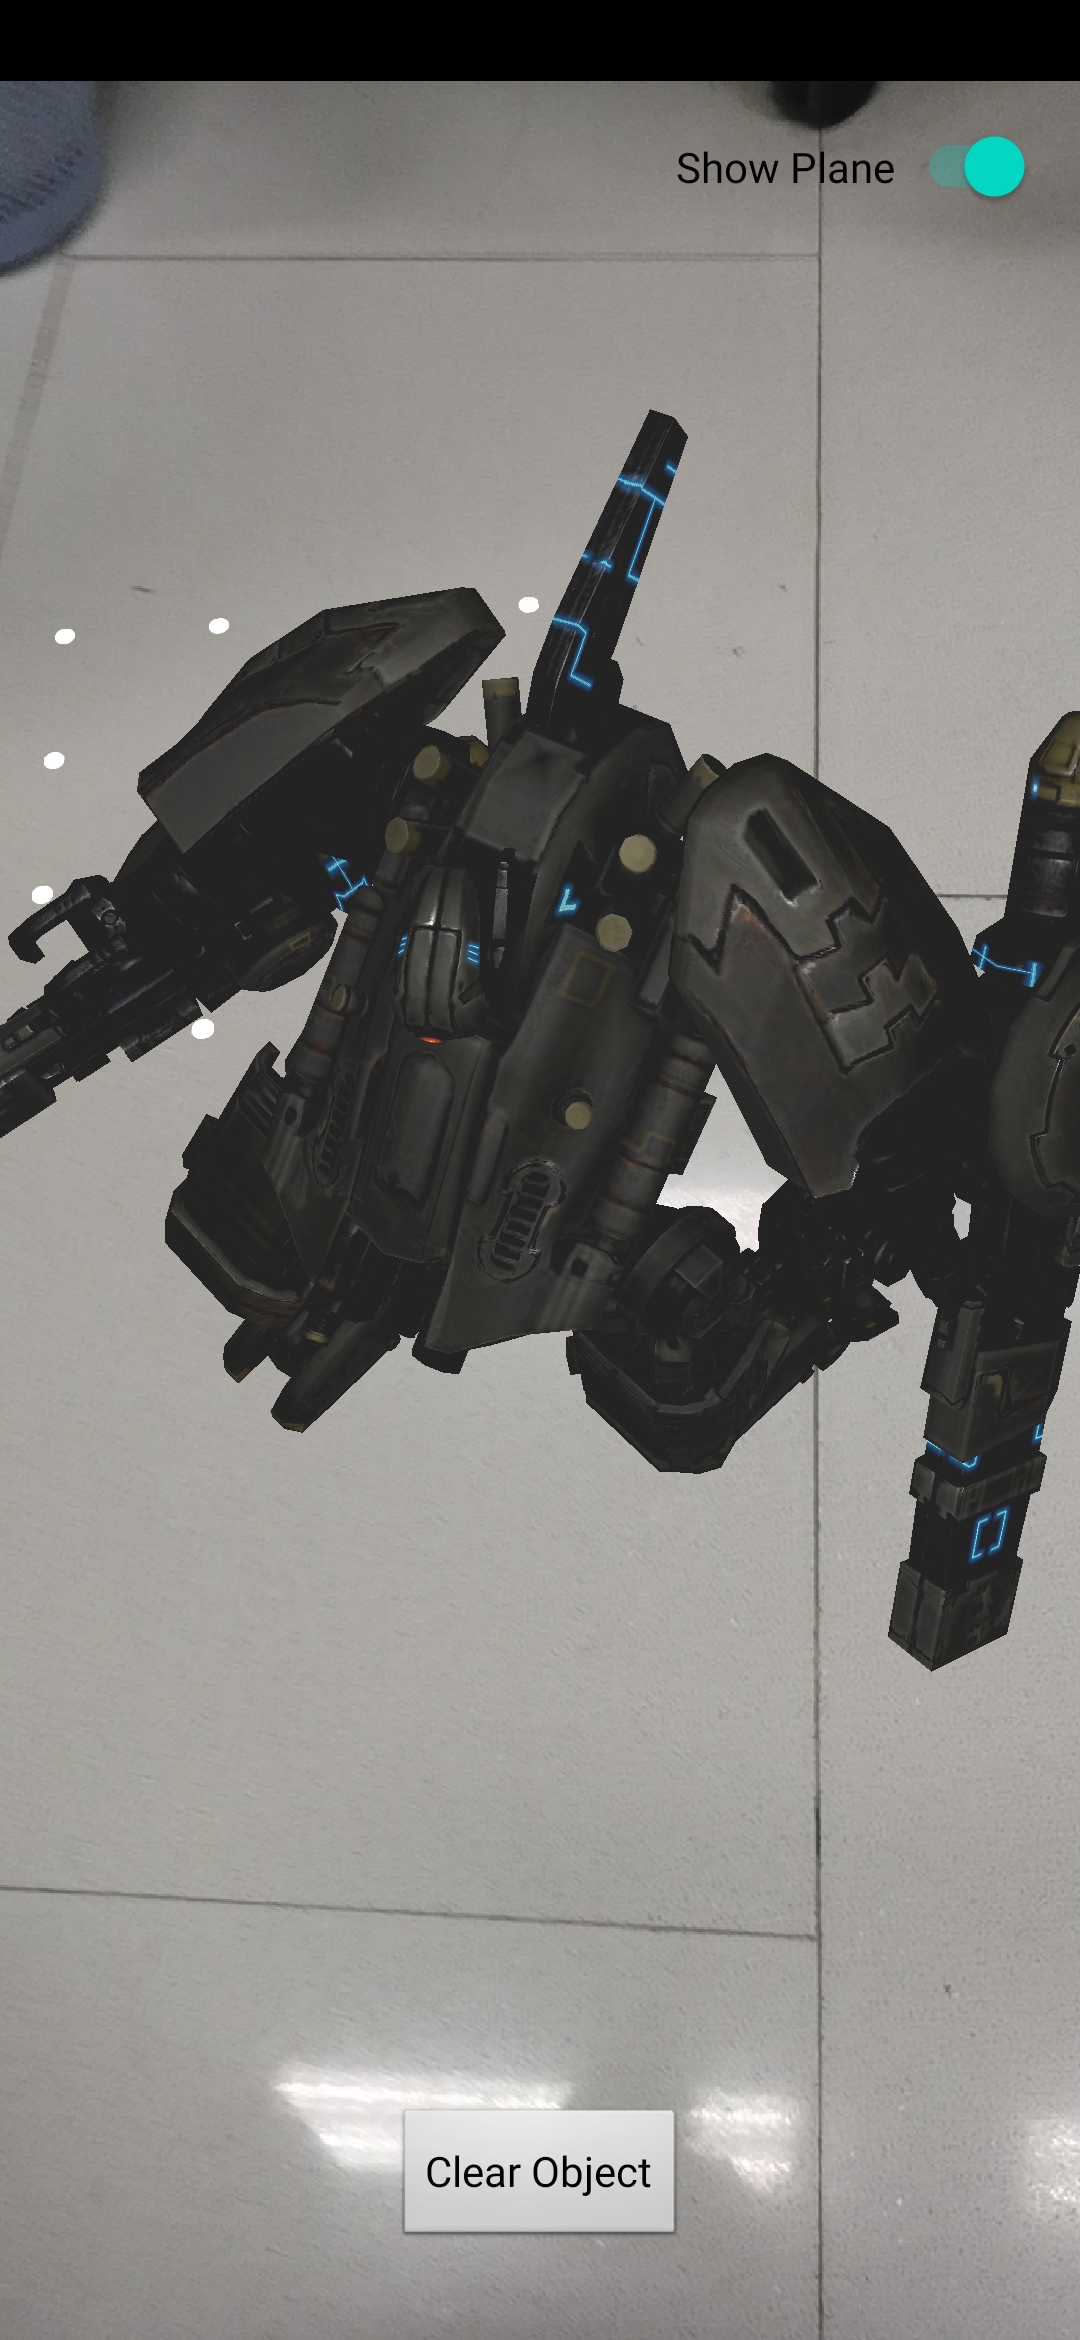
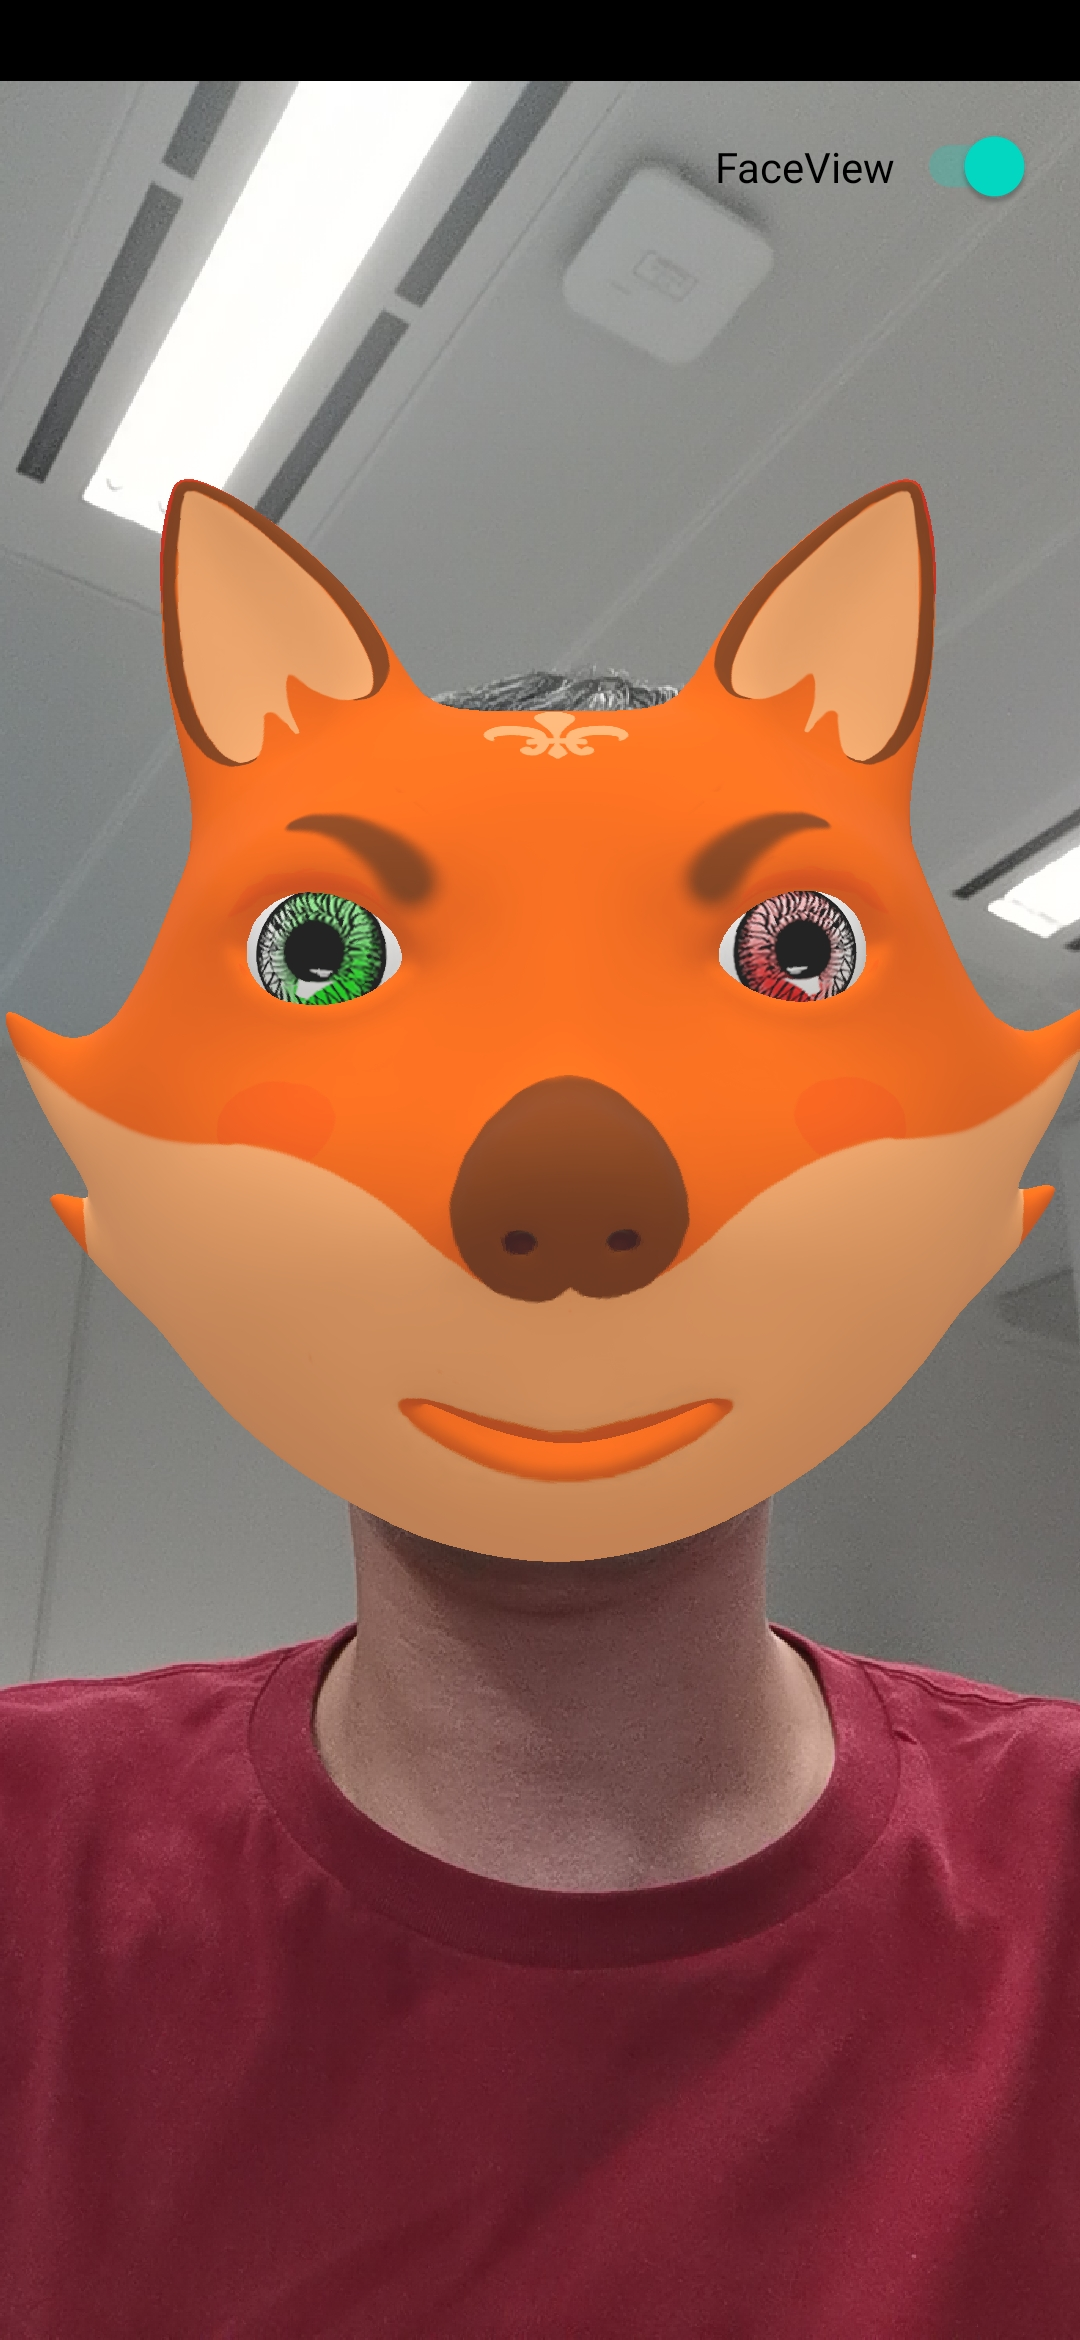
Open the demo app, and then you will see a screen like the following figure on the left. Tap SCENE VIEW DEMO, AR VIEW DEMO, and FACE VIEW DEMO to see the rendering effects as shown in the following figures.
|
|
|
|
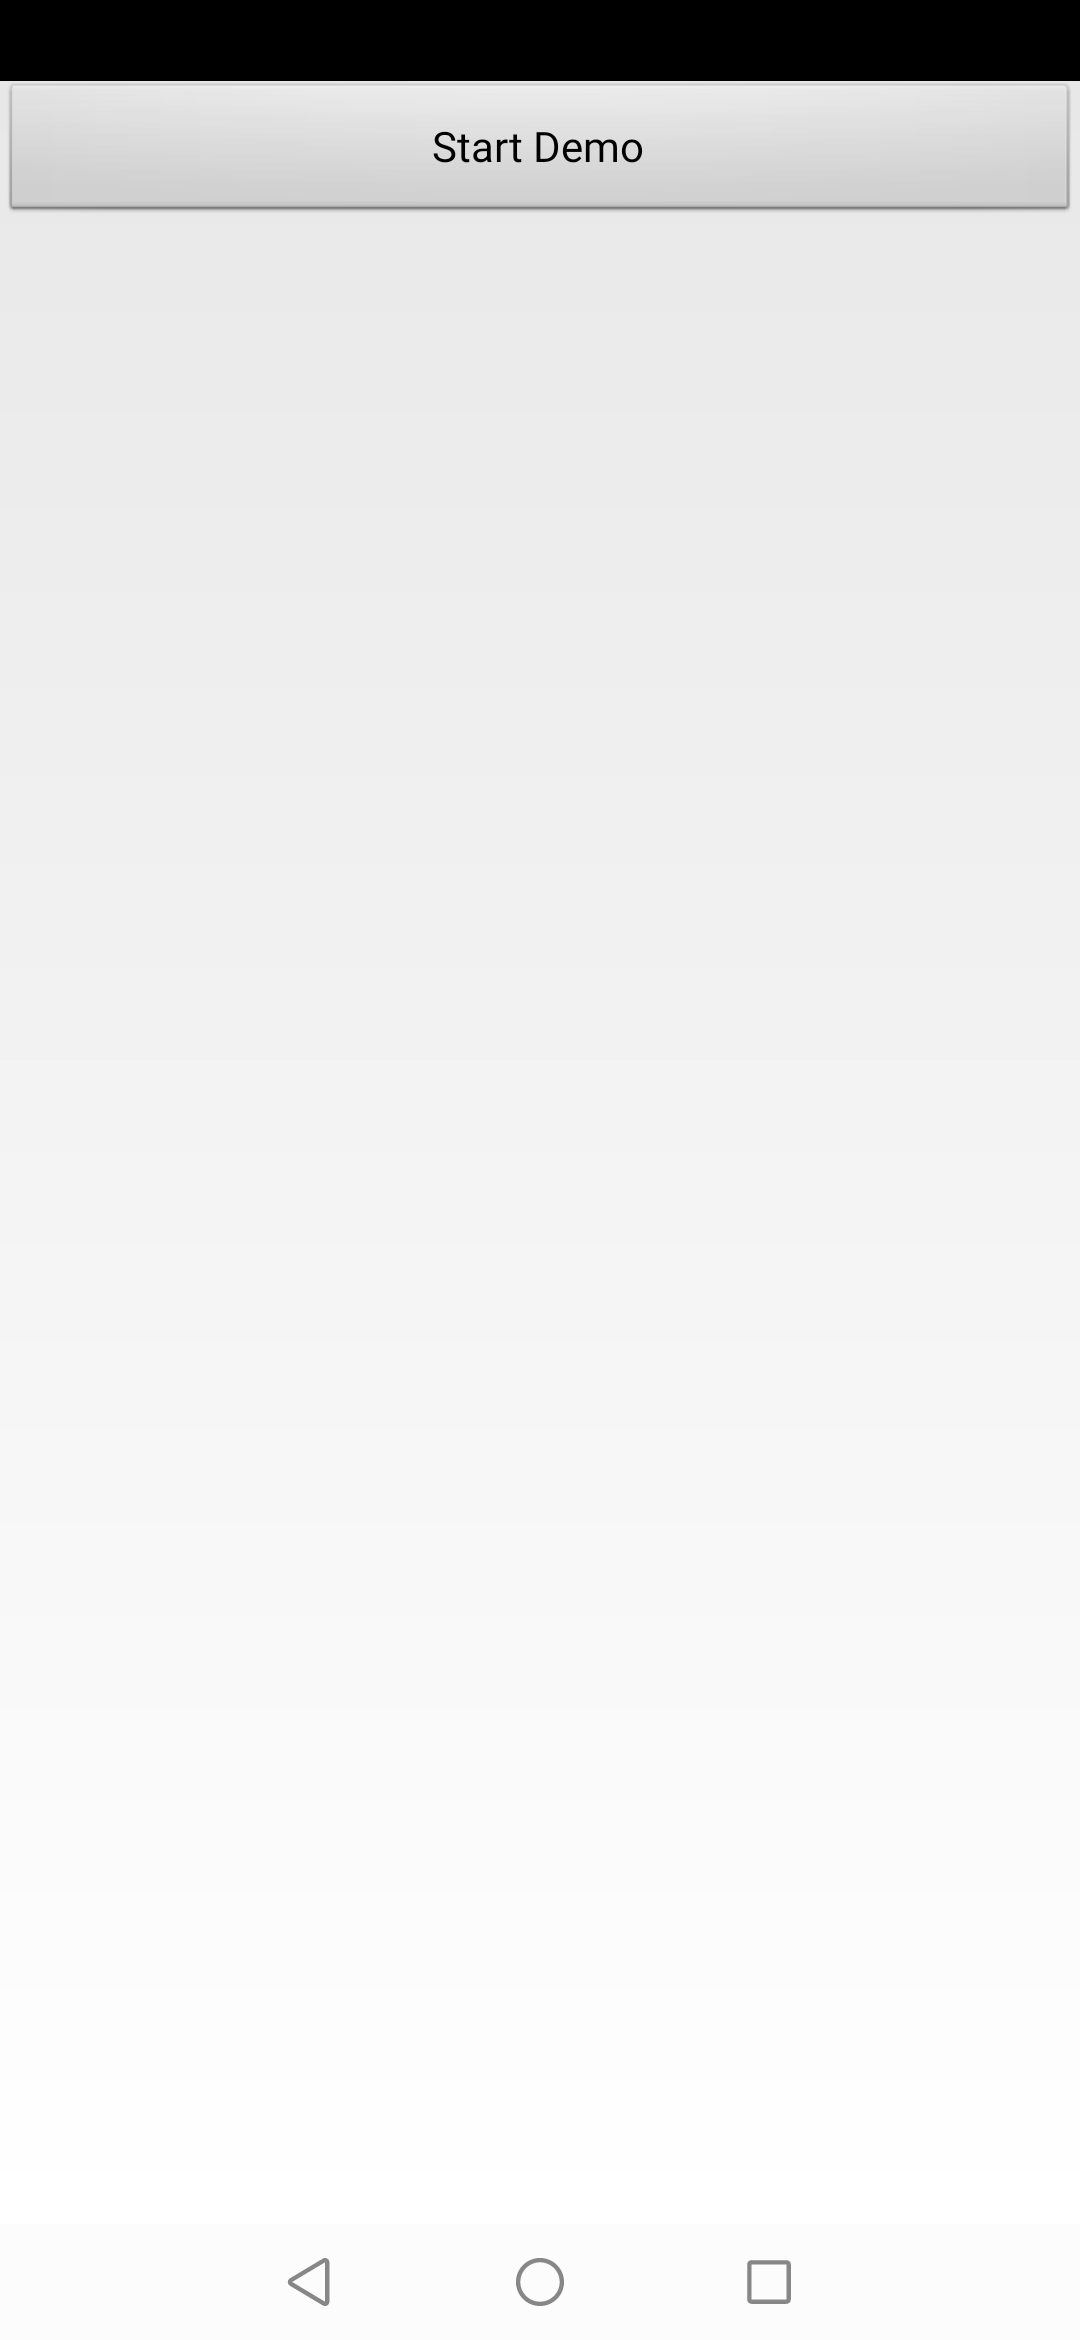
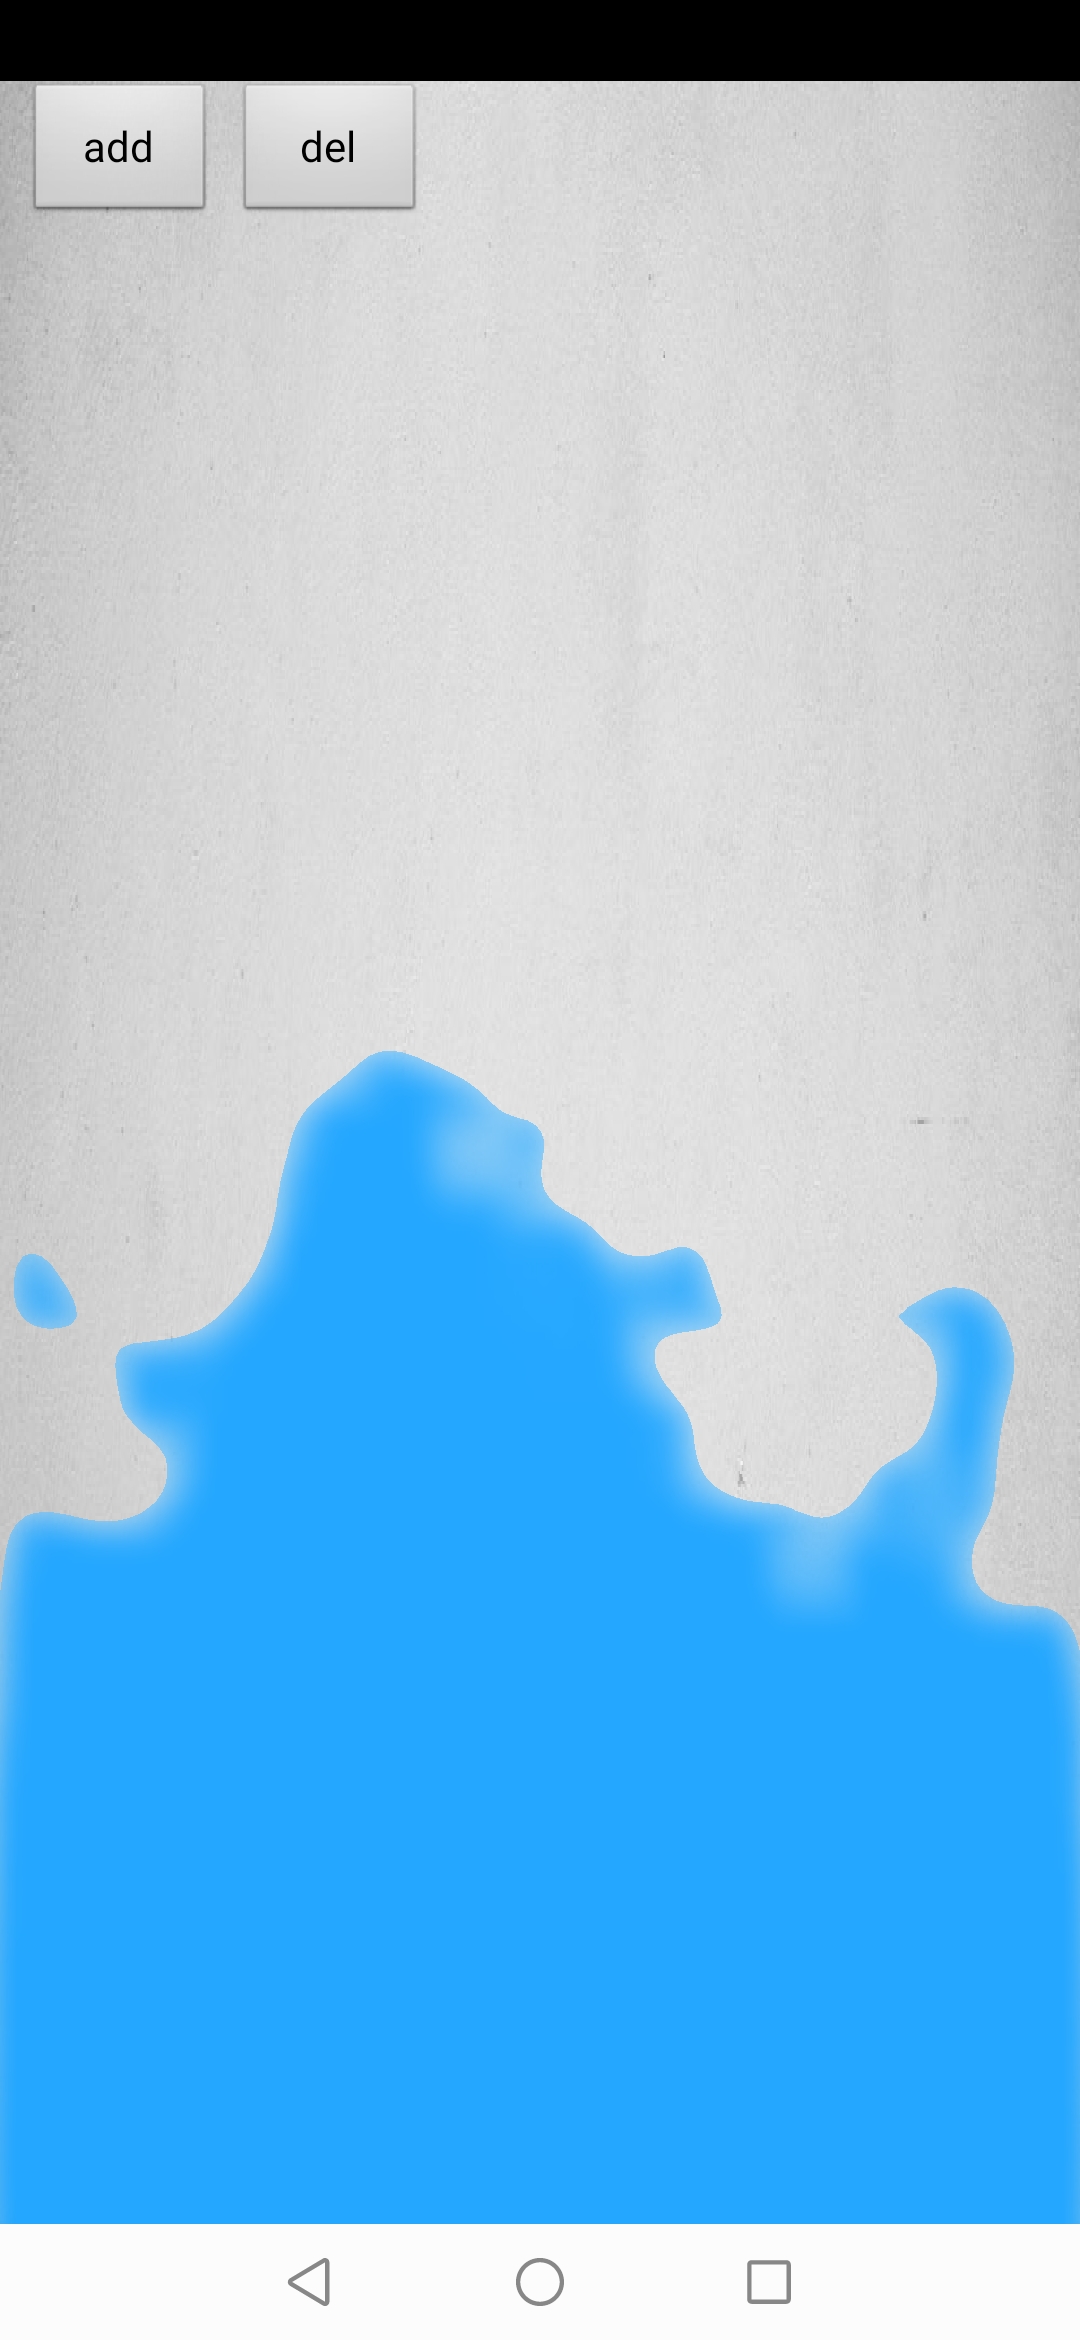
Download the sample code hms-scene-2d-fluid-demo. Open the project in Android Studio and synchronize it, click the Run 'app' icon to run the Android Studio project to generate an APK file and install it on the test phone.
Open the demo app, and then you will see a screen like the following figure on the left. Tap Start Demo. Shake the phone to shake the water. The rendering effect is shown as the following figure on the right.
|
|
Well done. You have successfully completed this codelab and learned how to:
For more information, please click the following links: