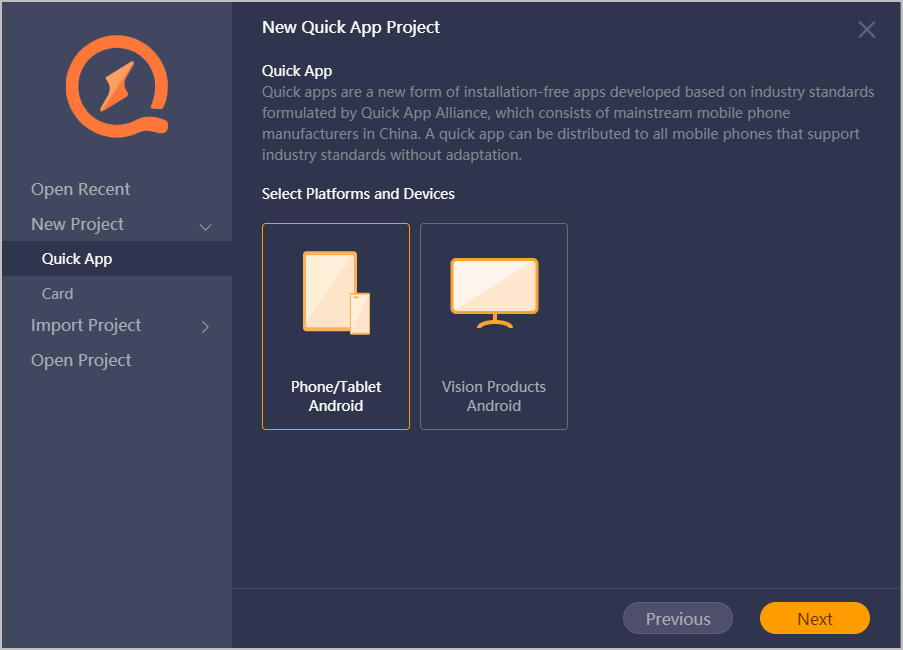
Quick apps are a new form of installation-free apps developed based on industry standards formulated by Quick App Alliance, which consists of mainstream mobile phone manufacturers in China. A quick app can be distributed to all mobile phones that support industry standards without adaptation.
Benefits for you:
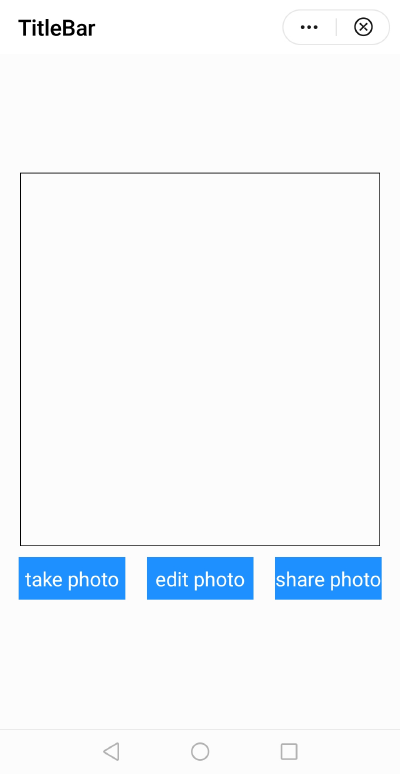
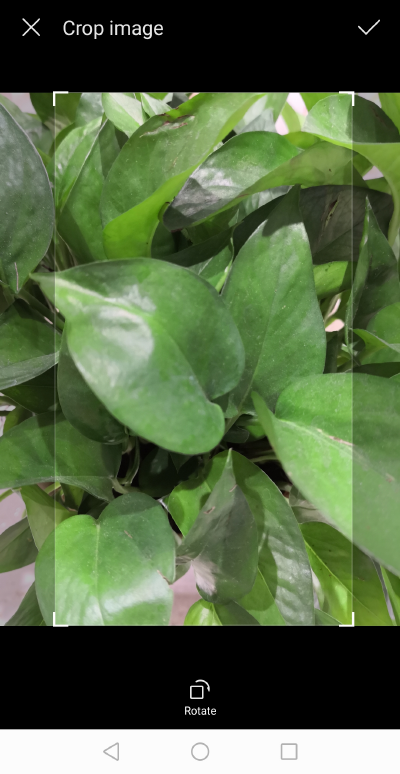
In this codelab, you will create an image processing quick app by utilizing Huawei Quick App IDE and calling the image processing API. The quick app allows users to crop and share photos.
Android app development basics
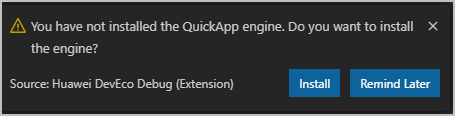
Before developing a quick app, you must complete the following preparations:
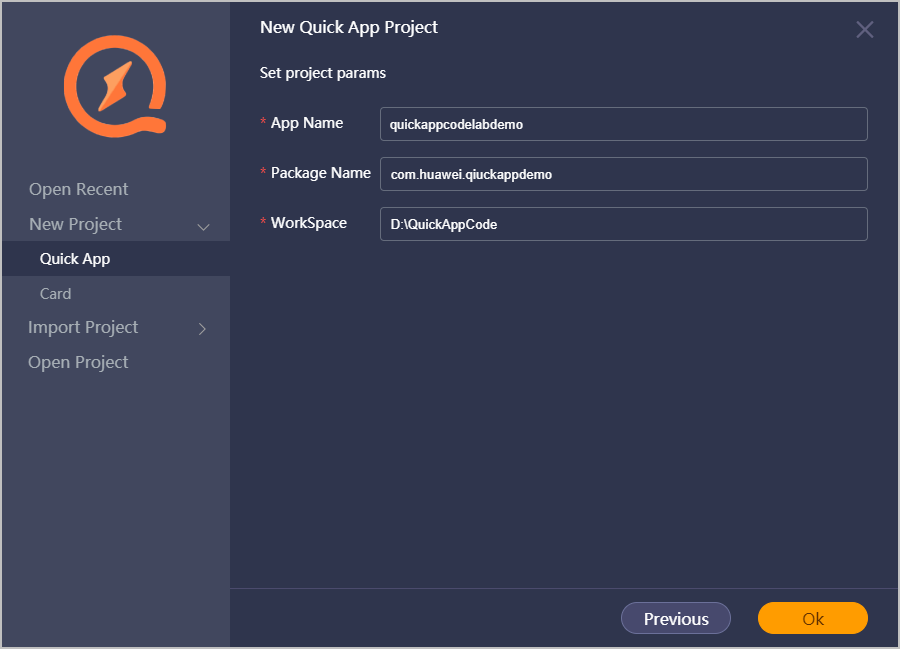
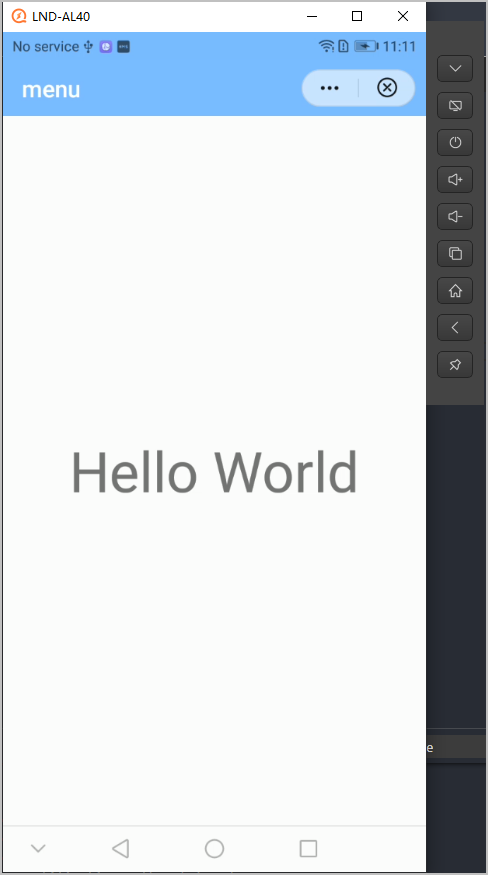
Now, you have successfully created a quick app project.

<template>
<div class="container">
<image src="{{imgPath}}" class="img"></image>
<div>
  <input type="button" class="btn" value="take photo" onclick="takePhoto" />
  <input type="button" class="btn" value="edit photo" onclick="editPhoto" />
  <input type="button" class="btn" value="share photo" onclick="sharePhoto"/>
</div>
</div>
</template>
Replace the information in the style element of the hello.ux file to implement the CSS style of images and buttons.
<style>
  .container {
    flex-direction: column;
    justify-content: center;
    align-items: center;
  }

  .img {
    width: 90%;
    height: 700px;
    border: 1px solid #000000;
  }

  .btn {
    height: 80px;
    width: 200px;
    margin: 20px;
    background-color: #1e90ff;
    color: #ffffff;
  }
</style>
Define all required service logic in the script element, to implement functions such as taking, saving, editing, and sharing photos.
<script>
import media from '@system.media';
import image from '@system.image';
import share from '@system.share';
module.exports = {
data: {
imgPath: ''
},
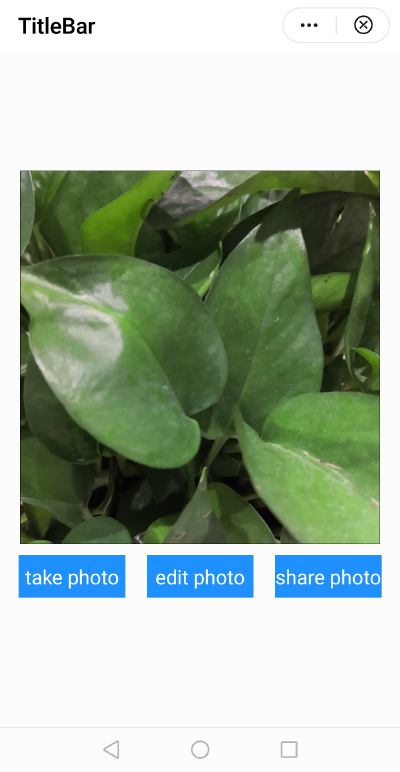
takePhoto() {
let that = this;
media.takePhoto({
success: function (data) {
console.log('handling success: ' + data.uri);
that.imgPath = data.uri;
},
fail: function (data, code) {
console.log('handling fail, code = ' + code + ", msg : " + data);
}
});
},
editPhoto() {
let that = this;
image.editImage({
uri: this.imgPath,
success: function (data) {
console.log(data.uri);
that.imgPath = data.uri;
},
fail: function (data, code) {
console.log('handling fail, code = ' + code + ", msg : " + data);
}
})
},
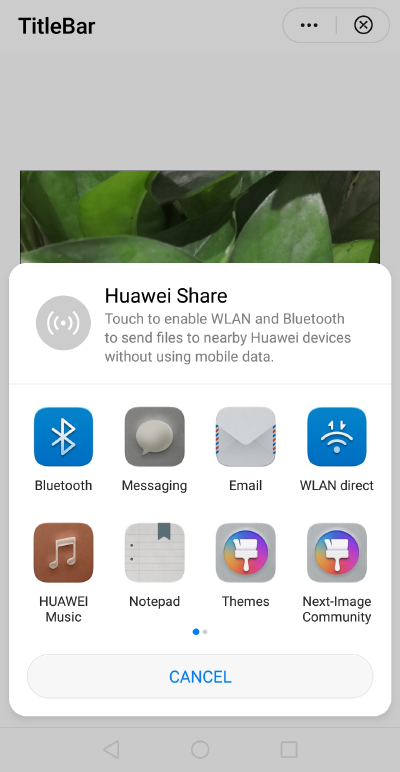
sharePhoto() {
share.share({
type: "image/jpeg",
data: this.imgPath,
success: function (data) {
console.log("handling success");
},
fail: function (data, code) {
console.log("handling fail, code = " + code + ", msg : " + data);
}
})
}
}
</script>
Open the manifest.json file and declare the usage performance.
"features": [
  {"name": "system.media"},
  {"name": "system.image"},
  {"name": "system.share"}
],
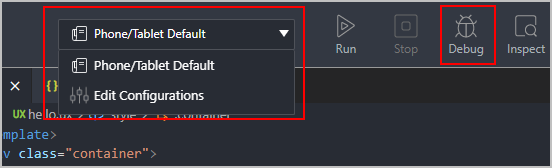
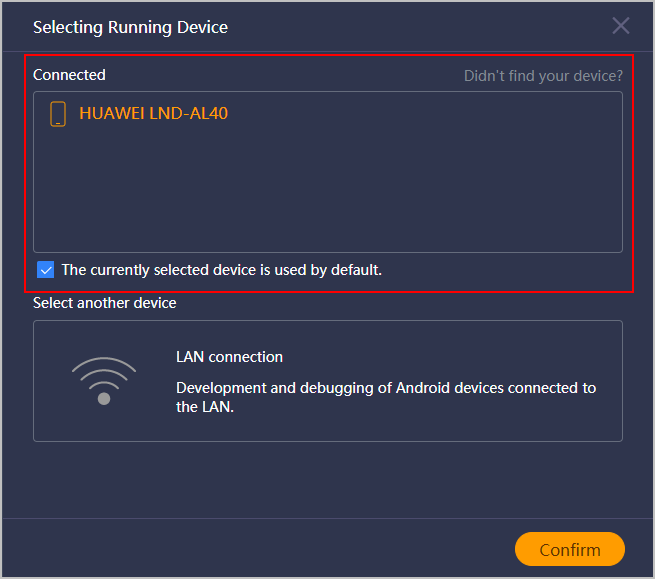
Check output logs.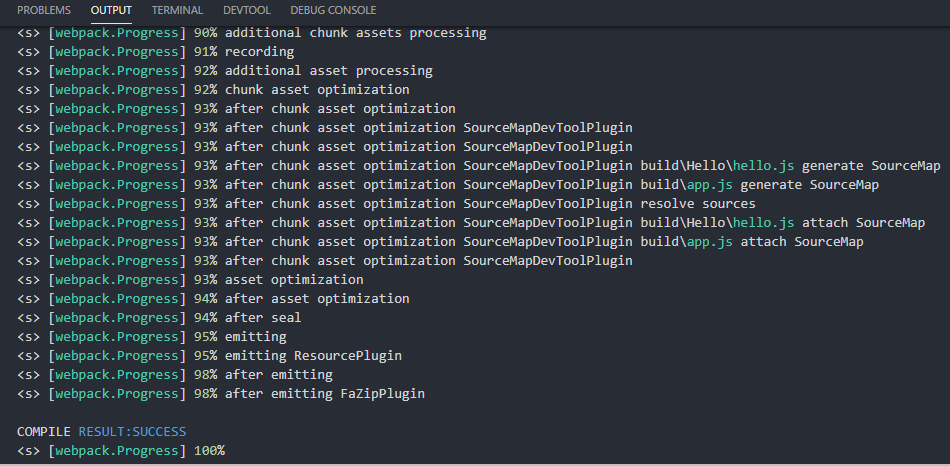
After the debugging process has started, the system opens the debugging window.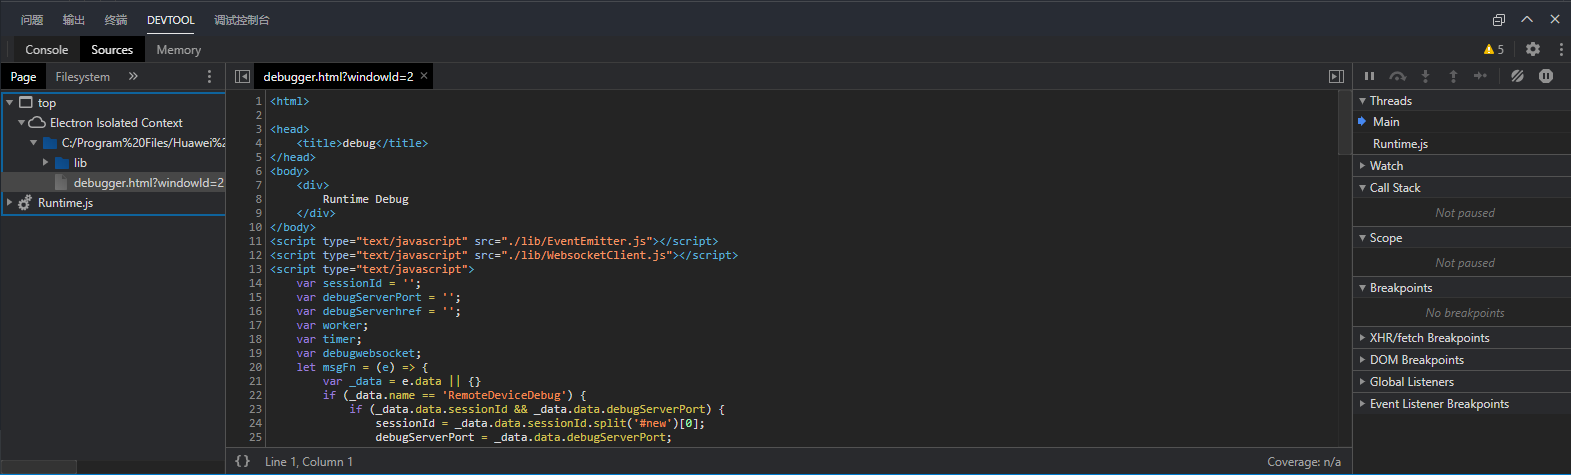
Click Debug again to stop the debugging process. Log information records Debug service has been closed.

Well done. You have successfully completed this codelab and learned how to:
For more information, please refer to the following documents: