The Button component is usually activated by user clicks to perform a specific action. It comes in four types: capsule, circle, normal, and rounded rectangle. When used as a container, the Button component accepts child components such as text and images. For details, see Button.
Creating a Button
You can create a button using the following methods:
-
Creating a button without child components using label and ButtonOptions
Take type and stateEffect in ButtonOptions as an example:
Button(label?: ResourceStr, options?: { type?: ButtonType, stateEffect?: boolean })In this API, label indicates the button text, type indicates the button type, and stateEffect specifies whether to enable the click effect.
Button('Ok', { type: ButtonType.Normal, stateEffect: true })
  .borderRadius(8)
  .backgroundColor(0x317aff)
  .width(90)
  .height(40)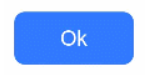
-
Creating a button with child components using ButtonOptions
Take type and stateEffect in ButtonOptions as an example:
Button(options?: {type?: ButtonType, stateEffect?: boolean})Only one child component is supported, which can be either a basic component or a container component.
Button({ type: ButtonType.Normal, stateEffect: true }) {
  Row() {
    // Replace $r('app.media.loading') with the actual resource file.
    Image($r('app.media.loading')).width(20).height(40).margin({ left: 12 })
    Text('loading').fontSize(12).fontColor(0xffffff).margin({ left: 5, right: 12 })
  }.alignItems(VerticalAlign.Center)
}.borderRadius(8).backgroundColor(0x317aff).width(90).height(40)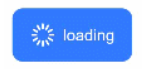
Setting the Button Type
Buttons come in four types, set using the type parameter: Capsule, Circle, Normal, and ROUNDED_RECTANGLE.
-
Capsule button (default type)
Buttons of this type have rounded corners whose radius is automatically set to half of the button height. The rounded corners cannot be reset through the borderRadius attribute.
Button('Disable', { type: ButtonType.Capsule, stateEffect: false })
  .backgroundColor(0x317aff)
  .width(90)
  .height(40)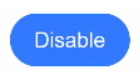
-
Circle button
Buttons of this type are round. The rounded corners cannot be reset through the borderRadius attribute.
Button('Circle', { type: ButtonType.Circle, stateEffect: false })
  .backgroundColor(0x317aff)
  .width(90)
  .height(90)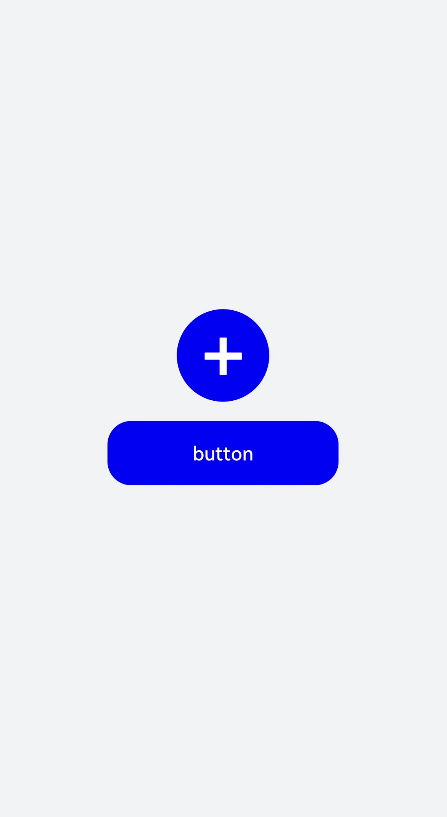
-
Normal button
Buttons of this type have a default corner radius of 0. The rounded corners can be reset through the borderRadius attribute.
Button('Ok', { type: ButtonType.Normal, stateEffect: true })
  .borderRadius(8)
  .backgroundColor(0x317aff)
  .width(90)
  .height(40)
-
Rounded rectangle button
The rounded rectangle button has a default corner radius of 20 vp when controlSize is NORMAL, and 14 vp when controlSize is SMALL. You can define custom corner radius settings through borderRadius.
Button('Disable', { type: ButtonType.ROUNDED_RECTANGLE, stateEffect: true })
  .backgroundColor(0x317aff)
  .width(90)
  .height(40)
Setting Styles
-
Setting the border radius
You can use universal attributes to define the button styles. For example, you can use the borderRadius attribute to set the border radius.
Button('circle border', { type: ButtonType.Normal })
  .borderRadius(20)
  .height(40)
-
Setting the text style
Add text style attributes for the button.
Button('font style', { type: ButtonType.Normal })
  .fontSize(20)
  .fontColor(Color.Pink)
  .fontWeight(800)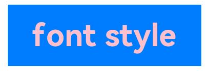
-
Setting the background color
Add the backgroundColor attribute for the button.
Button('background color').backgroundColor(0xF55A42)
-
Assigning a function to the button
For example, to create a delete button:
Button({ type: ButtonType.Circle, stateEffect: true }) {
  // Replace $r('app.media.ic_public_delete_filled') with the actual resource file.
  Image($r('app.media.ic_public_delete_filled')).width(30).height(30)
}.width(55).height(55).margin({ 'left': 20 }).backgroundColor(0xF55A42)
Adding Events
The Button component is usually used to trigger actions. You can bind the onClick event to the button to have it respond with custom behavior after being clicked.
Button('Ok', { type: ButtonType.Normal, stateEffect: true })
  .onClick(()=>{
    hilog.info(DOMAIN, 'testTag', 'Button onClick');
  }).margin(10)
Example
-
Using the button for triggering actions
You can use the button for any UI element that requires user-initiated actions. The button triggers the predefined event based on user interactions. For example, you can use a button in the List container to navigate to another page.
import { hilog } from '@kit.PerformanceAnalysisKit';

const DOMAIN = 0x0000;
// xxx.ets
@Entry
@Component
export struct ButtonCaseTouch {
  pathStack: NavPathStack = new NavPathStack();

  @Builder
  PageMap(name: string) {
    if (name === 'first_page') {
      pageOneTmp()
    } else if (name === 'second_page') {
      pageTwoTmp()
    } else if (name === 'third_page') {
      pageThreeTmp()
    }
  }

  build() {
    NavDestination() {
      Navigation(this.pathStack) {
        List({ space: 4 }) {
          ListItem() {
            Button('First').onClick(() => {
              this.pathStack.pushPath({ name: 'first_page' });
            })
              .width('100%')
          }

          ListItem() {
            Button('Second').onClick(() => {
              this.pathStack.pushPath({ name: 'second_page' });
            })
              .width('100%')
          }

          ListItem() {
            Button('Third').onClick(() => {
              this.pathStack.pushPath({ name: 'third_page' });
            })
              .width('100%')
          }
        }
        .listDirection(Axis.Vertical)
        .backgroundColor(0xDCDCDC).padding(20)
      }
      .mode(NavigationMode.Stack)
      .navDestination(this.PageMap)
    }
  }
}

// pageOne
@Component
export struct pageOneTmp {
  pathStack: NavPathStack = new NavPathStack();

  build() {
    NavDestination() {
      Column() {
        Text('first_page')
      }.width('100%').height('100%')
    }.title('pageOne')
    .onBackPressed(() => {
      const popDestinationInfo = this.pathStack.pop(); // Pop the top element out of the navigation stack.
      // Replace $r('app.string.return_value') with the actual resource file. In this example, the value in the resource file is "Return value."
      hilog.info(DOMAIN, 'testTag', 'pop' + $r('app.string.return_value') + JSON.stringify(popDestinationInfo));
      return true;
    })
    .onReady((context: NavDestinationContext) => {
      this.pathStack = context.pathStack;
    })
  }
}

// pageTwo
@Component
export struct pageTwoTmp {
  pathStack: NavPathStack = new NavPathStack();

  build() {
    NavDestination() {
      Column() {
        Text('second_page')
      }.width('100%').height('100%')
    }.title('pageTwo')
    .onBackPressed(() => {
      const popDestinationInfo = this.pathStack.pop(); // Pop the top element out of the navigation stack.
      // Replace $r('app.string.return_value') with the actual resource file. In this example, the value in the resource file is "Return value."
      hilog.info(DOMAIN, 'testTag', 'pop' + $r('app.string.return_value') + JSON.stringify(popDestinationInfo));
      return true;
    })
    .onReady((context: NavDestinationContext) => {
      this.pathStack = context.pathStack;
    })
  }
}

// pageThree
@Component
export struct pageThreeTmp {
  pathStack: NavPathStack = new NavPathStack();

  build() {
    NavDestination() {
      Column() {
        Text('third_page')
      }.width('100%').height('100%')
    }.title('pageThree')
    .onBackPressed(() => {
      const popDestinationInfo = this.pathStack.pop(); // Pop the top element out of the navigation stack.
      // Replace $r('app.string.return_value') with the actual resource file. In this example, the value of the resource file is "return value".
      hilog.info(DOMAIN, 'testTag', 'pop' + $r('app.string.return_value') + JSON.stringify(popDestinationInfo));
      return true;
    })
    .onReady((context: NavDestinationContext) => {
      this.pathStack = context.pathStack;
    })
  }
}
-
Using the button for submitting forms
On the user login/registration page, you can use a button to submit a login or registration request.
// xxx.ets
const DOMAIN = 0x0000;
@Entry
@Component
export struct ButtonCaseLogin {
  build() {
    NavDestination() {
      Column() {
        TextInput({ placeholder: 'input your username' }).margin({ top: 20 })
        TextInput({ placeholder: 'input your password' }).type(InputType.Password).margin({ top: 20 })
        Button('Register').width(300).margin({ top: 20 })
          .onClick(() => {
            // Operation
          })
        // ···
      }.padding(20)
    }
  }
}
-
Configuring the button to float
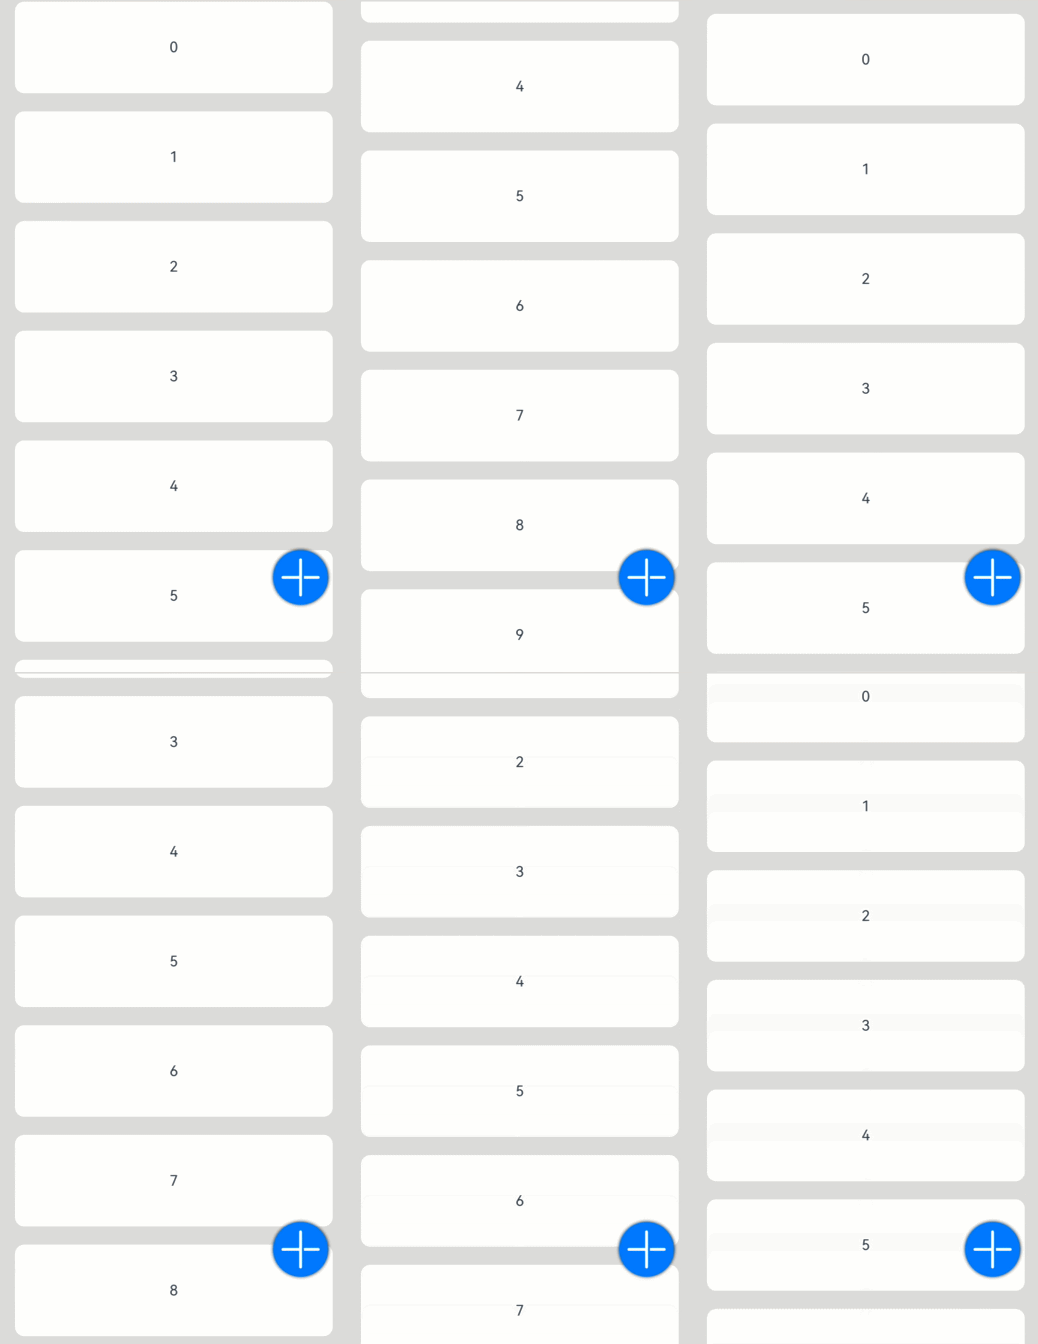
The button can remain floating when the user swipes on the screen.
// xxx.ets
@Entry
@Component
export struct HoverButtonExample {
  private arr: number[] = [0, 1, 2, 3, 4, 5, 6, 7, 8, 9];
  build() {
    NavDestination() {
      Stack() {
        List({ space: 20, initialIndex: 0 }) {
          ForEach(this.arr, (item: number) => {
            ListItem() {
              Text('' + item)
                .width('100%')
                .height(100)
                .fontSize(16)
                .textAlign(TextAlign.Center)
                .borderRadius(10)
                .backgroundColor(0xFFFFFF)
            }
          }, (item: number) => item.toString())
        }.width('90%')

        Button() {
          // Replace $r('app.media.ic_public_add') with the actual resource file.
          Image($r('app.media.ic_public_add'))
           .width(50)
           .height(50)
        }
        .width(60)
        .height(60)
        .position({ x: '80%', y: 600 })
        .shadow({ radius: 10 })
        .onClick(() => {
          // Operation
        })
      }
      .width('100%')
      .height('100%')
      .backgroundColor(0xDCDCDC)
      .padding({ top: 5 })
    }
  }
}