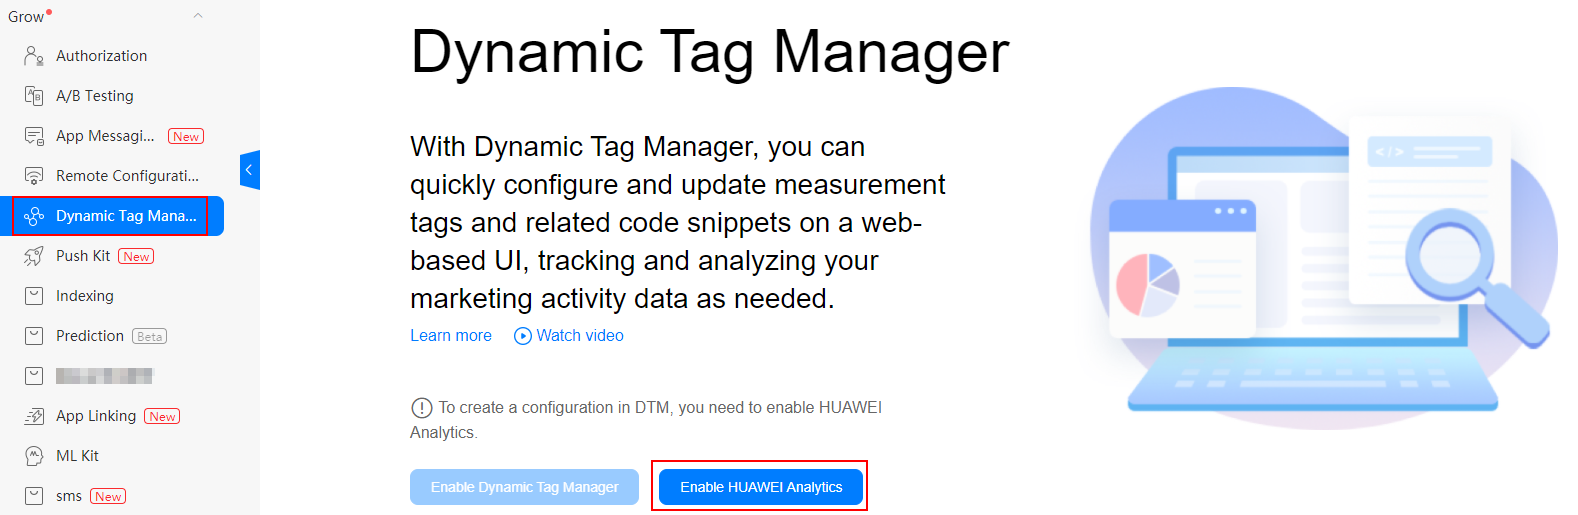
With Dynamic Tag Manager (DTM), you can deploy and update your tag configuration easily and securely on a web-based UI, and realize data-driven operations based on powerful analysis capabilities of HUAWEI Analytics.
In this codelab, you will use the created demo project to call open APIs of DTM. Through the demo project, you will:
In this codelab, you will learn how to:
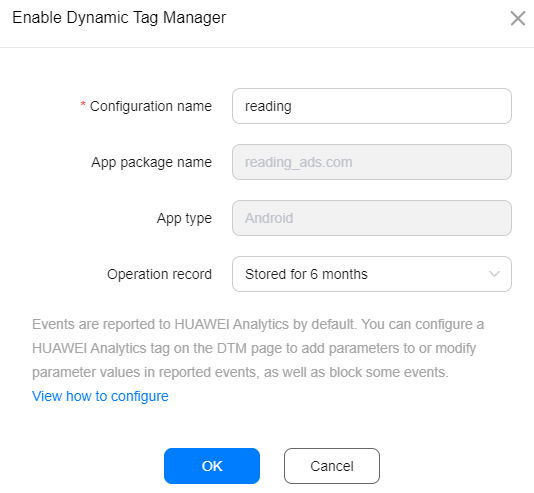
To integrate DTM, you must complete the following preparations:
If you are using Android Studio, you can integrate the HMS Core SDK via the Maven repository. Before you start developing an app, integrate the HMS Core SDK into your Android Studio project first.
To integrate the SDK with the remote Maven repository, perform the following steps:

The procedure for configuring the Maven repository address in Android Studio is different for Gradle plugin earlier than 7.0, Gradle plugin 7.0, and Gradle plugin 7.1 or later. Click a relevant link below to find the configuration procedure for the specific Gradle plugin version.
Gradle plugin earlier than 7.0 | Gradle plugin 7.0 | Gradle plugin 7.1 or later |
Gradle plugin earlier than 7.0
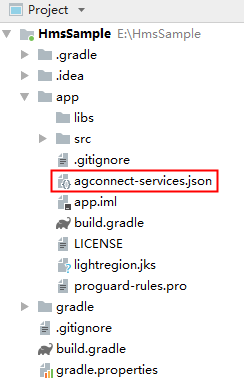
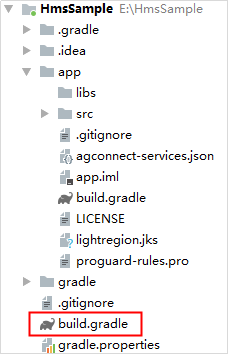
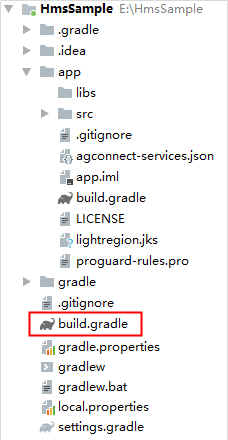
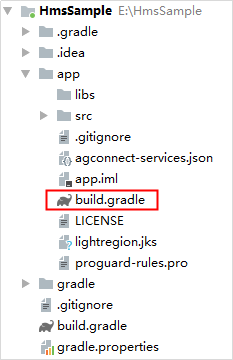
a. Open the build.gradle file in the root directory of your Android Studio project.
b. Add the AppGallery Connect plugin and the Maven repository.
buildscript {
    repositories {
        google()
        jcenter()
        // Configure the Maven repository address for the HMS Core SDK.
        maven {url 'https://developer.huawei.com/repo/'}
    }
    dependencies {
        ...
        // Add the AppGallery Connect plugin configuration. You are advised to use the latest plugin version.
        classpath 'com.huawei.agconnect:agcp:1.6.0.300'
    }
}

allprojects {
    repositories {
        google()
        jcenter()
        // Configure the Maven repository address for the HMS Core SDK.
        maven {url 'https://developer.huawei.com/repo/'}
    }
}
Gradle plugin 7.0
a. a.Open the build.gradle file in the root directory of your Android Studio project.
b. Add the AppGallery Connect plugin and the Maven repository.
buildscript {
    repositories {
        google()
        jcenter()
        // Configure the Maven repository address for the HMS Core SDK.
        maven {url 'https://developer.huawei.com/repo/'}
    }
    dependencies {
        ...
        // Add the AppGallery Connect plugin configuration. You are advised to use the latest plugin version.
        classpath 'com.huawei.agconnect:agcp:1.6.0.300'
    }
}
c. Open the project-level settings.gradle file and configure the Maven repository address for the HMS Core SDK.
dependencyResolutionManagement {
    ...
    repositories {
        google()
        jcenter()
        // Configure the Maven repository address for the HMS Core SDK.
        maven {url 'https://developer.huawei.com/repo/'}
    }
}
Gradle plugin 7.1 or later
a. a.Open the build.gradle file in the root directory of your Android Studio project.

b. b.If the agconnect-services.json file has been added to the app, go to buildscript > dependencies and add the AppGallery Connect plugin configuration.
buildscript {
    dependencies {
        ...
        // Add the AppGallery Connect plugin configuration. You are advised to use the latest plugin version.
        classpath 'com.huawei.agconnect:agcp:1.6.0.300'
    }
}
c. Open the project-level settings.gradle file and configure the Maven repository address for the HMS Core SDK.
pluginManagement {
    repositories {
        gradlePluginPortal()
        google()
        mavenCentral()
        // Configure the Maven repository address for the HMS Core SDK.
        maven { url 'https://developer.huawei.com/repo/' }
    }
}
dependencyResolutionManagement {
    ...
    repositories {
        google()
        mavenCentral()
        // Configure the Maven repository address for the HMS Core SDK.
        maven { url 'https://developer.huawei.com/repo/' }
    }
}
apply plugin: 'com.huawei.agconnect'
implementation 'com.huawei.hms:hia***{version}***{version}'
implementation 'com.huawei.hms***{version}***{version}'
After completing the preceding configuration, click the synchronization icon on the toolbar to synchronize the project with Gradle files.
-ignorewarnings
-keepattributes *Annotation*
-keepattributes Exceptions
-keepattributes InnerClasses
-keepattributes Signature
-keepattributes SourceFile,LineNumberTable
-keep class com.huawei.hianalytics.**{*;}
-keep class com.huawei.updatesdk.**{*;}
-keep class com.huawei.hms.**{*;}
-keep public class androidx.recyclerview.widget.RecyclerView{
public <methods>;
}
-keep public class androidx.recyclerview.widget.RecyclerView$LayoutManager{
 public <methods>;
}
-keep public class android.support.v7.widget.RecyclerView{
public <methods>;
}
-keep public class android.support.v7.widget.RecyclerView$LayoutManager{
 public <methods>;
}
If you are using AndResGuard, add its trustlist to the app-level build.gradle file of your project.
"R.string.hms*",
"R.string.connect_server_fail_prompt_toast",
"R.string.getting_message_fail_prompt_toast",
"R.string.no_available_network_prompt_toast",
"R.string.third_app_*",
"R.string.upsdk_*",
"R.layout.hms*",
"R.layout.upsdk_*",
"R.drawable.upsdk*",
"R.color.upsdk*",
"R.dimen.upsdk*",
"R.style.upsdk*",
"R.string.agc*"


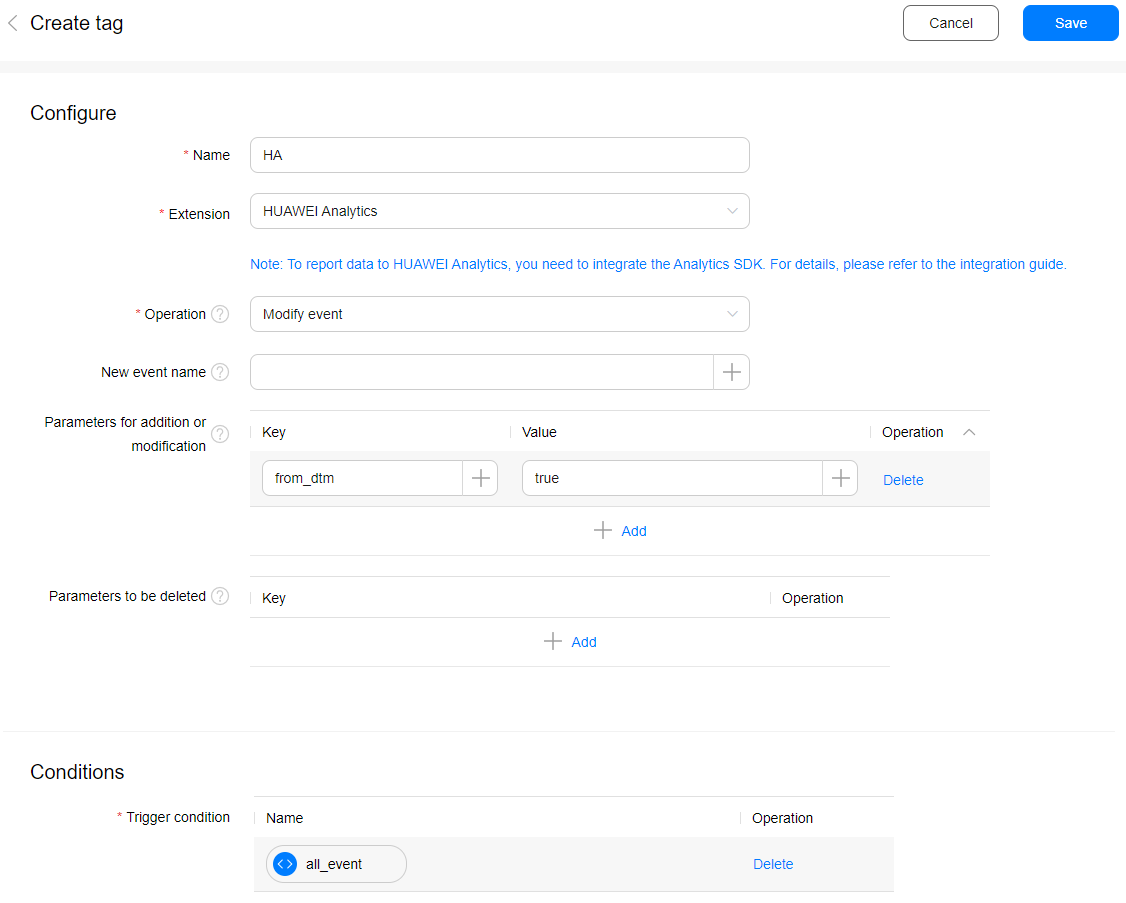

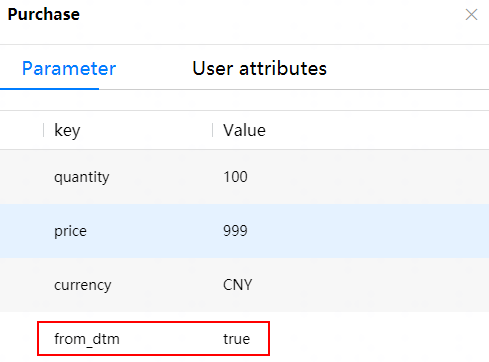
Implement the following processes in MainActivity.java of the demo app: obtain the HiAnalyticsInstance instance, customize events, and add visual events for reporting.
Java
@Override
protected void onCreate(Bundle savedInstanceState) {
    super.onCreate(savedInstanceState);
    setContentView(R.layout.activity_main);
    // Ob**HiAnalyticsInstance**sInstance instance.
    HiAnalyticsInstance instance = HiAnalytics.getInstance(this);
    HiAnalyticsTools.enableLog();
    // Add visual events for reporting.
        // Set the custom event**Purchase** Purchase.
    String eventName = "Purchase";
    // Customize event parameters.
        Bundle bundle = new Bundle();
        bundle.putDouble("price", 999);
        bundle.putLong("quantity", 100L);
        bundle.putString("currency", "CNY");
    // Report events.
        if (instance != null) {
        instance.onEvent(eventName, bundle);
    }
}
Kotlin
override fun onCreate(savedInstanceState: Bundle?) {
    super.onCreate(savedInstanceState)
    setContentView(R.layout.activity_main)
    val instance = HiAnalytics.getInstance(this)
    HiAnalyticsTools.enableLog()
    // Add visual events for reporting.
        // Set the custom event**Purchase** Purchase.
    val eventName = "Purchase"
    // Customize event parameters.
        val bundle = Bundle()
    bundle.apply {
        putDouble("price", 999.0)
        putLong("quantity", 100L)
        putString("currency", "CNY")
    }
    // Report events.
        instance.let {
        it.onEvent(eventName, bundle)
    }
}
Well done. You have successfully completed this codelab and learned how to:
For more information, please click the following link:
Related Documents
You can click the button below to download the source code: