Push Kit is a messaging service provided for you. It establishes a messaging channel from the cloud to
devices. By integrating Push Kit, you can send messages to your apps on users' devices in real time. This
helps you maintain closer ties with users and increases user awareness of and engagement with your apps. The
following figure shows the process of sending messages from the cloud to devices.
To use Push Kit, you need to perform the following operations:
In this codelab, you will use the created demo project to call open APIs of Push Kit. Through the demo project, you will:
In this codelab, you will learn how to:
Android app development basics
To integrate Push Kit, you must complete the following preparations:
The procedure for configuring the Maven repository address in Android Studio is different for Gradle plugin earlier than 7.0, Gradle plugin 7.0, and Gradle plugin 7.1 or later. Click a relevant link below to find the configuration procedure for the specific Gradle plugin version.
Gradle plugin earlier than 7.0 | Gradle plugin 7.0 | Gradle plugin 7.1 or later |
Gradle plugin earlier than 7.0
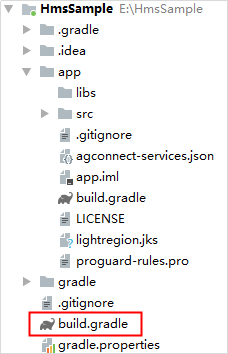
a. Open the build.gradle file in the root
directory of your Android Studio project.
b. Add the AppGallery Connect plugin and the Maven repository.
buildscript {
    repositories {
        google()
        jcenter()
        // Configure the Maven repository address for the HMS Core SDK.
        maven {url 'https://developer.huawei.com/repo/'}
    }
    dependencies {
        ...
        // Add the AppGallery Connect plugin configuration. You are advised to use the latest plugin version.
        classpath 'com.huawei.agconnect:agcp:1.6.0.300'
    }
}

allprojects {
    repositories {
        google()
        jcenter()
        // Configure the Maven repository address for the HMS Core SDK.
        maven {url 'https://developer.huawei.com/repo/'}
    }
}
Gradle plugin 7.0
a. Open the build.gradle file in the root directory of your
Android Studio project.
b. Add the AppGallery Connect plugin and the Maven repository.
buildscript {
    repositories {
        google()
        jcenter()
        // Configure the Maven repository address for the HMS Core SDK.
        maven {url 'https://developer.huawei.com/repo/'}
    }
    dependencies {
        ...
        // Add the AppGallery Connect plugin configuration. You are advised to use the latest plugin version.
        classpath 'com.huawei.agconnect:agcp:1.6.0.300'
    }
}
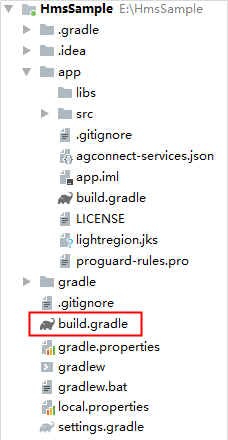
c. Open the project-level settings.gradle file and configure the Maven repository address for the HMS Core SDK.
dependencyResolutionManagement {
    ...
    repositories {
        google()
        jcenter()
        // Configure the Maven repository address for the HMS Core SDK.
        maven {url 'https://developer.huawei.com/repo/'}
    }
}
Gradle plugin 7.1 or later
a. Open the build.gradle file in the root
directory of your Android Studio project.

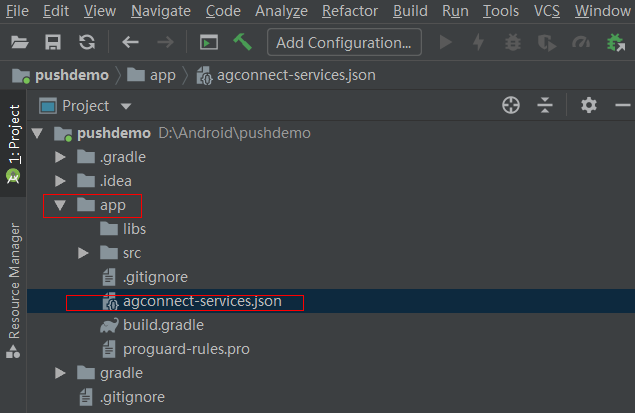
b. If the agconnect-services.json file has been added to the app, go to buildscript > dependencies and add the AppGallery Connect plugin configuration.
buildscript {
    dependencies {
        ...
        // Add the AppGallery Connect plugin configuration. You are advised to use the latest plugin version.
        classpath 'com.huawei.agconnect:agcp:1.6.0.300'
    }
}
c. Open the project-level settings.gradle file and configure the Maven repository address for the HMS Core SDK.
pluginManagement {
    repositories {
        gradlePluginPortal()
        google()
        mavenCentral()
        // Configure the Maven repository address for the HMS Core SDK.
        maven { url 'https://developer.huawei.com/repo/' }
    }
}
dependencyResolutionManagement {
    ...
    repositories {
        google()
        mavenCentral()
        // Configure the Maven repository address for the HMS Core SDK.
        maven { url 'https://developer.huawei.com/repo/' }
    }
}
dependencies {
    // Add the following line.
    implementation 'com.huawei.hms:push:{version}'
}Add the AppGallery Connect plugin configuration.
apply plugin: 'com.huawei.agconnect'
plugins {
  // Add the following configuration:
  id 'com.huawei.agconnect'
}
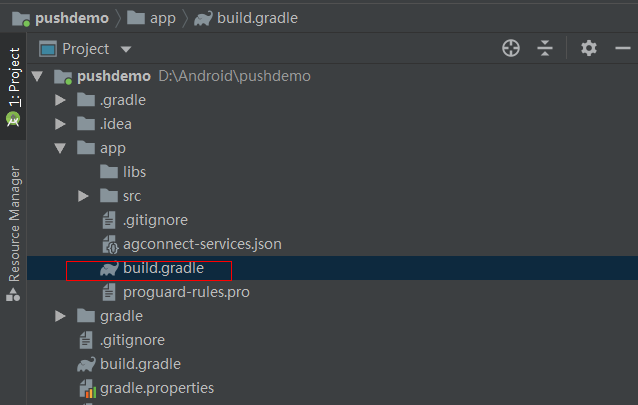
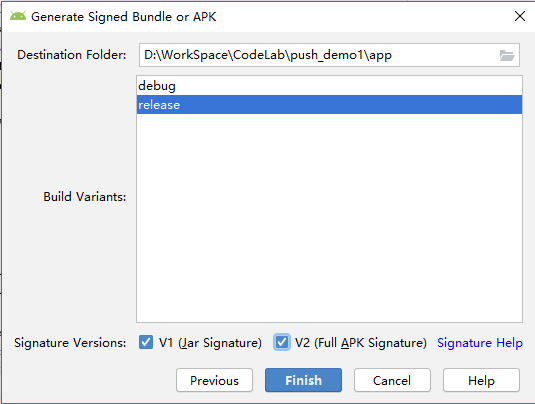
Copy the signing certificate generated in 3 Integration Preparations to the app directory of your project and configure the signature in the build.gradle file.
android {
     signingConfigs {
         config {
             // Replace xxx with your signing certificate.
             keyAlias 'xxx'
             keyPassword 'xxxx'
             storeFile file('xxx.jks')
             storePassword 'xxxx'
         }
     }

     buildTypes {
         debug {
             signingConfig signingConfigs.config
         }
         release {
             signingConfig signingConfigs.config
             minifyEnabled false
             proguardFiles getDefaultProguardFile('proguard-android-optimize.txt'), 'proguard-rules.pro'
         }
     }
 }
After completing the preceding configuration, click Sync Now to synchronize the
build.gradle file.
If synced successfully is displayed, the synchronization is successful.
You need to register service in application in the
AndroidManifest.xml file to receive data messages or obtain tokens.
service inherits from the HmsMessageService class and implements the methods in the class.
The following uses the service with the DemoHmsMessageService class name as an example. You
can customize the class name as needed.
<manifest ...>
    ...
    <application ...>
        <service android:name=".DemoHmsMessageService" android:exported="false">
            <intent-filter>
                <action android:name="com.huawei.push.action.MESSAGING_EVENT"/>
            </intent-filter>
        </service>
    </application>
    ...
</manifest>
-ignorewarnings
-keepattributes *Annotation*
-keepattributes Exceptions
-keepattributes InnerClasses
-keepattributes Signature
-keepattributes SourceFile,LineNumberTable
-keep class com.huawei.hianalytics.**{*;}
-keep class com.huawei.updatesdk.**{*;}
-keep class com.huawei.hms.**{*;}
"R.string.agc*",
"R.string.hms*",
"R.string.connect_server_fail_prompt_toast",
"R.string.getting_message_fail_prompt_toast",
"R.string.no_available_network_prompt_toast",
"R.string.third_app_*",
"R.string.upsdk_*",
"R.layout.hms*",
"R.layout.upsdk_*",
"R.drawable.upsdk*",
"R.color.upsdk*",
"R.dimen.upsdk*",
"R.style.upsdk*"
<?xml version="1.0" encoding="utf-8"?>
<resources xmlns:tools="http://schemas.android.com/tools"
tools:keep="@layout/hms_download_progress,@drawable/screen_off"
tools:shrinkMode="strict" />
The figure below shows the code and resource structure of the project. For details, please refer to
Sample Code.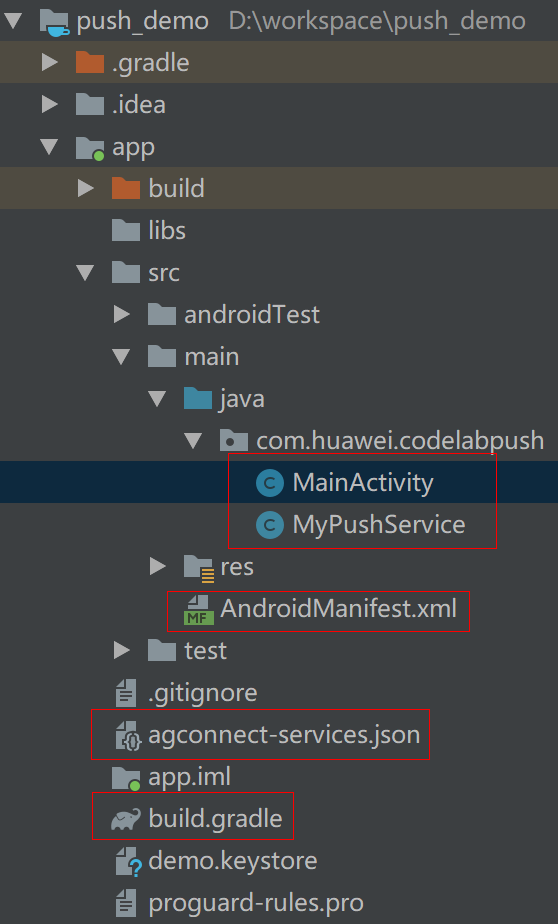
Create a project in Android Studio. For details, please refer to Creating an Android Studio Project.
Add <meta-data> under application in the AndroidManifest.xml file.
    <meta-data
        android:name="push_kit_auto_init_enabled"
        android:value="true" />
The Push SDK version must be 4.0.0.300 or later.
The Push SDK will obtain a token when the app is
launched. The app just receives the token.
name and value in
meta-data cannot be modified.
The MyPushService class inherits from the HmsMessageService class. In
MyPushService, the
onNewToken(String token, Bundle bundle) method is overridden to obtain a token.
If the version of the Push SDK you
integrated is earlier than 5.0.4.302, override the
onNewToken(String token) method.
Java
public class MyPushService extends HmsMessageService {
    private static final String TAG = "PushDemoLog";
    @Override
    public void onNewToken(String token, Bundle bundle) {
        super.onNewToken(token);
        Log.i(TAG, "receive new token:" + token);
    }
}
Kotlin
class MyPushService : HmsMessageService {
    val TAG = "PushDemoLog"
    override fun onNewToken(token: String?, bundle: Bundle?) {
        Log.i(TAG, "have received refresh token:$token")
    }
}
For details about other functions, such as subscribing to a topic, and sample code, please refer to Push Kit Development Guide.
Connect your Huawei phone to a computer.
Click  to build your app
and deploy it to your Huawei phone.
to build your app
and deploy it to your Huawei phone.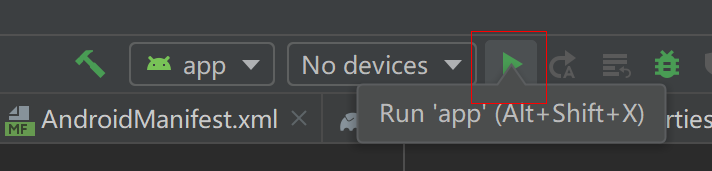
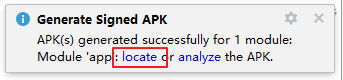

adb install D:\WorkSpace\CodeLab\push_demo1\app\release\app-release.apk
Obtaining a token
After running the demo, ensure that the phone is connected to the
network. Then a token can be automatically obtained and recorded in the logs. You can search for message push
logs in the demo using the PushDemoLog string.
In
AppGallery Connect, you can edit a message and send it based on the token you have obtained. For details, please refer to
Sending a Test Message. Before sending the message, search for the app by package name. In this example, the package name of the
app is com.huawei.codelabpush.
After successful message sending, you will receive the
message on your device.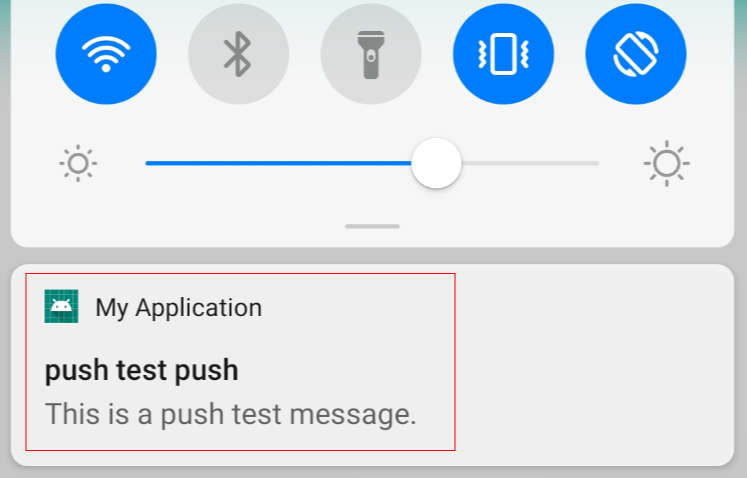
Well done. You have successfully completed this codelab and learned how to:
For more information, please click the following link:
Related document
To download the sample code, please click the following link: