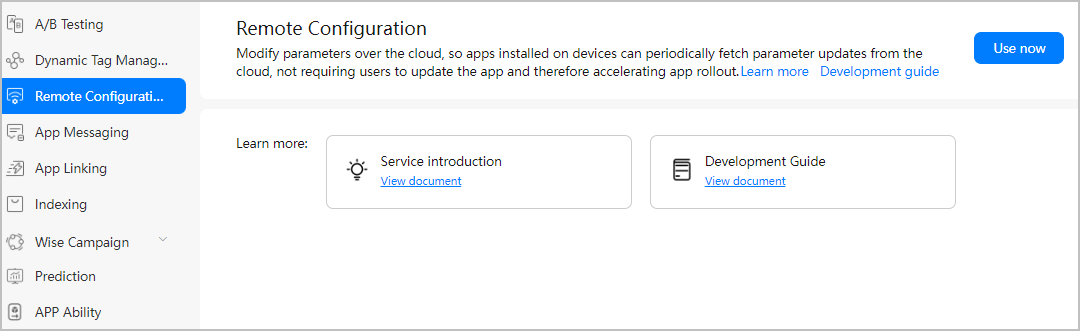
AppGallery Connect Remote Configuration allows you to manage parameters online. With the service, you can change the behavior and appearance of your app online without requiring users to update the app.
Remote Configuration provides cloud-based services, the console, and the client SDK. By integrating the client SDK, your app can periodically fetch parameter values from the console to modify the app's behavior and appearance.
Build an app that can use Remote Configuration to configure the app UI text. Your app will be able to:
An iPhone or a simulator for testing
To integrate Remote Configuration of AppGallery Connect, you must complete the following preparations:
You need to integrate the Remote Configuration SDK into your Xcode project with CocoaPods.

cd project-directory
pod init
target 'AGC-RemoteConfig-1' do
   pod 'AGConnectRemoteConfig'
end
pod install
The following figure shows the result after installation.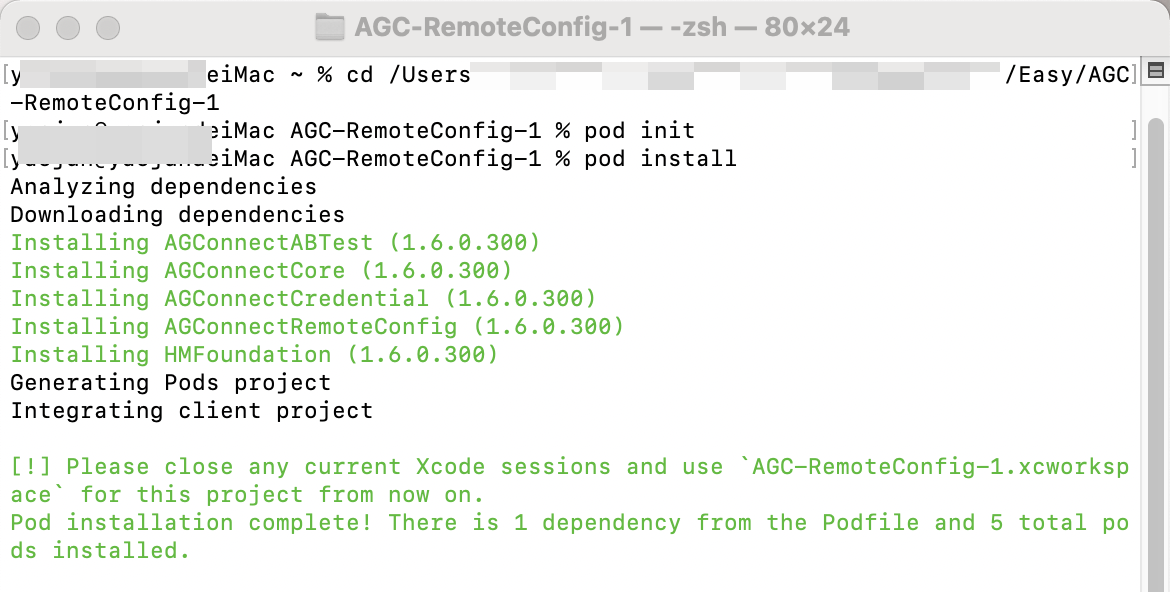
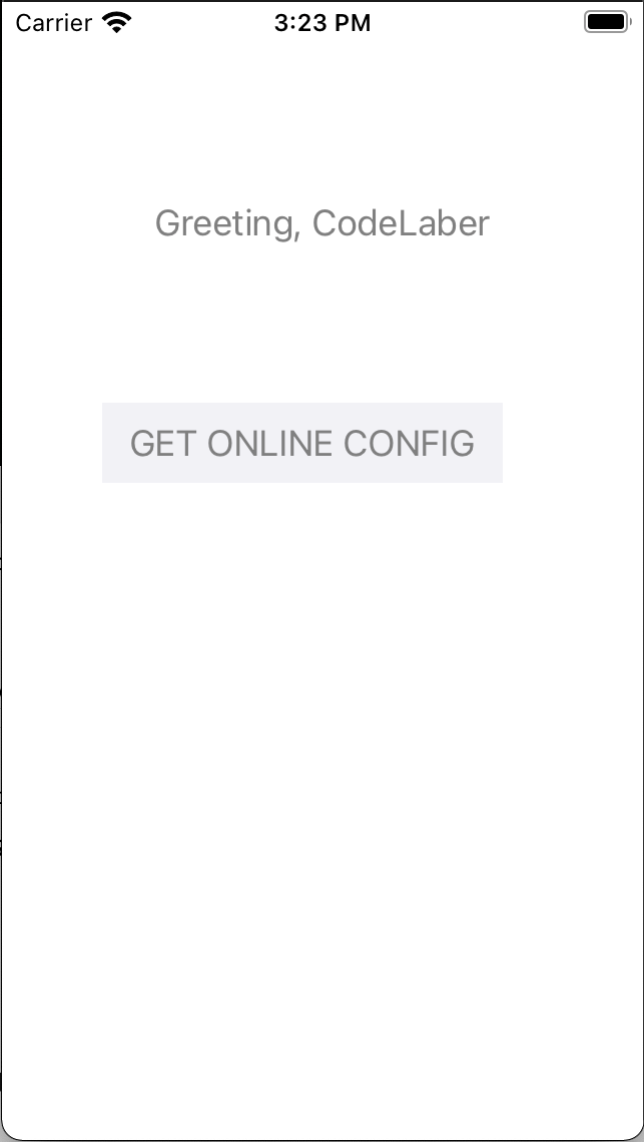
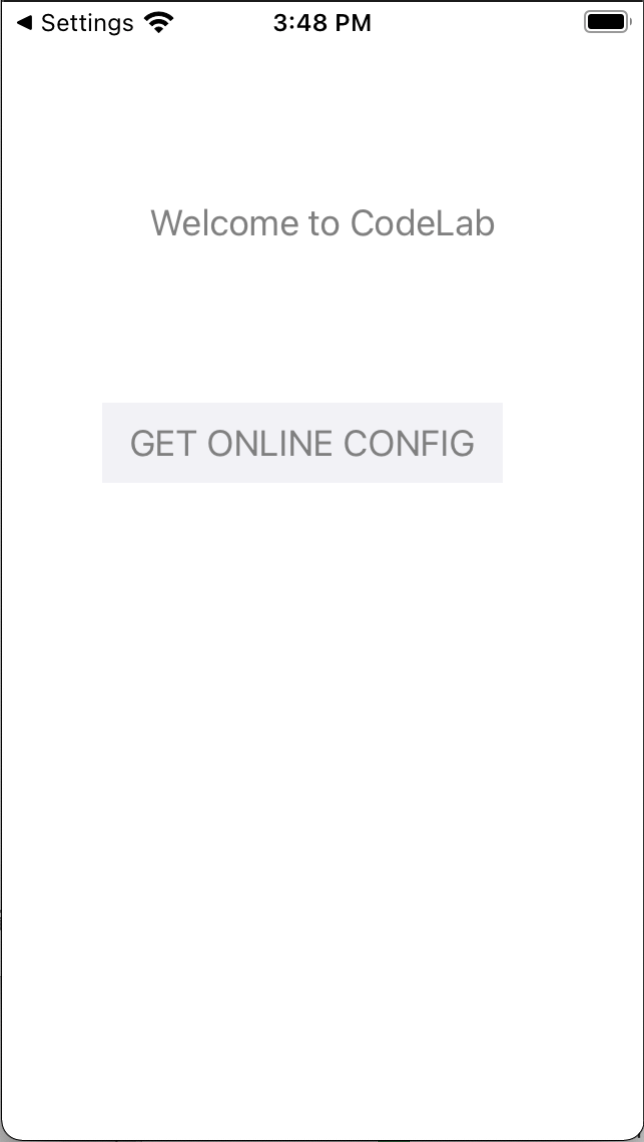
You can create a page in your iOS project and design the UI according to the following figure, with a simple text and a button for fetching parameters from Remote Configuration required.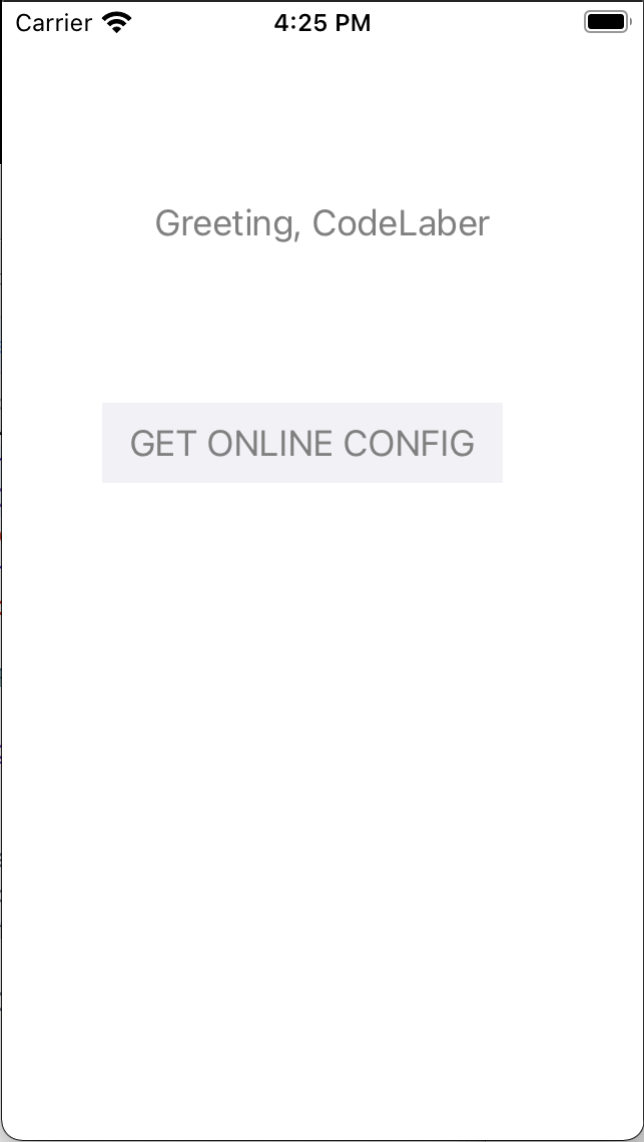
Sample code:
let label = UILabel()
label.frame = CGRect(x: 0, y: 80, width: 320, height: 60)
label.textAlignment = .center
label.textColor = UIColor.gray
self.view.addSubview(label)

let button = UIButton(frame: CGRect(x: 50, y: 200, width: 200, height: 40))
button.setTitle("GET ONLINE CONFIG", for: .normal)
button.setTitleColor(UIColor.gray, for: .normal)
button.backgroundColor = UIColor.systemGroupedBackground
button.addTarget(self, action: #selector(getConfig), for: .touchUpInside)
self.view.addSubview(button)
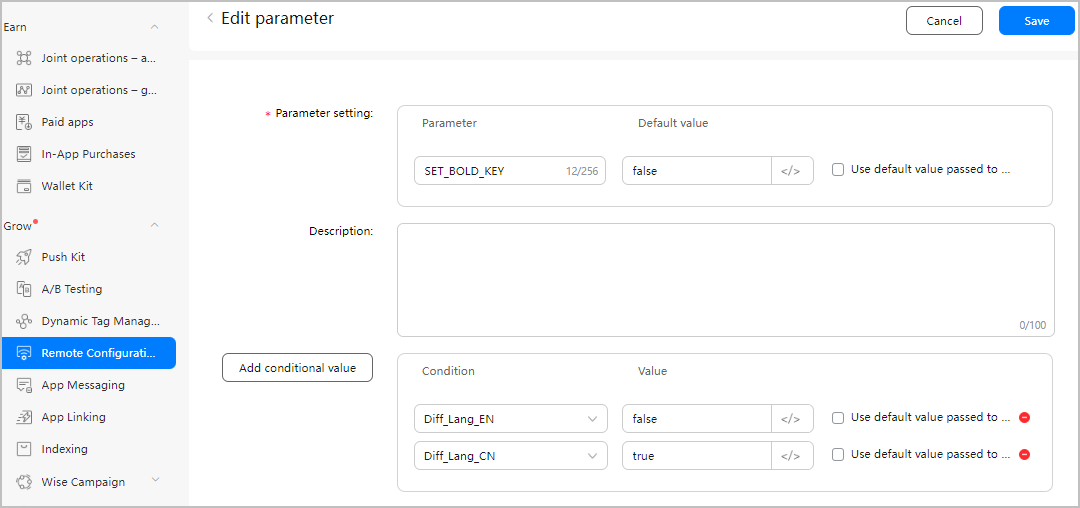
As you need to implement functions including localizing the greeting and changing the boldfaced status, the following parameters need to be designed:
When an app is launched, it loads default parameter values. In this codelab, default in-app parameter values are used. Create a PLIST file (for example, remote_config.plist) in the project and set the default value for each parameter.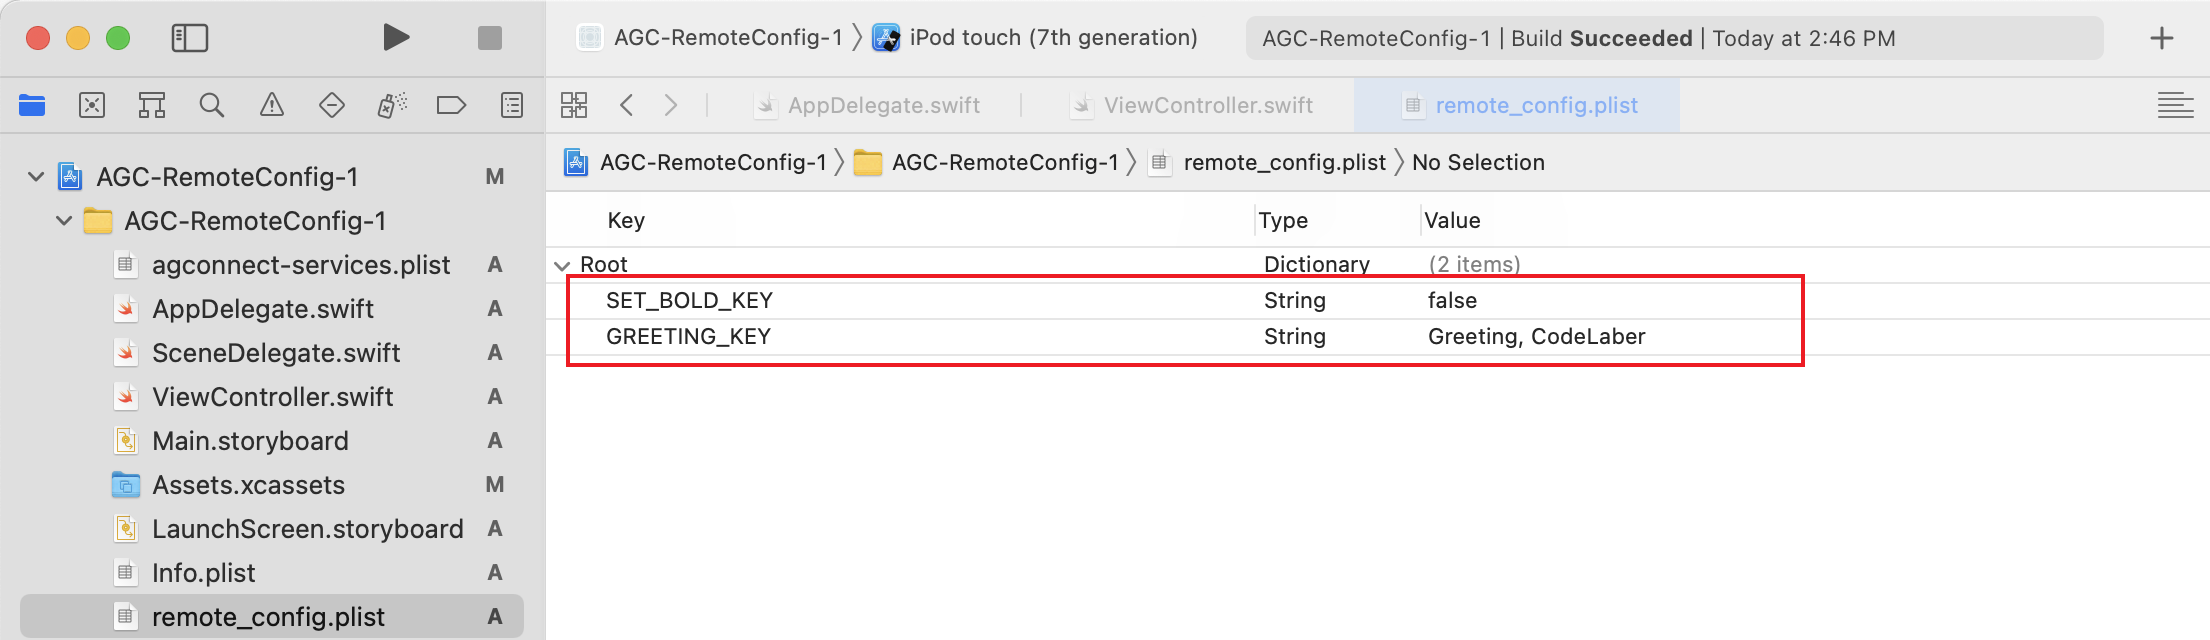
Sample code:
<?xml version="1.0" encoding="UTF-8"?>
<!DOCTYPE plist PUBLIC "-//Apple//DTD PLIST 1.0//EN" "http://www.apple.com/DTDs/PropertyList-1.0.dtd">
<plist version="1.0">
   <dict>
      <key>SET_BOLD_KEY</key>
      <string>false</string>
      <key>GREETING_KEY</key>
      <string>Greeting, CodeLaber</string>
   </dict>
</plist>
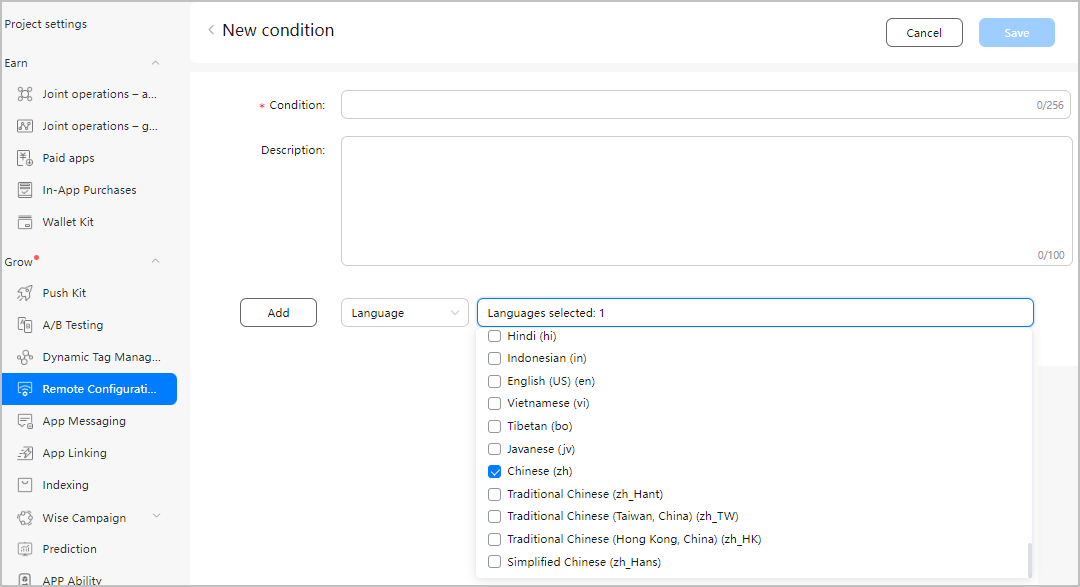
Click New condition in the Condition drop-down list.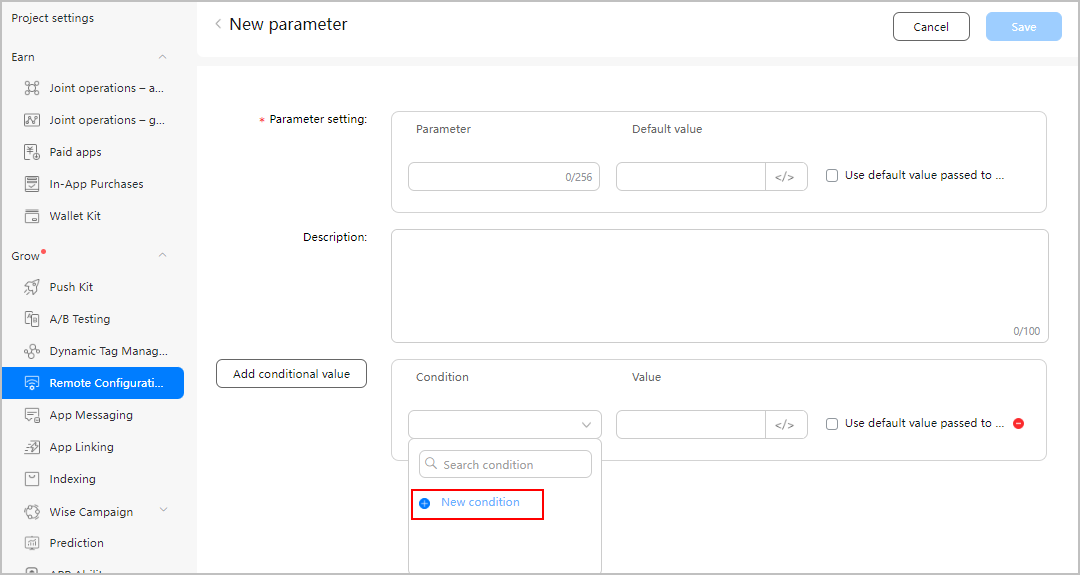
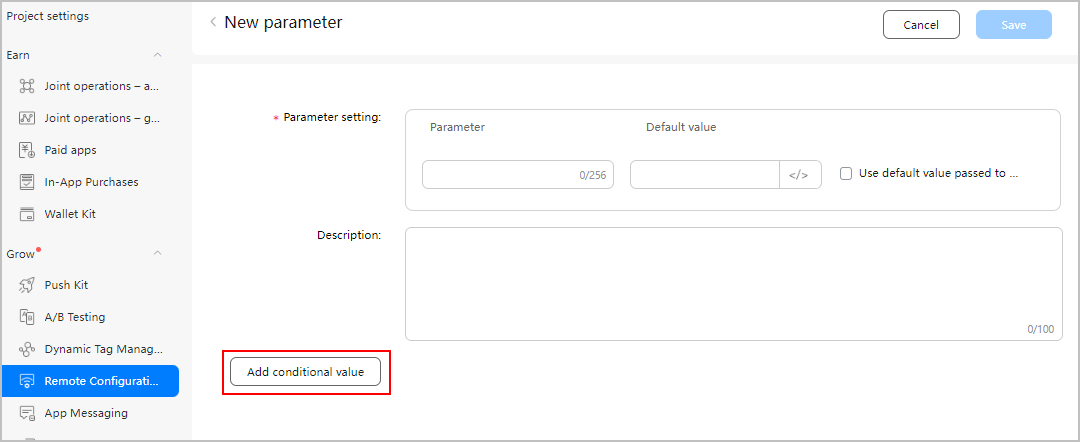
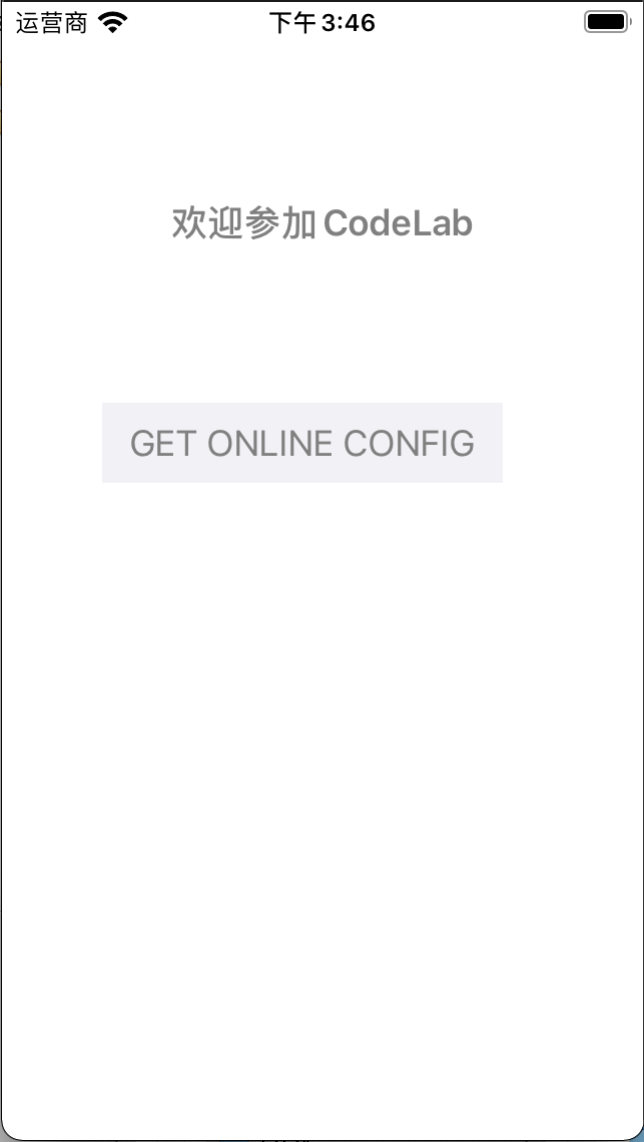
On theNew parameterr page, enter the default parameter name and default value. SelectDiff_Lang_CNN from theAdd conditional valuee drop-down list. Set the value to be displayed in Chinese for theGREETING_KEYY parameter. Then selectDiff_Lang_ENN from theAdd conditional valuee drop-down list, and set the value to be displayed in English for this parameter. After the configuration is complete, clickSavee.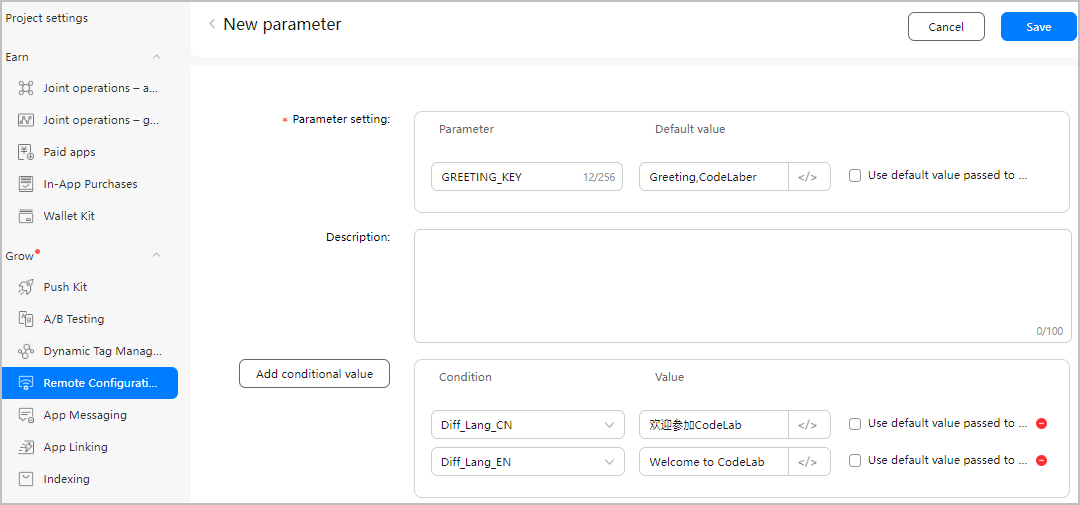
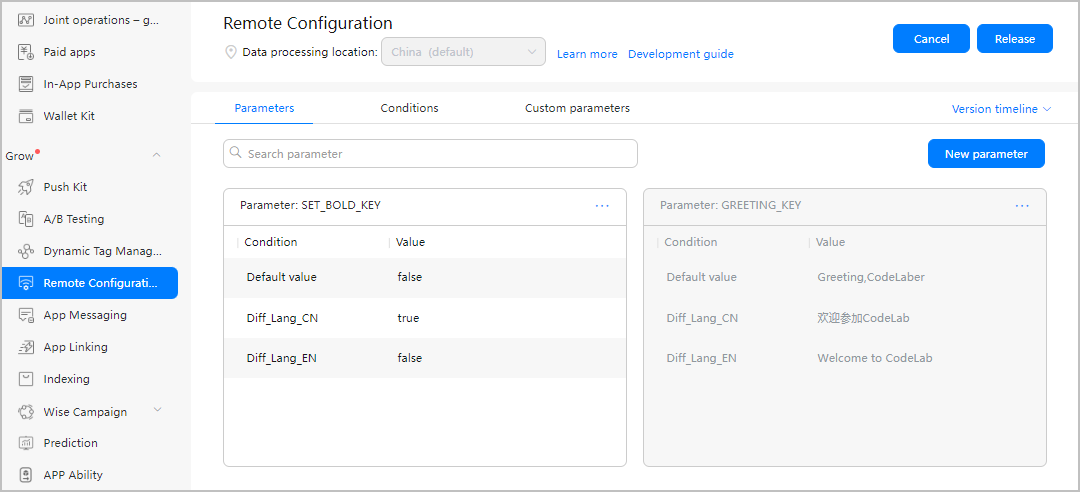
Then, click Release.
import AGConnectCore

func application(_ application: UIApplication, didFinishLaunchingWithOptions launchOptions: [UIApplication.LaunchOptionsKey: Any]?) -> Bool {
   AGCInstance.startUp()
   return true
}
let config = AGCRemoteConfig.sharedInstance()
config.applyDefaultsPlistFile("remote_config")
let boldValue = config.valueAsBool(key: "SET_BOLD_KEY")
let greetValue = config.valueAsString(key: "GREETING_KEY")

if boldValue {
   label.font = UIFont.boldSystemFont(ofSize: 18)
}else {
   label.font = UIFont.systemFont(ofSize: 18)
}
label.text = greetValue
@objc func getConfig() {
   let config = AGCRemoteConfig.sharedInstance()
   config.fetch().onSuccess { [self] (result) in
      guard result != nil else { return }
      config.apply(result!)

      let boldValue = config.valueAsBool(key: "SET_BOLD_KEY")
      let greetValue = config.valueAsString(key: "GREETING_KEY")

      if boldValue {
         label.font = UIFont.boldSystemFont(ofSize: 18)
      }else {
         label.font = UIFont.systemFont(ofSize: 18)
      }
      label.text = greetValue
   }.onFailure { (error) in
      print("fetch fail")
   }
}
Well done. You have successfully built your first app that integrates Remote Configuration and learned how to use Remote Configuration to dynamically load parameter values set over the cloud.