We use essential cookies for the website to function, as well as analytics cookies for analyzing and creating statistics of the website performance. To agree to the use of analytics cookies, click "Accept All". You can manage your preferences at any time by clicking "Cookie Settings" on the footer. More Information.

Only Essential Cookies
Accept All
quickApp GuidesQuick AppQuick App DevelopmentPreparing for DevelopmentGenerating and Configuring a Certificate Fingerprint

Generating and Configuring a Certificate Fingerprint

Generating a Certificate Fingerprint

The directory for storing Huawei quick app signature files is as follows:

|—— sign

|—— |—— debug Debug signature file directory. (The debug directory exists in the project of the old version, which does not conflict with the signature directory structure of the new version. Therefore, no additional adjustment is required.)

|—— —— |—— certificate.pem Certificate file.

|—— —— |—— private.pem Private key file.

|—— |—— release Formal signature file directory.

|—— —— |—— certificate.pem Certificate file.

|—— —— |—— private.pem Private key file.
NOTICE
  • If you want to transfer an existing quick app project to Huawei Quick App IDE, copy the certificate and key files of the original project to the target release directory.
  • Keep the certificate file properly. If lost, it cannot be retrieved. If the certificate file is replaced, quick apps cannot be updated.
  1. Open Huawei Quick App IDE and open an existing project or create a project.
  2. Choose Tools > Certificate to manage the certificate fingerprint.
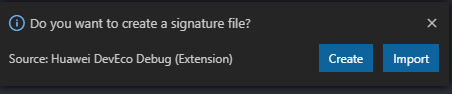
    • If the formal signature file for the RPK does not exist, the system prompts you to create one.

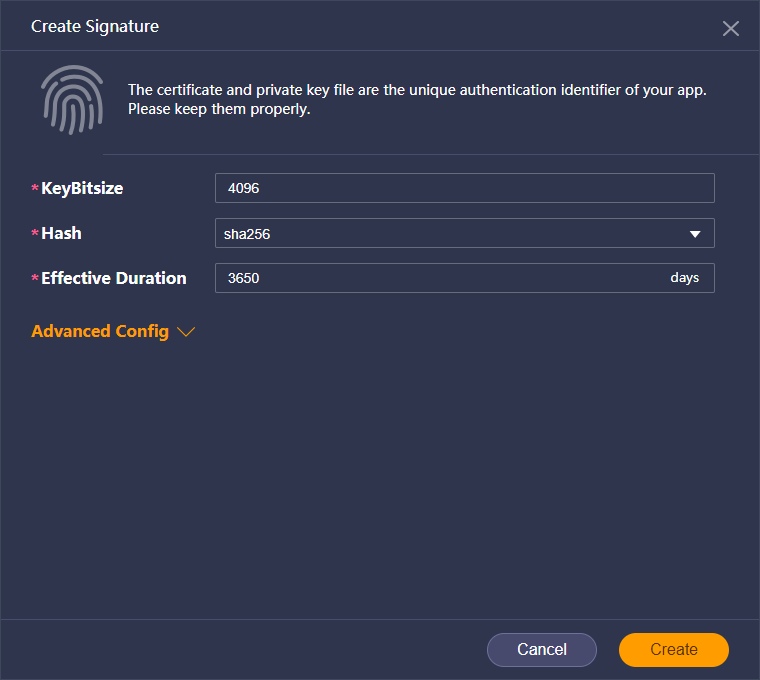
      Click Create. The release directory is generated under sign. In the release directory, you can find the certificate file.
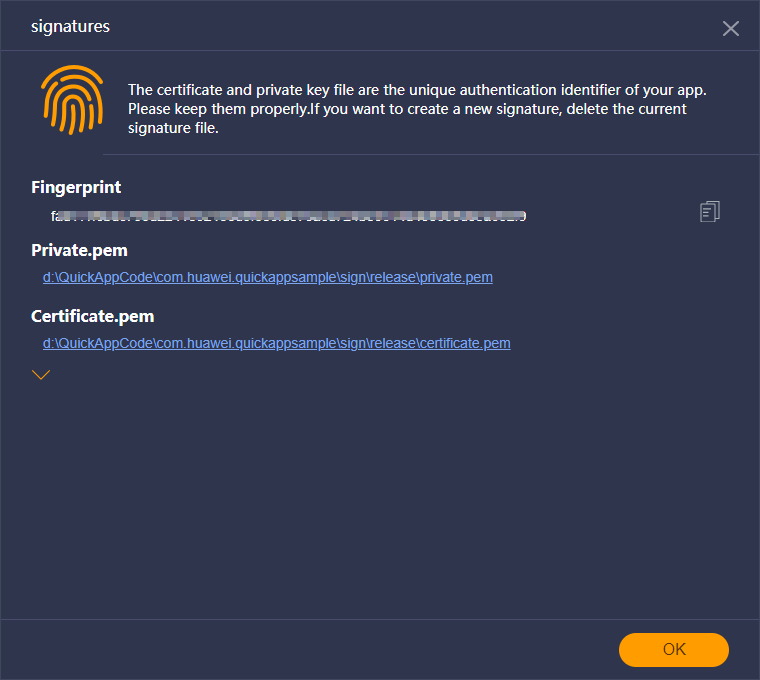
    • If the formal signature file for the RPK exists, the system displays the signature fingerprint and related information.

Configuring the Certificate Fingerprint

  1. Sign in to AppGallery Connect and click My projects.
  2. Click a project card.
  3. Select the quick app for which you want to configure the certificate fingerprint.
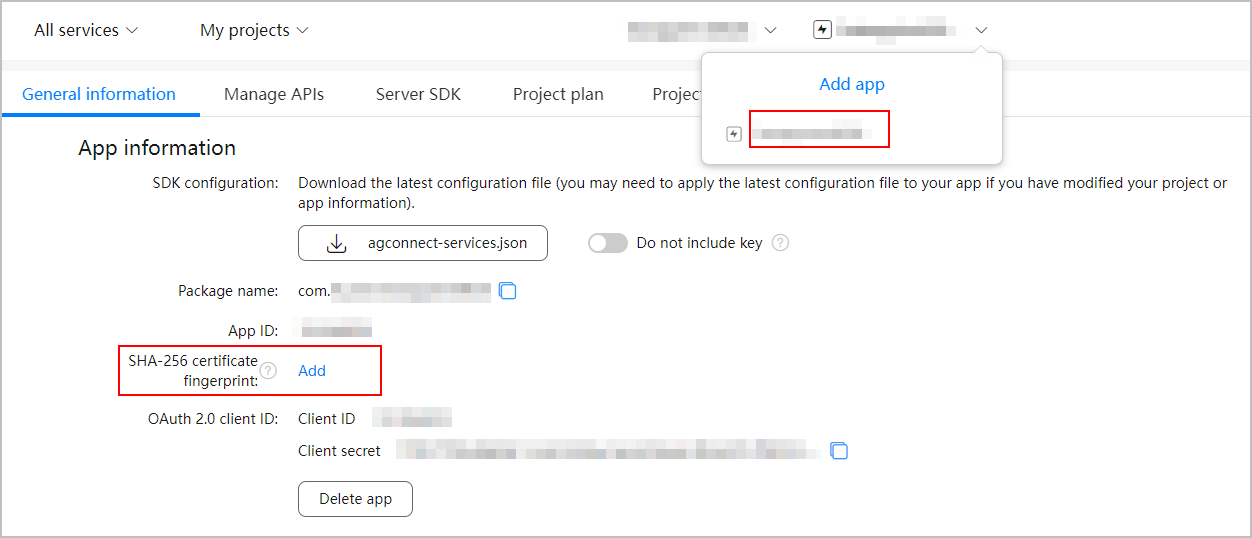
  4. Go to Project settings > General information. In the App information area, click Add next to SHA-256 certificate fingerprint, and enter the obtained SHA-256 certificate fingerprint.

Search in Guides
Enter a keyword.