Overview
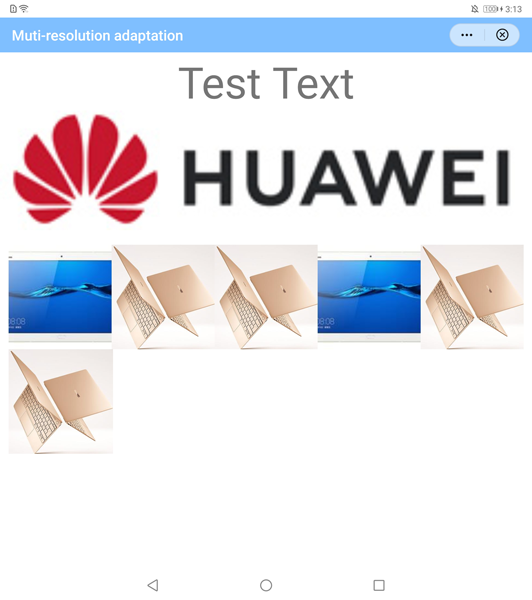
The designWidth parameter used to be set as the width of the device screen. However, this will cause a stretch of app content when displayed on a wider screen, leading to poor display effect on a Vision product, in the landscape mode, and on an unfolded screen that is foldable screen.
You can develop new apps or reconstruct existing apps using the responsive layout of quick apps. In this way, your quick app can be well displayed on devices of various resolutions, including mobile phones, tablets, and Vision products.
[h2]Configuring the Manifest File
- Set minPlatformVersion to 1066 or a later version.
"minPlatformVersion": 1066,
- Change the value of designWidth under config to device-width.
"config": {
    "designWidth": "device-width"
},
[h2]Planning the Layout of UI Elements
Plan the size and position of UI elements based on common screen widths:
- Width of a regular phone in portrait mode: 360 px
- Width of a regular phone in landscape mode: 640 px, 720 px, or more
- Width of a foldable phone after being unfolded: 733 px
- Width of a foldable phone after being folded: 383 px
[h2]Dynamic Layout
Pay attention to the following when designing the layout:
- In portrait mode, content should support scrolling. Do not fix the total height. Otherwise, the content will be compressed when the screen height is insufficient for displaying the content, which will result in content disorder.
- In landscape mode, you are advised to use the dynamic layout. For example, in the flex layout, when the width is large, more elements can be displayed in a line; when the width is small, fewer elements can be displayed in a line.
If a dynamic layout cannot achieve the effect you need, you can use the responsive layout capability provided by MediaQuery.
The following sample code implements the effect of dynamically control the number of columns in a list based on the screen width:
/**
* For a regular phone in portrait mode (360 px wide), display three images in a line, with each image occupying 120 px.
 */
@media screen and (min-width: 0) and (max-width: 239) {
         .list {
                   columns: 1;
         }
}
@media screen and (min-width: 240) and (max-width: 359) {
         .list {
                   columns: 2;
         }
}
@media screen and (min-width: 360) and (max-width: 479) {
         .list {
                   columns: 3;
         }
}
@media screen and (min-width: 480) and (max-width: 599) {
         .list {
                   columns: 4;
         }
}
@media screen and (min-width: 600) and (max-width: 719) {
         .list {
                   columns: 5;
         }
}
@media screen and (min-width: 720) and (max-width: 839) {
         .list {
                   columns: 6;
         }
}
@media screen and (min-width: 840) and (max-width: 959) {
         .list {
                   columns: 7;
         }
}
@media screen and (min-width: 960) and (max-width: 1079) {
         .list {
                   columns: 8;
         }
}
@media screen and (min-width: 1080) {
         .list {
                   columns: 9;
         }
}
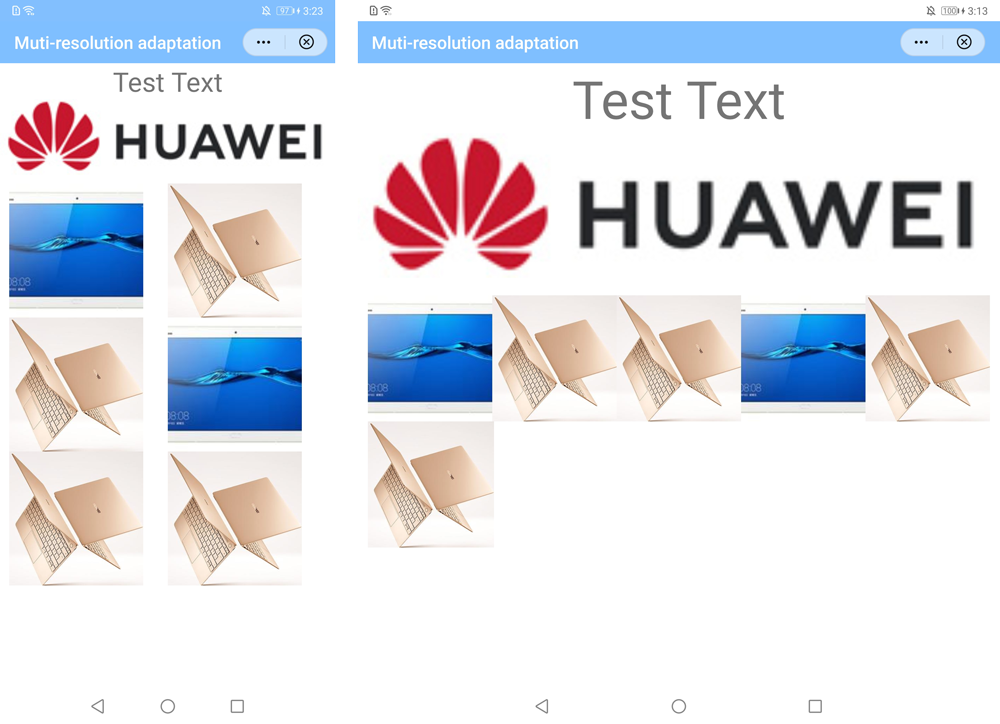
The following figure shows the final effect.
[h2]Configuring the Manifest File
- Set minPlatformVersion to 1066 or a later version.
"minPlatformVersion": 1066,
- Change the value of designWidth under config to device-width.
"config": {
    "designWidth": "device-width"
},
[h2]Planning the Layout of UI Elements
Plan the size and position of UI elements based on common screen widths. Common screen widths are as follows:
- Width of a regular phone in portrait mode: 360 px
- Width of a regular phone in landscape mode: 640 px, 720 px, or more
- Width of a foldable phone after being unfolded: 733 px
- Width of a foldable phone after being folded: 383 px
[h2]Adapting to a New Resolution
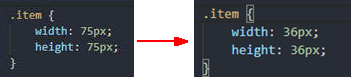
Set designWidth to device-width and set the new resolution in the UX and CSS files in your project. Formula for the resolution conversion: New resolution = Original resolution x 36/75.
For example, if the original width and height are both 75 px, the new width and height are 36 px.
You can also download the conversion tool. Run the following command for conversion:
java -jar convert.jar -root D:\workspace\quickapp\project -formats "ux;css"

- This tool is compiled in Java. You can also develop your own tool based on the conversion formula.
- This tool only converts a value with the unit px. A value without the unit is not processed. You need to process values according to the actual situation.
Adaptation for a Card
Adaptation for a card is the same as that for a quick app except the change of designWidth.
The modification method is as follows:
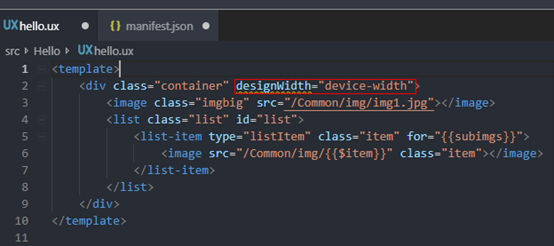
Open the UX file corresponding to the card and add designWidth="device-width" to the level-1 node in template.
Adaptation Example
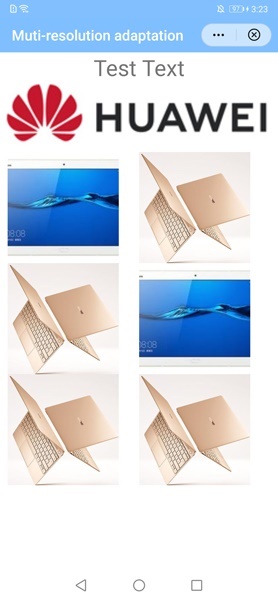
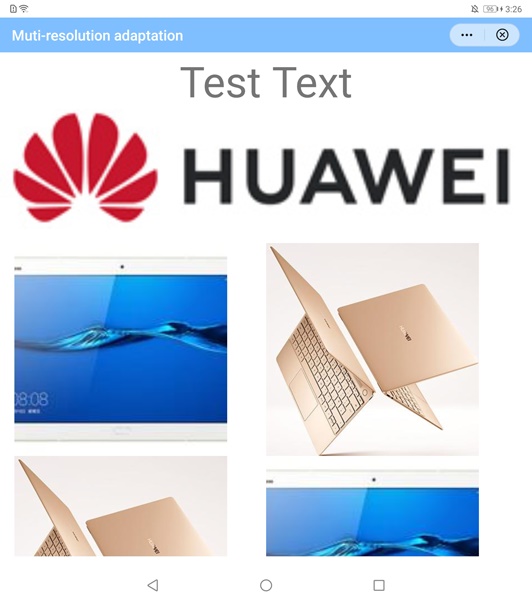
In this example, designWidth is set to 750 at first. Before the adaptation, the display effects on a foldable screen after being folded and unfolded are shown in the following figures. It is obvious that the size of each element is enlarged when the screen is unfolded.
- Now, set designWidth to device-width in the manifest file.
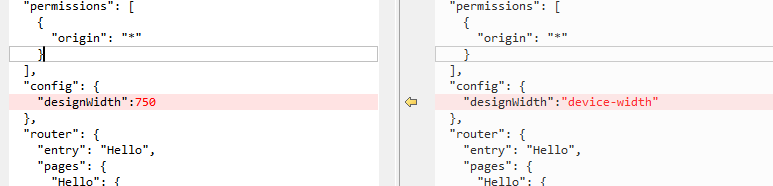
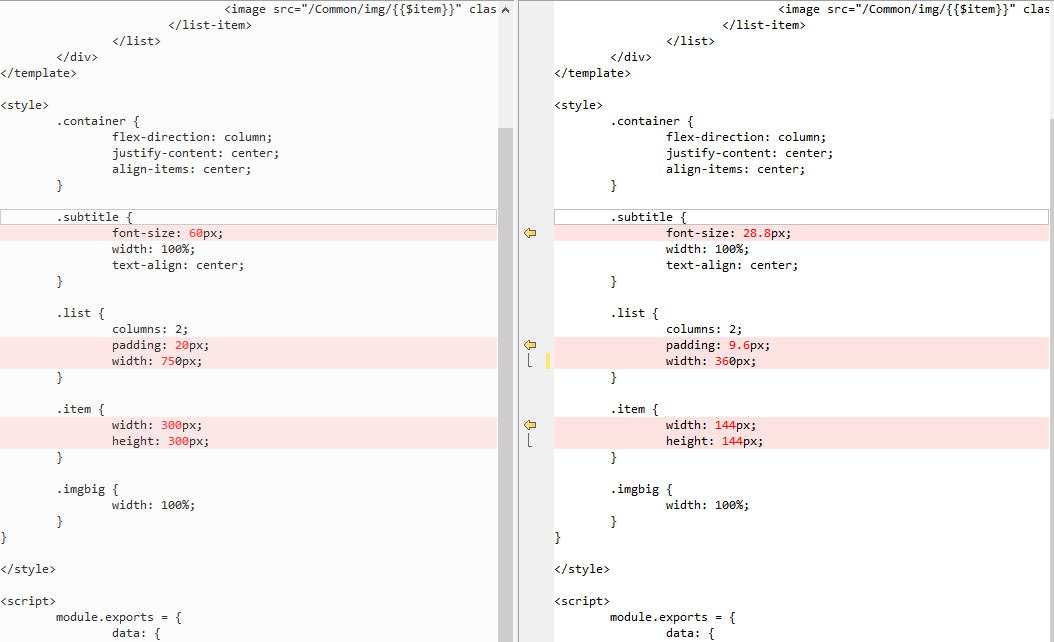
- Use the conversion tool to convert the values in the project file.
d:\>java -jar convert.jar -root D:\workspace\fastapp\MultiLayout -formats "ux;css"
The following figure shows the configurations before and after the conversion.
After the conversion, only two images are displayed in one line on the wide screen, leaving much empty space.
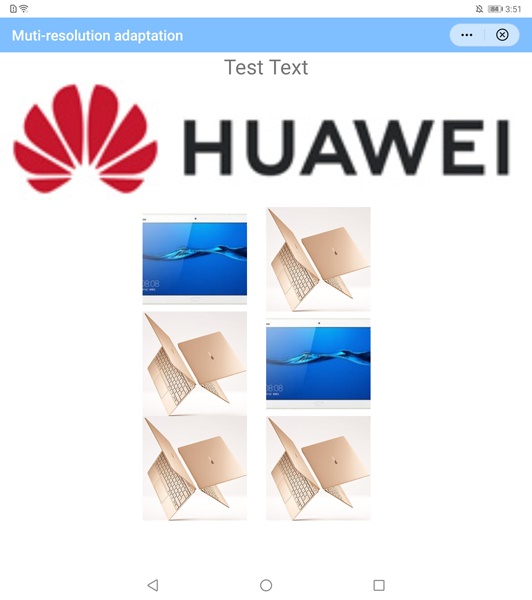
- To resolve this issue, use MediaQuery to dynamically adjust the number of columns to display.
The following figure shows the display effect after the adaptation.