















合作咨询
我们的专家服务团队将竭诚为您提供专业的合作咨询服务
如何实现一个球形粒子动画的效果?
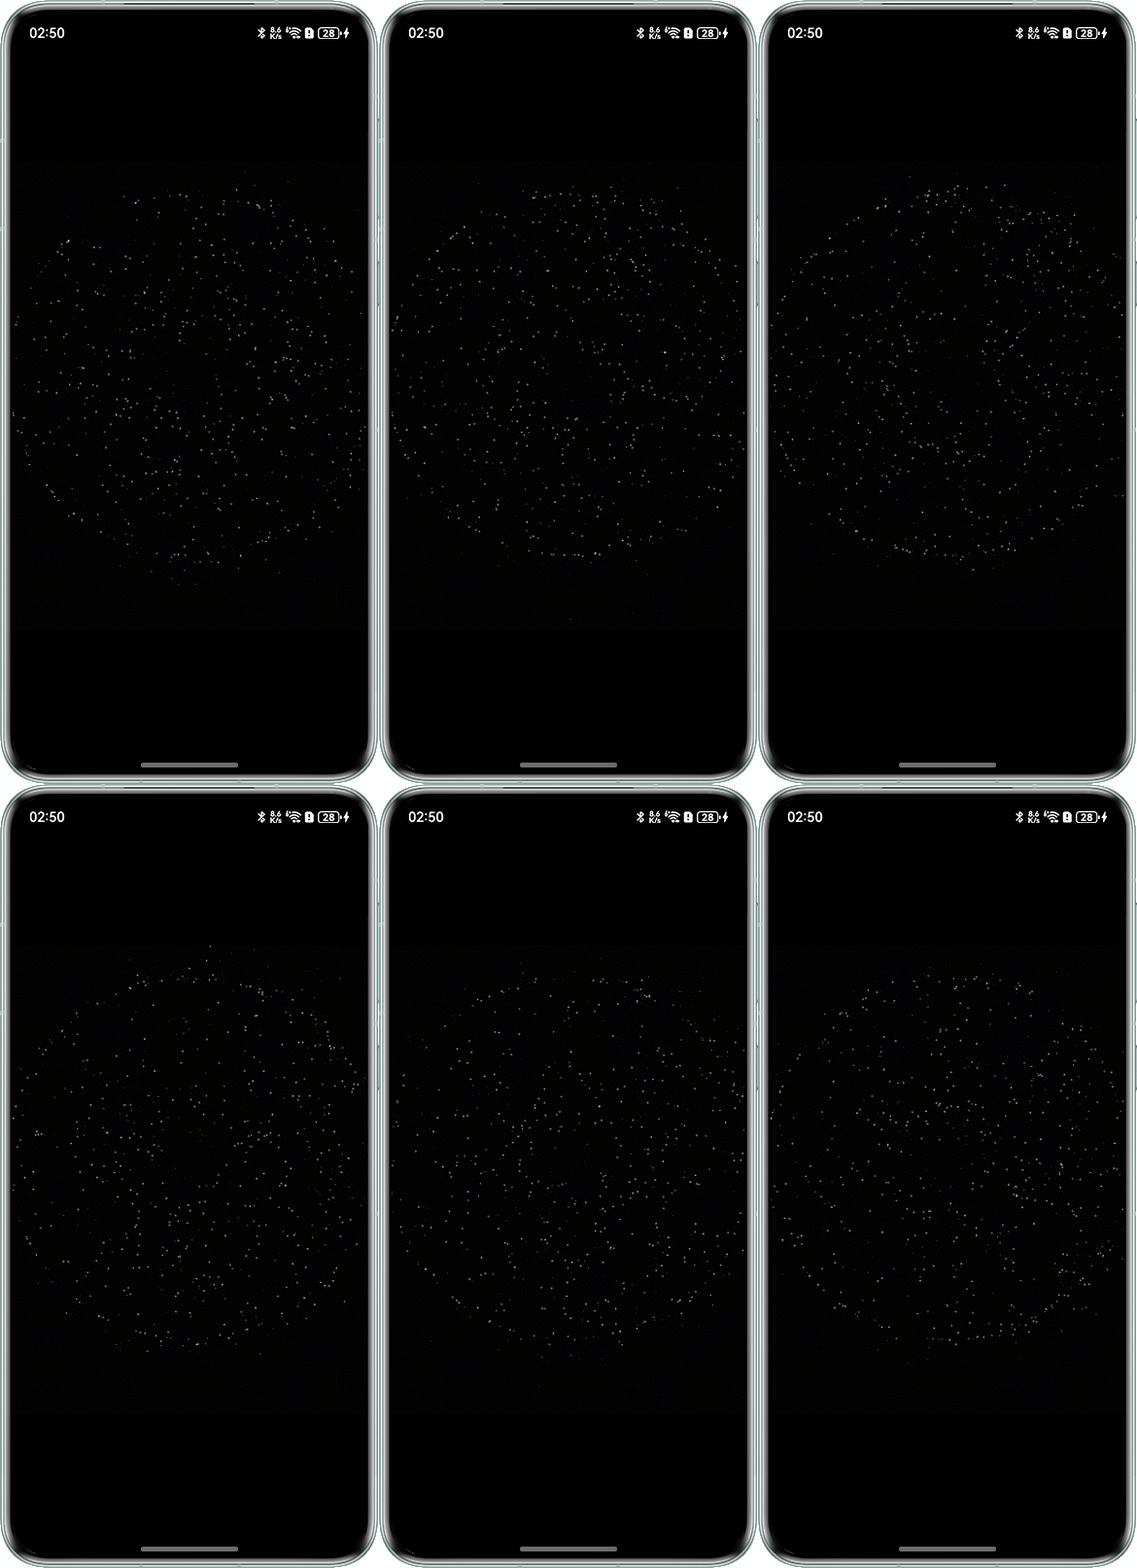
粒子动画是一种通过在一定范围内随机生成的大量粒子的运动来组成的动画效果。在HarmonyOS中,这种动画效果主要通过Particle组件来实现。
完整示例参考如下:
- @Entry
- @Component
- struct CircleDemo {
- @State viewWidth: number = 0;
- @State viewHeight: number = 0;
-
- build() {
- Stack() {
- Particle({
- particles: [
- {
- emitter: {
- particle: {
- type: ParticleType.POINT, // 粒子类型
- config: {
- radius: 1 // 圆点半径
- },
- count: -1, // 粒子总数
- lifetime: 5000, // 粒子生命周期,单位ms
- lifetimeRange: 100 // 粒子生命周期取值范围,单位ms
- },
- emitRate: 200, // 每秒发射粒子数
- position: [0, 0],
- shape: ParticleEmitterShape.CIRCLE // 发射器形状
- },
- color: {
- range: [Color.White, Color.White] // 初始颜色范围
- },
- opacity: {
- range: [0.0, 1.0], // 粒子透明度的初始值从【0.0到1.0】随机产生
- updater: {
- type: ParticleUpdater.CURVE, // 透明度的变化方式是随机变化
- config: [
- {
- from: 0.0,
- to: 1.0,
- startMillis: 0,
- endMillis: 2500,
- curve: Curve.EaseIn
- },
- {
- from: 1.0,
- to: 0.0,
- startMillis: 2500,
- endMillis: 5000,
- curve: Curve.EaseIn
- }
- ]
- }
- },
- scale: {
- range: [0.0, 0.0],
- updater: {
- type: ParticleUpdater.CURVE,
- config: [
- {
- from: 0.0,
- to: 1.0,
- startMillis: 0,
- endMillis: 1000,
- curve: Curve.EaseIn
- },
- {
- from: 1.0,
- to: 0,
- startMillis: 1000,
- endMillis: 5000,
- curve: Curve.EaseIn
- }
- ]
- }
- },
- acceleration: {
- // 加速度的配置,从大小和方向两个维度变化,speed表示加速度大小,angle表示加速度方向
- speed: {
- range: [3, 9],
- updater: {
- type: ParticleUpdater.RANDOM,
- config: [1, 20]
- }
- },
- angle: {
- range: [0, 360]
- }
- },
- spin: {
- range: [0, 1.0],
- updater: {
- type: ParticleUpdater.CURVE,
- config: [
- {
- from: 0,
- to: 180,
- startMillis: 0,
- endMillis: 5000,
- curve: Curve.EaseIn
- }
- ]
- }
- },
- velocity: {
- speed: [20, 30],
- angle: [0.0, 1.0]
- }
- }
- ]
- })
- .width('100%')
- .height('100%')
- .backgroundColor(Color.Black)
- .disturbanceFields([{
- strength: 80, // 场强,表示场从中心向外的排斥力的强度,默认值0。正数表示排斥力方向朝外,负数表示吸引力,方向朝内
- shape: DisturbanceFieldShape.CIRCLE, // 场的形状
- size: { width: this.viewWidth, height: this.viewHeight }, // 场的大小
- position: { x: this.viewWidth / 2, y: this.viewHeight / 2 } // 场的位置
- }])
- .onAreaChange((oldValue: Area, newValue: Area) => {
- // 监听视图区域的变化,并根据新的视图尺寸调整扰动场的大小和位置
- this.viewWidth = newValue.width as number;
- this.viewHeight = newValue.height as number;
- });
- }
- }
- }
Particle组件通过配置多个粒子属性来实现了一个动态的、具有视觉吸引力的粒子动画效果。
合作咨询
我们的专家服务团队将竭诚为您提供专业的合作咨询服务
解决方案
精准高效的一站式服务支持,助力开发者商业成功