Overview
This section describes how to use a map container to quickly obtain a map object, change the map type, and draw shapes and markers on the map. For details, please refer to Flutter Sample Code.
General Usage
Build a HuaweiMap widget where features on the map (such as markers and polygons) can be used as child elements. An API is provided to declaratively control features on the map.
import 'package:huawei_map/map.dart';
Map Instance Creation
The following describes how to create a map instance using HuaweiMap.
- Add a HuaweiMap object in the main.dart file, and set the map attributes.
HuaweiMap( mapType: MapType.normal, tiltGesturesEnabled: true, buildingsEnabled: true, compassEnabled: true, zoomControlsEnabled: false, rotateGesturesEnabled: true, myLocationButtonEnabled: true, myLocationEnabled: true, trafficEnabled: true, .... ) - Run your project to view the map in your app, as shown in the following figure.
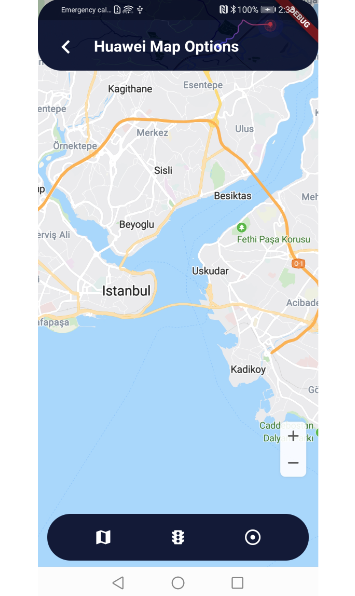
Set the initial position to be displayed on the map. Changing this attribute after the object is created will not result in a camera position change.
HuaweiMap(
  initialCameraPosition: CameraPosition(
    target: const LatLng(41.012959, 28.997438),
    zoom: 12,
  ),
...
Or, you can use the state of controlling and track the map's center coordinates.
double _zoom = 12;
LatLng _center = const LatLng(41.012959, 28.997438);
...
HuaweiMap(
  initialCameraPosition: CameraPosition(
    target: _center,
    zoom: _zoom,
  ),
...
For details, please refer to files in Flutter Sample Code.
Map Type
Currently, HuaweiMap supports two types of maps:
- MapType.normal: standard map, which shows roads, artificial structures, and natural features such as rivers.
- MapType.none: empty map without any data.
To set the map type, you can set the mapType attribute of the HuaweiMap object and pass an enumerated value defined in MapType.
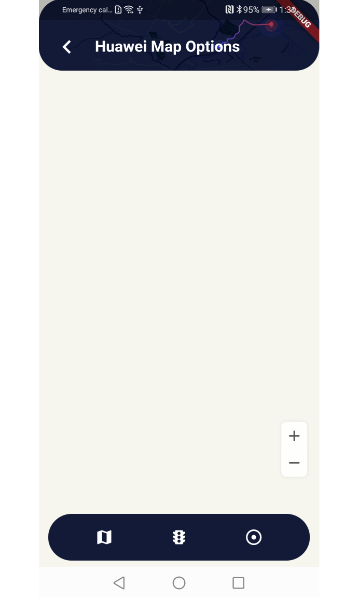
To set an empty map, set mapType of the HuaweiMap object to MapType.none. Figure 1 shows the map display effect.
The sample code is as follows:
HuaweiMap(
    mapType: MapType.none,
    ...
)
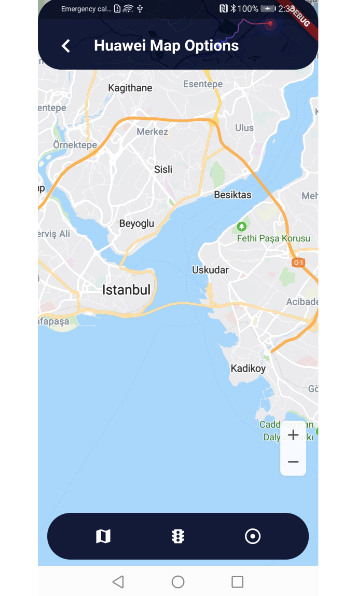
To set a standard map, set mapType of the HuaweiMap object to MapType.normal. Figure 2 shows the map display effect.
The sample code is as follows:
HuaweiMap(
    mapType: MapType.normal,
    ...
) 
My Location
The my-location function allows users to get their current locations when using your app. Before using this function, ensure that your app has been granted the location permission. The Android OS provides two location permissions: ACCESS_COARSE_LOCATION (approximate location permission) and ACCESS_FINE_LOCATION (precise location permission). You need to declare the permissions in the AndroidManifest.xml file.
<!-- Allow the app to obtain the coarse longitude and latitude of a user through the Wi-Fi network or base station. -->
<uses-permission android:name="android.permission.ACCESS_COARSE_LOCATION"/>
<!-- Allow the app to receive location information from satellites through the GPS chip. -->
<uses-permission android:name="android.permission.ACCESS_FINE_LOCATION"/>
After adding the preceding information to the Manifest file, you need to dynamically apply for the permissions in the code (according to requirements for dangerous permissions in Android 6.0).
To enable this function, set MyLocationEnabled to true in the HuaweiMap object.
The sample code is as follows:
HuaweiMap(
    myLocationButtonEnabled: true,
    myLocationEnabled: true,
    ...
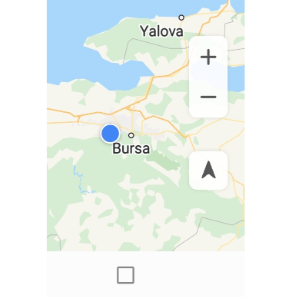
Once this function has been enabled, the my-location icon is displayed in the lower right corner of the map by default and the user's current location is displayed as a blue dot. When a user taps this icon, the user's current location (if obtained) is displayed in the center of the screen.
You can also set myLocationButtonEnabled to false in the HuaweiMap object to hide the my-location icon.
Map Attribute Settings
- mapType: map type. The options are none and normal.
- initialCameraPosition: longitude and latitude of the map center and zoom level of the map at the initial camera position.
- zoomControlsEnabled: indicates whether the zoom function is enabled. The zoom function is enabled by default.
- compassEnabled: indicates whether the compass is enabled. The compass is enabled by default.
- zoomGesturesEnabled, scrollGesturesEnabled, rotateGesturesEnabled, and tiltGesturesEnabled: indicates whether the zoom gestures, scroll gestures, rotate gestures, and tilt gestures are enabled. By default, these gestures are enabled.
- minMaxZoomPreference: preferred minimum and maximum zoom levels.
- cameraTargetBounds: latitudes and longitudes of the bounds of a CameraTargetBounds object, which constrains the camera target so that the camera target does not move outside the bounds when a user scrolls the map camera.
- markers: initial marker objects.
- circles: initial circle objects.
- polylines: initial polyline objects.
- polygons: initial polygon objects.
- groundOverlays: initial ground overlay objects.
- tileOverlays: initial tile overlay objects.
- markersClusteringEnabled: indicates whether marker clustering is enabled.
- padding: padding on a map. This attribute can be used to define the visible region on a map, so that a signal can be sent to the map to indicate that some portions around the map edges may be obscured. For example, icons such as the zoom controls and compass is moved to adapt to the visible region, and the camera will move in relative to the center of the visible region.

Map Padding
Map Kit is implemented by simulating a camera. The map camera area centers on the target location and is padded. Map controls (such as the compass, zoom icons, and my-location icon) are placed at the border of the map camera area. By default, the compass is placed in the upper right corner of the map camera area, and the zoom icons and my-location icon are placed in the lower right corner of the map camera area. You can use the padding field of the HuaweiMap API to set the padding between the map camera area bounds and map controls.
