背景知识
- createPixelMapSync:通过属性创建PixelMap,默认采用BGRA_8888格式处理数据,同步返回结果。
- OffscreenCanvasRenderingContext2D:绘制对象可以是矩形、文本、图片等。离屏绘制是指将需要绘制的内容先绘制在缓存区,然后将其转换成图片,一次性绘制到Canvas上。离屏绘制使用CPU进行绘制,绘制速度较慢,对绘制速度有要求的场景应避免使用离屏绘制。
- Canvas承载绘制内容与绘制状态的载体。
- Brush画刷对象,描述所绘制图形的填充信息。
- ShaderEffect着色器。画刷和画笔设置着色器后,会使用着色器效果而不是颜色属性去绘制,但此时画笔和画刷的透明度属性仍然生效。
- readPixelsToBufferSync:访问PixelMap的像素数据,通过对像素的处理来达到图片处理的效果。
- TaskPool:为应用程序提供多线程环境,降低资源消耗并提高系统性能。
解决方案
- 方案一:使用Canvas实现纯色背景。
先创建一个空的PixelMap作为Canvas的底图,绘制一个矩形渲染到Canvas并填充底色,再绘制图片到Canvas,返回叠加后的图片PixelMap。
import { image } from '@kit.ImageKit';
import { resourceManager } from '@kit.LocalizationKit';
import { common2D, drawing } from '@kit.ArkGraphics2D';

// colors数组中的值为32位无符号整数(ARGB)
function drawCanvasBackgroundImage(pixelMap: PixelMap, colors: string) {
  let imageInfo = pixelMap.getImageInfoSync();
  let size: Size = imageInfo.size;
  const pixelMapColor: ArrayBuffer = new ArrayBuffer(size.width * size.height * 4);
  const options: image.InitializationOptions = {
    editable: true,
    pixelFormat: image.PixelMapFormat.RGBA_8888,
    size: size
  };
  const canvasPixelMap = image.createPixelMapSync(pixelMapColor, options);
  const colorArray: number[] = colorAnalysis(colors);
  const color: common2D.Color = {
    alpha: colorArray[0],
    red: colorArray[1],
    green: colorArray[2],
    blue: colorArray[3]

  };
  const canvas = new drawing.Canvas(canvasPixelMap);
  canvas.drawColor(color, drawing.BlendMode.SRC); // 使用源像素替换目标像素
  canvas.drawImage(pixelMap, 0, 0);
  return canvasPixelMap;
}

function colorAnalysis(hexColor: string) {

  // 创建一个数组来存储解析后的颜色值
  let hexArr: number[] = [];
  let length = hexColor.length;

  // 如果十六进制颜色值长度为奇数,则去掉前面的一个字符
  if (length % 2 === 1) {
    hexColor = hexColor.slice(1);
  }

  // 解析十六进制颜色值
  for (let i = 0; i < hexColor.length / 2; i++) {
    // 获取当前两位的十六进制字符
    let charCode1 = Number.parseInt(hexColor[i * 2], 16);
    let charCode2 = Number.parseInt(hexColor[i * 2 + 1], 16);
    // 计算十进制值
    let hexNumber = charCode1 * 16 + charCode2;
    // 将十进制值归一化到0-255的范围,并存储在数组中
    hexArr.push(hexNumber);
  }
  return hexArr;
}

@Entry
@Component
struct ImageAddBackColor {
  @State pixelMap: PixelMap | undefined = undefined;
  @State resImage: PixelMap | undefined = undefined;

  getPixelMapByImage(fileName: string): image.PixelMap {
    const context: Context = this.getUIContext().getHostContext() as Context;
    // 获取resourceManager资源管理器
    const resourceMgr: resourceManager.ResourceManager = context.resourceManager;
    let rawFileDescriptor = resourceMgr.getRawFdSync(fileName);
    const imageSource: image.ImageSource = image.createImageSource(rawFileDescriptor);
    let decodingOptions: image.DecodingOptions = {
      editable: true,
      desiredPixelFormat: 3,
    };
    const pixelMap: image.PixelMap = imageSource.createPixelMapSync(decodingOptions);
    resourceMgr.closeRawFdSync(fileName);
    return pixelMap;
  }

  aboutToAppear() {
    this.pixelMap = this.getPixelMapByImage('test.png'); // test.png放在resources/rawfile下请根据实际情况替换
  }

  @Styles
  ButtonStyle(){
    .backgroundColor('#0A59F7')
    .width(120)
    .height(35)
    .margin({
      top: 5,
      bottom: 5,
      left: 5,
      right: 5
    });
  }

  build() {
    Column({ space: 5 }) {
      Row({ space: 20 }) {
        Column() {
          Image(this.pixelMap)
            .objectFit(ImageFit.Contain)
            .margin({ right: 5 })
            .width(150)
            .height(150)
        }
        .borderRadius(8)
        .backgroundColor(Color.Gray) // 图片为透明白色为展示效果明显添加灰色背景

        Image(this.resImage)
          .objectFit(ImageFit.Contain)
          .width(150)
          .height(150)
          .borderRadius(8);
      }

      Button('添加背景色').ButtonStyle()
        .onClick(() => {
          this.resImage = drawCanvasBackgroundImage(this.pixelMap as PixelMap, '#FFD1D1D6');
        });
    }
    .justifyContent(FlexAlign.Center)
    .width('100%')
    .height('100%');
  }
}
效果预览:
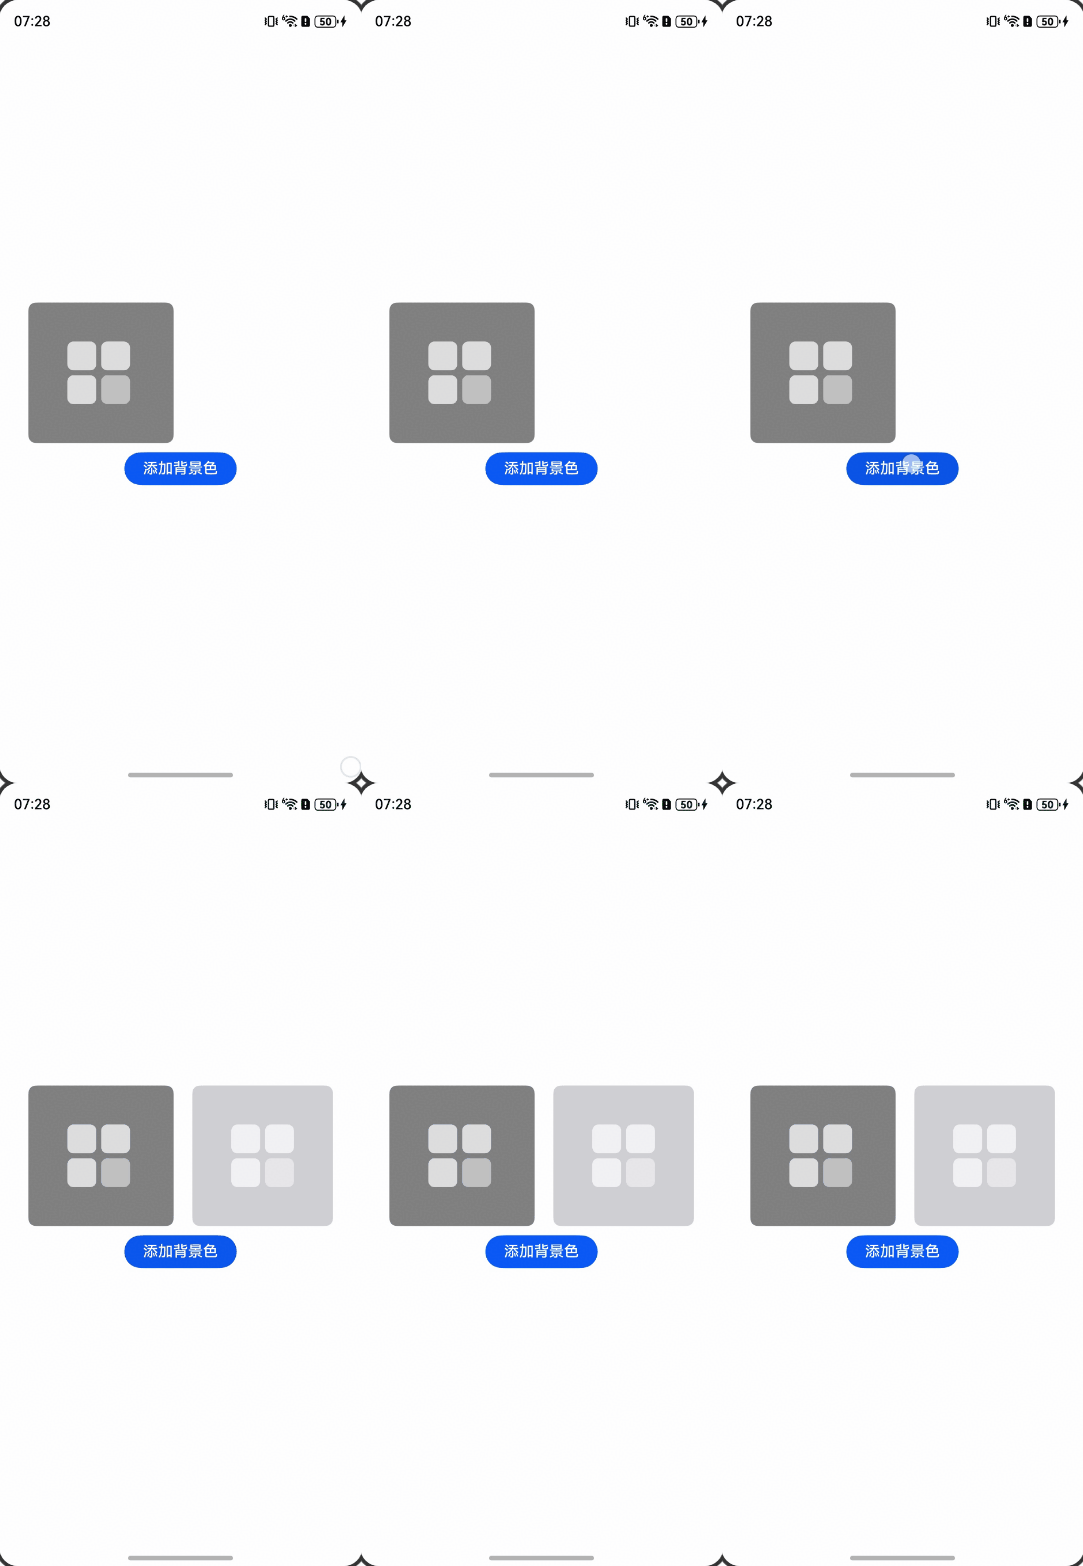
也可改为:
import { image } from '@kit.ImageKit';
import { resourceManager } from '@kit.LocalizationKit';
import { common2D, drawing } from '@kit.ArkGraphics2D';

// colors数组中的值为32位无符号整数(ARGB)
function drawCanvasBackgroundImage(pixelMap: PixelMap, colors: string) {
  let imageInfo = pixelMap.getImageInfoSync();
  let size: Size = imageInfo.size;
  const pixelMapColor: ArrayBuffer = new ArrayBuffer(size.width * size.height * 4);
  const options: image.InitializationOptions = {
    editable: true,
    pixelFormat: image.PixelMapFormat.RGBA_8888,
    size: size
  };
  const canvasPixelMap = image.createPixelMapSync(pixelMapColor, options);
  const colorArray: number[] = colorAnalysis(colors);
  const color: common2D.Color = {
    alpha: colorArray[0],
    red: colorArray[1],
    green: colorArray[2],
    blue: colorArray[3]

  };
  const canvas = new drawing.Canvas(canvasPixelMap);
  canvas.drawImage(pixelMap, 0, 0);
  canvas.drawColor(color, drawing.BlendMode.DST_OVER); // 源像素上方绘制目标像素,考虑目标像素的透明度。
  return canvasPixelMap;
}

function colorAnalysis(hexColor: string) {
  // 创建一个数组来存储解析后的颜色值
  let hexArr: number[] = [];
  let length = hexColor.length;

  // 如果十六进制颜色值长度为奇数,则去掉前面的一个字符
  if (length % 2 === 1) {
    hexColor = hexColor.slice(1);
  }

  // 解析十六进制颜色值
  for (let i = 0; i < hexColor.length / 2; i++) {
    // 获取当前两位的十六进制字符
    let charCode1 = Number.parseInt(hexColor[i * 2], 16);
    let charCode2 = Number.parseInt(hexColor[i * 2 + 1], 16);
    // 计算十进制值
    let hexNumber = charCode1 * 16 + charCode2;
    // 将十进制值归一化到0-255的范围,并存储在数组中
    hexArr.push(hexNumber);
  }
  return hexArr;
}

@Entry
@Component
struct ImageAddBackColor {
  @State pixelMap: PixelMap | undefined = undefined;
  @State resImage: PixelMap | undefined = undefined;

  getPixelMapByImage(fileName: string): image.PixelMap {
    const context: Context = this.getUIContext().getHostContext() as Context;
    // 获取resourceManager资源管理器
    const resourceMgr: resourceManager.ResourceManager = context.resourceManager;
    let rawFileDescriptor = resourceMgr.getRawFdSync(fileName);
    const imageSource: image.ImageSource = image.createImageSource(rawFileDescriptor);
    let decodingOptions: image.DecodingOptions = {
      editable: true,
      desiredPixelFormat: 3,
    };
    const pixelMap: image.PixelMap = imageSource.createPixelMapSync(decodingOptions);
    resourceMgr.closeRawFdSync(fileName);
    return pixelMap;
  }

  aboutToAppear() {
    this.pixelMap = this.getPixelMapByImage('test.png'); // test.png放在resources/rawfile下请根据实际情况替换
  }

  @Styles
  ButtonStyle(){
    .backgroundColor('#0A59F7')
    .width(120)
    .height(35)
    .margin({
      top: 5,
      bottom: 5,
      left: 5,
      right: 5
    });
  }

  build() {
    Column({ space: 5 }) {
      Row({ space: 20 }) {
        Column() {
          Image(this.pixelMap)
            .objectFit(ImageFit.Contain)
            .margin({ right: 5 })
            .width(150)
            .height(150)
        }
        .borderRadius(8)
        .backgroundColor(Color.Gray) // 图片为透明白色为展示效果明显添加灰色背景

        Image(this.resImage)
          .objectFit(ImageFit.Contain)
          .width(150)
          .height(150)
          .borderRadius(8);
      }

      Button('添加背景色').ButtonStyle()
        .onClick(() => {
          this.resImage = drawCanvasBackgroundImage(this.pixelMap as PixelMap, '#FFD1D1D6');
        });
    }
    .justifyContent(FlexAlign.Center)
    .width('100%')
    .height('100%');
  }
}
效果预览:
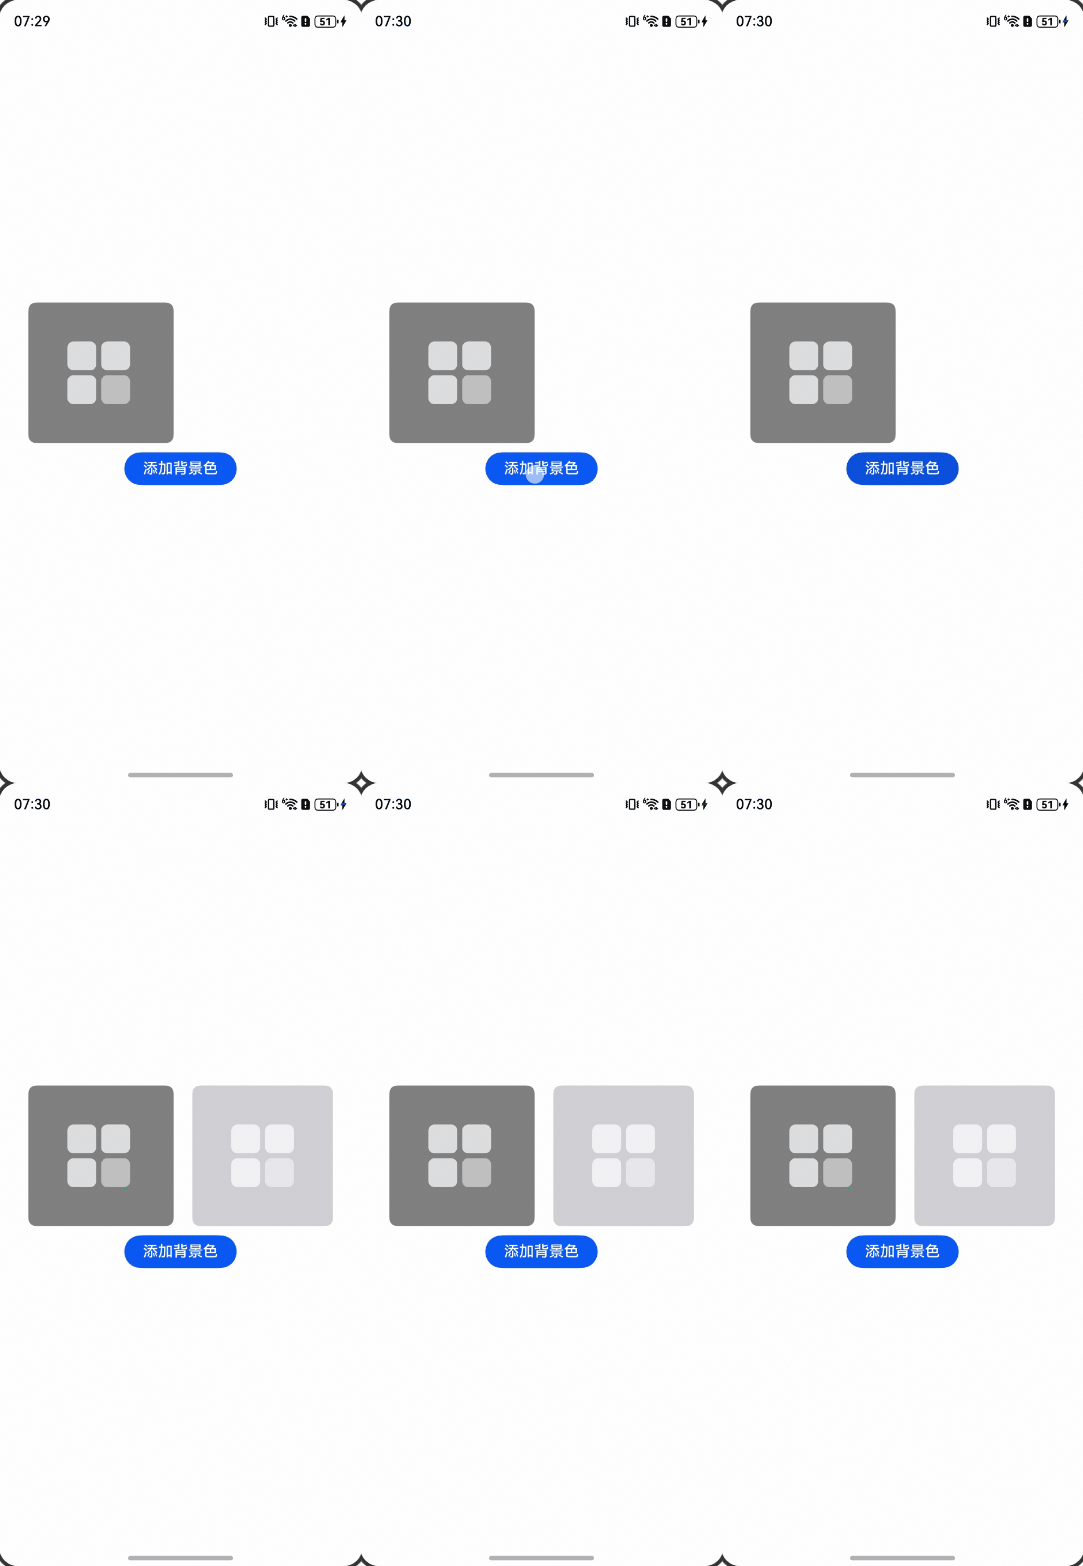
- 方案二:使用createPixelMap实现纯色背景。
- 对一张蒙版图片创建纯色背景:
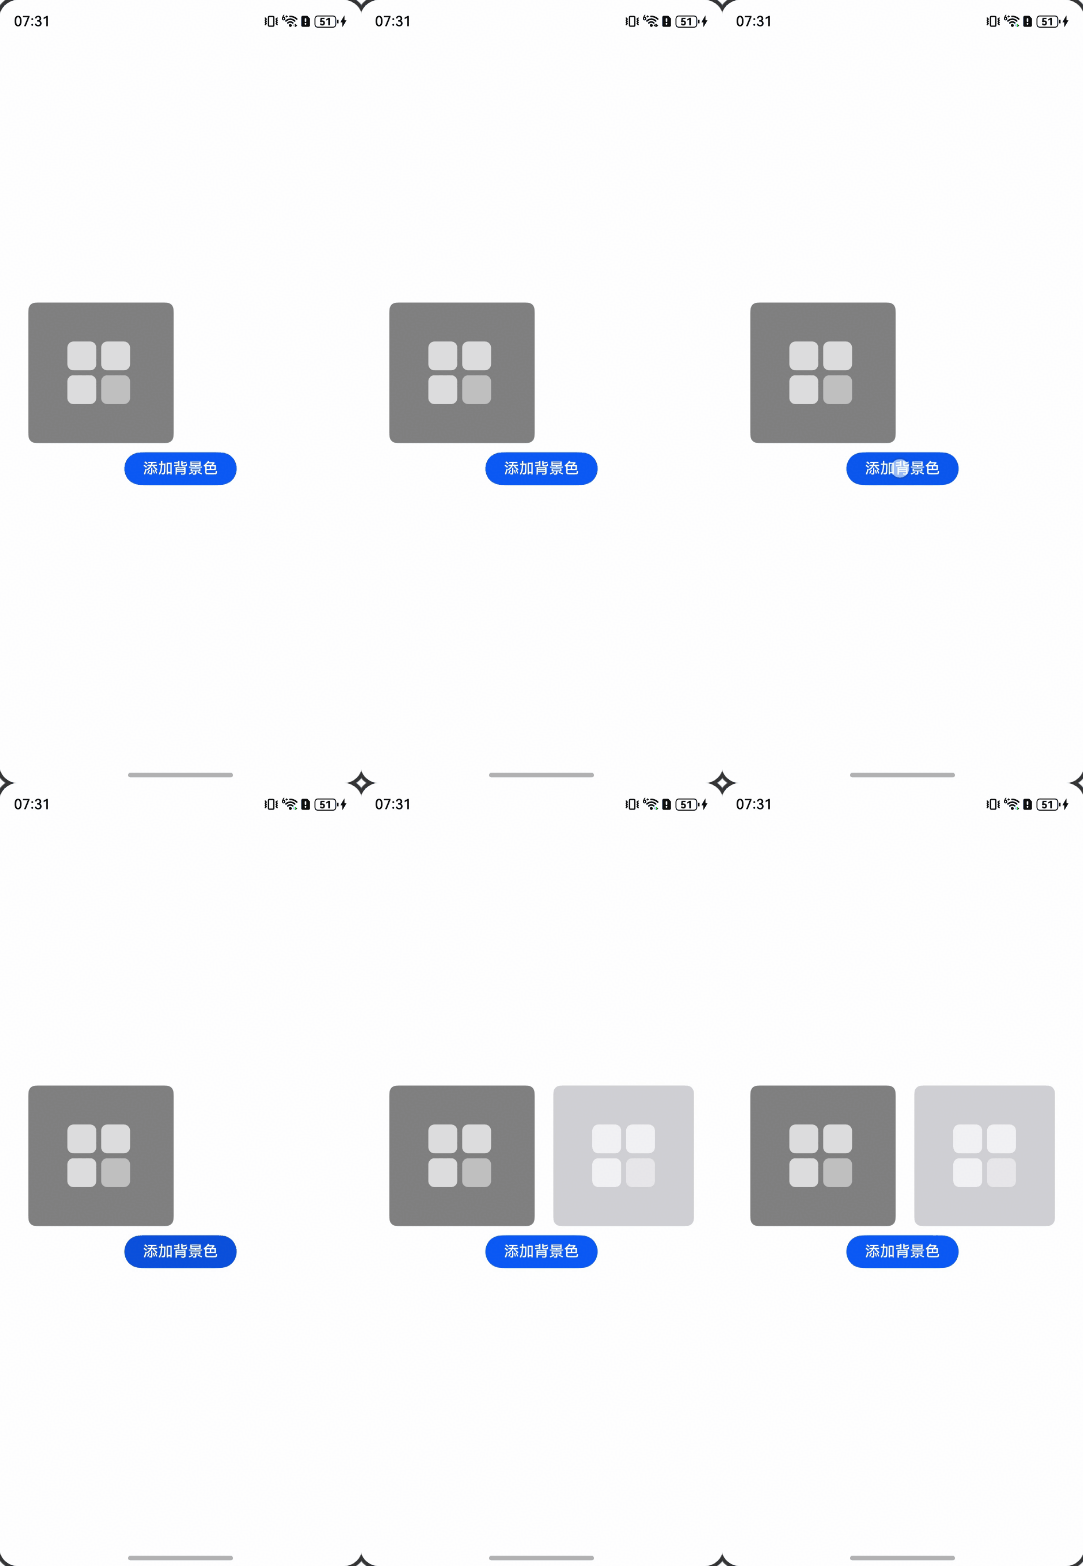
通过接口createPixelMapSync创建纯色图片,作为背景图。通过OffscreenCanvasRenderingContext2D进行离屏渲染,先绘制背景图,再把原图绘制在背景图上面,达到底色效果。
import { image } from '@kit.ImageKit';
import { resourceManager } from '@kit.LocalizationKit';

function getPixelMapByImage(fileName: string, context: Context): image.PixelMap {
  // 获取resourceManager资源管理器
  const resourceMgr: resourceManager.ResourceManager = context.resourceManager;
  let rawFileDescriptor = resourceMgr.getRawFdSync(fileName);
  const imageSource: image.ImageSource = image.createImageSource(rawFileDescriptor);
  let decodingOptions: image.DecodingOptions = {
    editable: true,
    desiredPixelFormat: 3,
  };
  const pixelMap: image.PixelMap = imageSource.createPixelMapSync(decodingOptions);
  resourceMgr.closeRawFdSync(fileName);
  return pixelMap;
}

function pixelMapAddBackGroundColor(pixleMap: PixelMap, hexColor: string): PixelMap {
  let imageInfo = pixleMap.getImageInfoSync();
  let width = imageInfo.size.width;
  let height = imageInfo.size.height;

  const offScreenCanvas = new OffscreenCanvas(width, height);
  const offScreenContext: OffscreenCanvasRenderingContext2D = offScreenCanvas.getContext('2d');

  const colorBuf: ArrayBuffer = new ArrayBuffer(offScreenCanvas.width * offScreenCanvas.height *
    4);
  const colorInfo: Uint8Array = new Uint8Array(colorBuf);
  // 初始化RGB和Alpha值
  let r = 0;
  let g = 0;
  let b = 0;
  let a = 255;

  // 创建一个数组来存储解析后的颜色值
  let hexArr: number[] = [];
  let length = hexColor.length;

  // 如果十六进制颜色值长度为奇数,则去掉前面的一个字符
  if (length % 2 === 1) {
    hexColor = hexColor.slice(1);
  }

  // 解析十六进制颜色值
  for (let i = 0; i < hexColor.length / 2; i++) {
    // 获取当前两位的十六进制字符
    let charCode1 = Number.parseInt(hexColor[i * 2], 16);
    let charCode2 = Number.parseInt(hexColor[i * 2 + 1], 16);
    // 计算十进制值
    let hexNumber = charCode1 * 16 + charCode2;
    // 将十进制值归一化到0-255的范围,并存储在数组中
    hexArr.push(hexNumber);
  }

  // 判断是否有透明度
  if (hexArr.length > 3) {
    // 有透明度时,从数组中读取Alpha、R、G、B值
    a = hexArr[0];
    r = hexArr[1];
    g = hexArr[2];
    b = hexArr[3];
  } else {
    // 没有透明度时,从数组中读取R、G、B值
    r = hexArr[0];
    g = hexArr[1];
    b = hexArr[2];
  }
  for (let i = 0; i < colorInfo.length; i += 4) {
    colorInfo[i] = b; // Blue
    colorInfo[i + 1] = g; // Green
    colorInfo[i + 2] = r; // Red
    colorInfo[i + 3] = a; // Alpha
  }

  let opts: image.InitializationOptions = {
    editable: true,
    pixelFormat: image.PixelMapFormat.RGBA_8888,
    size: { height: offScreenCanvas.height, width: offScreenCanvas.width }
  };
  const bg = image.createPixelMapSync(colorInfo.buffer, opts);
  offScreenContext.drawImage(bg, 0, 0, offScreenCanvas.width, offScreenCanvas.height);
  offScreenContext.drawImage(pixleMap, 0, 0, offScreenCanvas.width, offScreenCanvas.height);
  let retPixelMap = offScreenContext.getPixelMap(0, 0, offScreenCanvas.width, offScreenCanvas.height);
  return retPixelMap;
}

@Entry
@Component
struct ImageAddBackColor {
  @State pixelMap: PixelMap | undefined = undefined;
  @State resImage: PixelMap | undefined = undefined;

  aboutToAppear() {
    let context = this.getUIContext().getHostContext() as Context;
    this.pixelMap = getPixelMapByImage('test.png', context); // test.png放在resources/rawfile下请根据实际情况替换
  }

  @Styles
  ButtonStyle(){
    .backgroundColor('#0A59F7')
    .width(120)
    .height(35)
    .margin({
      top: 5,
      bottom: 5,
      left: 5,
      right: 5
    });
  }

  build() {
    Column({ space: 5 }) {
      Row({ space: 20 }) {
        Column() {
          Image(this.pixelMap)
            .objectFit(ImageFit.Contain)
            .margin({ right: 5 })
            .width(150)
            .height(150)
        }
        .borderRadius(8)
        .backgroundColor(Color.Gray) // 图片为透明白色为展示效果明显添加灰色背景

        Image(this.resImage)
          .objectFit(ImageFit.Contain)
          .width(150)
          .height(150)
          .borderRadius(8);
      }

      Button('添加背景色').ButtonStyle()
        .onClick(() => {
          this.resImage = pixelMapAddBackGroundColor(this.pixelMap as PixelMap, '#FFD1D1D6');
        });
    }
    .justifyContent(FlexAlign.Center)
    .width('100%')
    .height('100%');
  }
}
效果预览:
- 对蒙版图片多次创建纯色背景:
为避免批量处理图片导致线程阻塞,可采用异步接口createPixelMap或多线程TaskPool。
使用异步方法适用于轻量级任务,但无法并行处理任务,且若多个异步任务间存在时序依赖,可能导致回调嵌套问题。
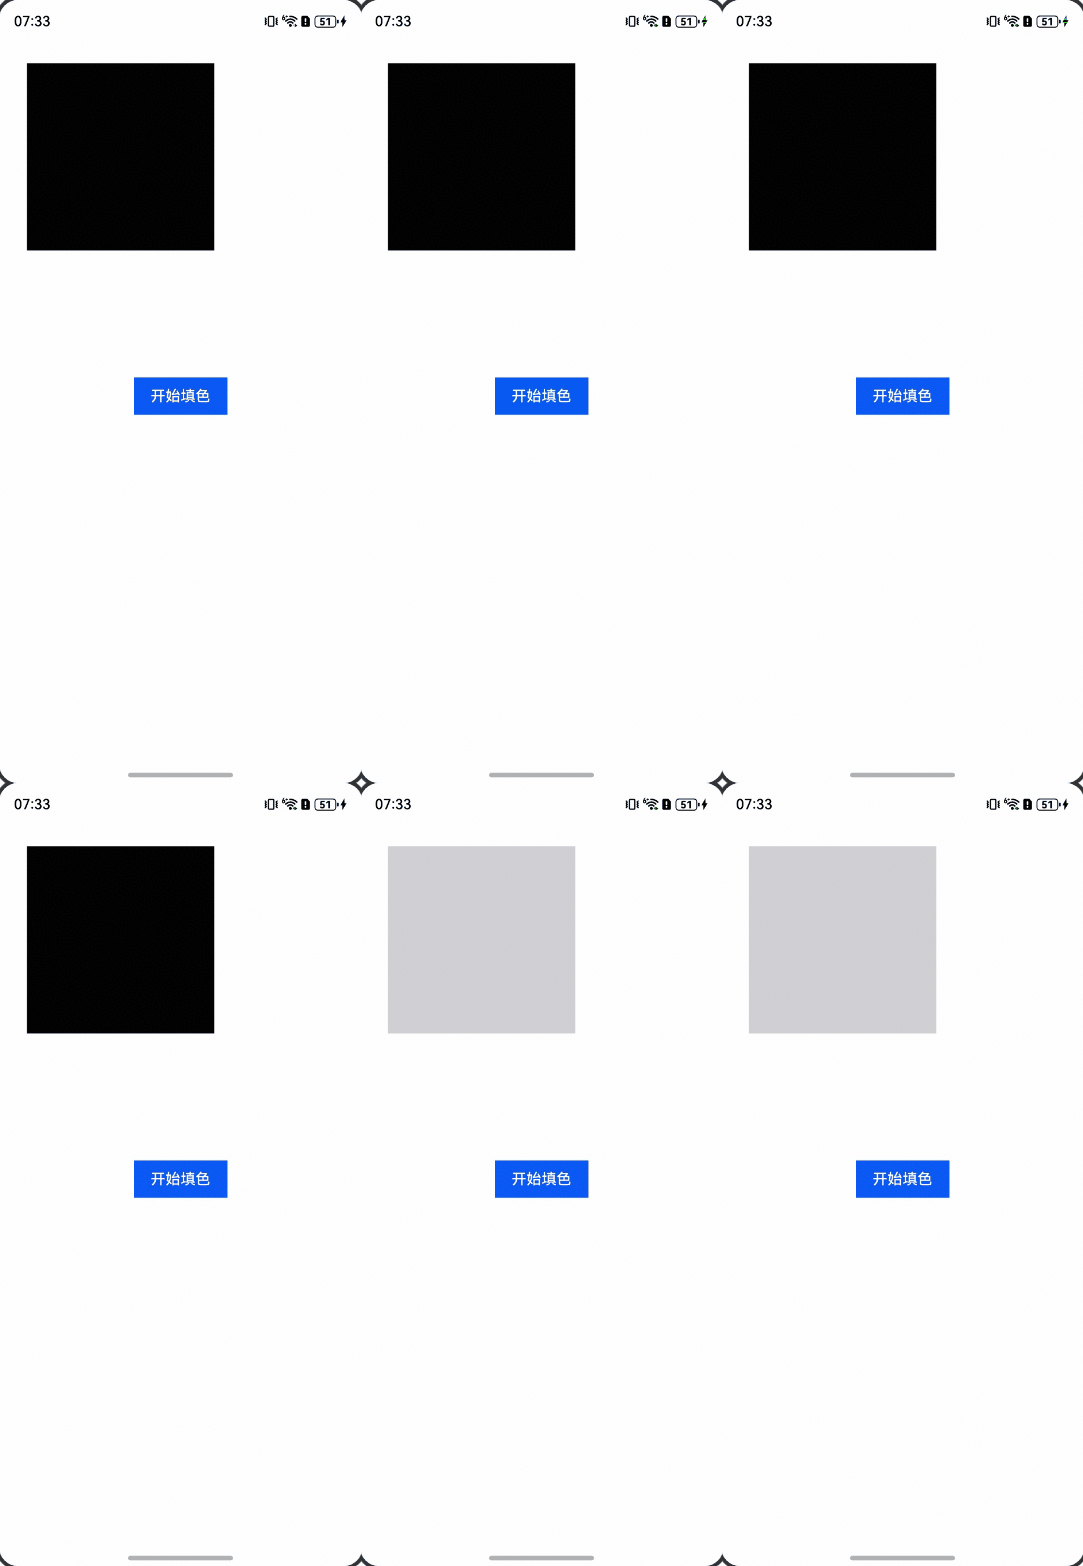
使用TaskPool可以发挥多核优势,对于批量数据处理时实现多核并行计算,提高性能。通过createPixelMapSync多次创建纯色图片的耗时任务,分配给后台线程并行执行,主线程可以继续处理其他任务,保持应用的流畅性和响应性。
多线程创建纯色图。
import image from '@ohos.multimedia.image';
import { drawing } from '@kit.ArkGraphics2D';
import { floodFillScanLineWithStack } from './FloodFillAlgorithm';
import { taskpool } from '@kit.ArkTS';
import { BusinessError } from '@kit.BasicServicesKit';

/**
 *
 * @param paramX - 起始填充点的 X 坐标
 * @param paramY - 起始填充点的 Y 坐标
 * @param newColor - 新的颜色值(ARGB 格式)
 * @param pixels - 原始像素数据(ArrayBuffer)
 * @param width - 图像宽度
 * @param height - 图像高度
 * @returns 处理后的像素数据(ArrayBuffer)
 */
@Concurrent
function executeFloodFillTask(
  paramX: number,
  paramY: number,
  newColor: number,
  pixels: ArrayBuffer,
  width: number,
  height: number
) {
  console.info('填色开始');
  let pixelArray = new Int32Array(pixels);
  floodFillScanLineWithStack(paramX, paramY, newColor, pixelArray, width, height);
  console.info('填色结束');
  return pixels;
}

@Entry
@ComponentV2
struct FillColorComponent {
  @Local currPixelMap: PixelMap | null = null;
  // 存储图像的宽高(单位:像素)
  private imgWidth: number = 0;
  private imgHeight: number = 0;
  // 当前填充颜色值(ARGB 格式,默认黑色)
  private currColor: number = 0xff000000;
  // 标记是否正在进行填充
  private isFill: boolean = false;

  build() {
    RelativeContainer() {
      Image(this.currPixelMap)
        .width(200)
        .height(200)
        .objectFit(ImageFit.Fill)
        .onAreaChange((oldArea, newArea) => {
          console.info(`原前宽为:${oldArea.width}, 原前高为:${oldArea.height}`);
          // 将视口单位(vp)转换为真实像素值
          this.imgWidth = this.getUIContext().vp2px(newArea.width as number);
          this.imgHeight = this.getUIContext().vp2px(newArea.height as number);
          console.info(`当前宽为:${this.imgWidth}, 当前高为:${this.imgHeight}`);
          this.initFillColor();
        });
      Button('开始填色', { type: ButtonType.Normal })
        .width(100)
        .height(40)
        .fontColor(Color.White)
        .fontSize(16)
        .backgroundColor('#0A59F7')
        .alignRules({
          center: { anchor: '__container__', align: VerticalAlign.Center },
          middle: { anchor: '__container__', align: HorizontalAlign.Center }
        })
        .onClick(() => {
          this.startFillColor().catch((error: BusinessError) => {
            console.error(`填充失败, error is ${error}`);
          });
        });
    }
    .padding(30)
    .height('100%')
    .width('100%');
  }

  /**
   * 初始化图像填充环境
   * 创建一个空白的可编辑像素图(PixelMap),用于后续绘制和填充
   */
  private initFillColor() {
    // 创建一个用于存储像素数据的 ArrayBuffer 大小为:宽 × 高 × 4 字节(RGBA 每像素 4 字节)
    const colorArr = new ArrayBuffer(this.imgWidth * this.imgHeight * 4);
    let tempPixelMap = image.createPixelMapSync(colorArr, {
      editable: true,
      pixelFormat: image.PixelMapFormat.RGBA_8888,
      size: { height: this.imgHeight, width: this.imgWidth }
    });
    const canvas = new drawing.Canvas(tempPixelMap);
    canvas.drawColor(255, 0, 0, 0);
    this.currPixelMap = tempPixelMap;
  }

  /**
   * 开始执行填充操作
   * 包括检查状态、准备数据、提交异步任务等
   */

  private async startFillColor() {
    if (this.currPixelMap == null) {
      return;
    }

    if (this.isFill) {
      return;
    }

    this.isFill = true;
    this.currColor = this.currColor === 0xff000000 ? 0xFFD1D1D6 : 0xff000000;

    // 创建一个缓冲区,用于读取当前 PixelMap 的像素数据
    const colorBuffer = new ArrayBuffer(this.currPixelMap.getPixelBytesNumber());
    this.currPixelMap.readPixelsToBufferSync(colorBuffer);

    // 获取图像信息(如尺寸)
    const imgSize = this.currPixelMap.getImageInfoSync().size;
    const imgWidth = imgSize.width;
    const imgHeight = imgSize.height;

    // 从当前颜色值中解析出 ARGB 各分量
    const alpha = (this.currColor >> 24) & 0xff;
    const red = (this.currColor >> 16) & 0xff;
    const green = (this.currColor >> 8) & 0xff;
    const blue = this.currColor & 0xff;
    const replaceColor = red | green << 8 | blue << 16 | alpha << 24;
    console.info('被替换的颜色为:', replaceColor);
    const task = new taskpool.Task(
      executeFloodFillTask,
      100, 100, replaceColor, colorBuffer, imgWidth, imgHeight
    );
    taskpool.execute(task)
      .then((data) => {
        this.currPixelMap = image.createPixelMapSync(data as ArrayBuffer, {
          editable: true,
          srcPixelFormat: image.PixelMapFormat.RGBA_8888,
          pixelFormat: image.PixelMapFormat.RGBA_8888,
          size: { height: imgHeight, width: imgWidth }
        });
        this.isFill = false;
      })
      .catch((error: BusinessError) => {
        console.error(`填充失败, error  is ${error}`);
        this.isFill = false;
      });
  }
}
FloodFillAlgorithm.ets需要放置在Pages目录下,完整示例参考如下:
/**
 * 扫描填充算法(Scanline Flood Fill)
 * @param startX 起始 x 坐标(number)
 * @param startY 起始 y 坐标(number)
 * @param newColor 新颜色值(Int32,RGBA 格式)
 * @param pixels 像素数据数组(Int32Array)
 * @param width 图像宽度(number)
 * @param height 图像高度(number)
 * @returns void
 */
export function floodFillScanLineWithStack(
  startX: number,
  startY: number,
  newColor: number,
  pixels: Int32Array,
  width: number,
  height: number
): void {
  // 检查起始坐标是否越界
  if (
    startX < 0 || startX >= width ||
      startY < 0 || startY >= height
  ) {
    console.warn(
      '起始坐标超出图像范围:x=%d, y=%d',
      startX,
      startY
    );
    return;
  }

  // 获取起始点颜色
  const initialPixelIndex = startY * width + startX;
  const oldColor = pixels[initialPixelIndex];

  // 如果新旧颜色相同,直接返回
  if (oldColor === newColor) {
    console.info(
      '新旧颜色相同:起始点(%d, %d),颜色=%s',
      startX,
      startY,
      int32ToRgba(newColor)
    );
    return;
  }

  interface StackCoordinate {
    x: number;
    y: number;
  }

  const processingStack: StackCoordinate[] = [];
  const visitedCoordinates = new Set<string>();

  // 用于快速获取像素索引
  const getIndex = (x: number, y: number): number => {
    return y * width + x;
  };

  // 将起始点入栈
  processingStack.push({ x: startX, y: startY });

  // 打印开始信息(使用 rgba 格式)
  console.info(
    '填充开始:起始点(%d, %d),旧颜色=%s,新颜色=%s',
    startX,
    startY,
    int32ToRgba(oldColor),
    int32ToRgba(newColor)
  );

  while (processingStack.length > 0) {
    const currentCoordinate = processingStack.pop();
    if (!currentCoordinate) {
      continue;
    }

    const x = currentCoordinate.x;
    const y = currentCoordinate.y;
    const pixelIndex = getIndex(x, y);

    // 越界、颜色不匹配、已访问
    if (
      x < 0 ||
        x >= width ||
        y < 0 ||
        y >= height ||
        pixels[pixelIndex] !== oldColor ||
      visitedCoordinates.has(`${x},${y}`)
    ) {
      continue;
    }

    // 标记为已访问
    visitedCoordinates.add(`${x},${y}`);

    // 填充当前像素为新颜色
    pixels[pixelIndex] = newColor;

    // 向上扫描:找到最上端的旧颜色像素
    let upperEdgeY = y - 1;
    while (
      upperEdgeY >= 0 &&
        pixels[getIndex(x, upperEdgeY)] === oldColor
    ) {
      upperEdgeY--;
    }
    upperEdgeY++; // 起始行

    // 向下扫描:找到最下端的旧颜色像素
    let lowerEdgeY = y + 1;
    while (
      lowerEdgeY < height &&
        pixels[getIndex(x, lowerEdgeY)] === oldColor
    ) {
      lowerEdgeY++;
    }
    lowerEdgeY--; // 结束行

    // 填充当前列(upperEdgeY 到 lowerEdgeY)
    for (let currentY = upperEdgeY; currentY <= lowerEdgeY; currentY++) {
      const columnPixelIndex = getIndex(x, currentY);
      if (pixels[columnPixelIndex] === oldColor) {
        pixels[columnPixelIndex] = newColor;
      }
    }

    // 扫描左右方向的连续区域(水平扫描)
    let leftEdgeX = x - 1;
    let rightEdgeX = x + 1;

    // 向左扫描连续的旧颜色
    while (
      leftEdgeX >= 0 &&
        pixels[getIndex(leftEdgeX, y)] === oldColor
    ) {
      leftEdgeX--;
    }
    leftEdgeX++; // 起始点

    // 向右扫描连续的旧颜色
    while (
      rightEdgeX < width &&
        pixels[getIndex(rightEdgeX, y)] === oldColor
    ) {
      rightEdgeX++;
    }
    rightEdgeX--; // 结束点

    // 将左右行的相邻点入栈(仅在有新区域时)
    for (let currentX = leftEdgeX; currentX <= rightEdgeX; currentX++) {
      const rowPixelIndex = getIndex(currentX, y);
      if (pixels[rowPixelIndex] === oldColor) {
        // 检查上下相邻点是否为旧颜色,避免重复入栈
        if (y > 0 && pixels[getIndex(currentX, y - 1)] === oldColor) {
          processingStack.push({ x: currentX, y: y - 1 });
        }
        if (y < height - 1 && pixels[getIndex(currentX, y + 1)] === oldColor) {
          processingStack.push({ x: currentX, y: y + 1 });
        }
      }
    }
  }

  // 输出完成信息
  console.info(
    '填充完成:起始点(%d, %d),新颜色=%s',
    startX,
    startY,
    int32ToRgba(newColor)
  );
}

// 工具函数:Int32 颜色 → rgba(R, G, B, A) 字符串
function int32ToRgba(color: number): string {
  const alpha = (color >> 24) & 0xFF;
  const red = (color >> 16) & 0xFF;
  const green = (color >> 8) & 0xFF;
  const blue = color & 0xFF;

  return `rgba(${red}, ${green}, ${blue}, ${alpha / 255})`;
}
效果预览:
- 对一张蒙版图片创建纯色背景:
- 方案三:使用readPixelsToBufferSync遍历像素中的透明像素实现纯色背景。
通过接口readPixelsToBufferSync访问PixelMap的像素数据,对透明部分的像素点添加为底色。
import { image } from '@kit.ImageKit';
import { resourceManager } from '@kit.LocalizationKit';

function getPixelMapByImage(fileName: string, context: Context): image.PixelMap {
  // 获取resourceManager资源管理器
  const resourceMgr: resourceManager.ResourceManager = context.resourceManager;
  let rawFileDescriptor = resourceMgr.getRawFdSync(fileName);
  const imageSource: image.ImageSource = image.createImageSource(rawFileDescriptor);
  let decodingOptions: image.DecodingOptions = {
    editable: true,
    desiredPixelFormat: 3,
  };
  const pixelMap: image.PixelMap = imageSource.createPixelMapSync(decodingOptions);
  resourceMgr.closeRawFdSync(fileName);
  return pixelMap;
}

function hexColorToRGBA(hexColor: string) {
  // 初始化RGB和Alpha值
  let r = 0;
  let g = 0;
  let b = 0;
  let a = 255;

  // 创建一个数组来存储解析后的颜色值
  let hexArr: number[] = [];
  let length = hexColor.length;

  // 如果十六进制颜色值长度为奇数,则去掉前面的一个字符
  if (length % 2 === 1) {
    hexColor = hexColor.slice(1);
  }

  // 解析十六进制颜色值
  for (let i = 0; i < hexColor.length / 2; i++) {
    // 获取当前两位的十六进制字符
    let charCode1 = Number.parseInt(hexColor[i * 2], 16);
    let charCode2 = Number.parseInt(hexColor[i * 2 + 1], 16);
    // 计算十进制值
    let hexNumber = charCode1 * 16 + charCode2;
    // 将十进制值归一化到0-255的范围,并存储在数组中
    hexArr.push(hexNumber);
  }

  // 判断是否有透明度
  if (hexArr.length > 3) {
    // 有透明度时,从数组中读取Alpha、R、G、B值
    a = hexArr[0];
    r = hexArr[1];
    g = hexArr[2];
    b = hexArr[3];
  } else {
    // 没有透明度时,从数组中读取R、G、B值
    r = hexArr[0];
    g = hexArr[1];
    b = hexArr[2];
  }

  return [r, g, b, a];
}

function pixelMapAddBackGroundColorByRgb(pixelMap: PixelMap, hexColor: string): PixelMap {
  let imageInfo = pixelMap.getImageInfoSync();
  let width = imageInfo.size.width;
  let height = imageInfo.size.height;

  // 获取图片像素值
  let readBuffer: ArrayBuffer = new ArrayBuffer(width * height * 4);
  pixelMap.readPixelsToBufferSync(readBuffer);
  let byteBuffer: Uint32Array = new Uint32Array(readBuffer);
  let finalBinary: Uint8Array = new Uint8Array(new ArrayBuffer(width * height * 4));

  // 初始化RGB和Alpha值
  let rgba = hexColorToRGBA(hexColor);

  for (let i = 0; i < (width * height); i++) {
    let rgb = byteBuffer[i];
    let red = (rgb >> 0) & 0x000000ff;
    let green = (rgb >> 8) & 0x000000ff;
    let blue = (rgb >> 16) & 0x000000ff;
    let alpha = (rgb >> 24) & 0x000000ff;
    if (alpha === 0) {
      finalBinary[i * 4] = rgba[2]; // Blue
      finalBinary[i * 4 + 1] = rgba[1]; // Green
      finalBinary[i * 4 + 2] = rgba[0]; // Red
      finalBinary[i * 4 + 3] = rgba[3]; // Alpha
    } else {
      // RGBA转ARGB数据
      finalBinary[i * 4] = blue;
      finalBinary[i * 4 + 1] = green;
      finalBinary[i * 4 + 2] = red;
      finalBinary[i * 4 + 3] = alpha;
    }

  }

  let color: ArrayBuffer = finalBinary.buffer as ArrayBuffer;
  let opts: image.InitializationOptions = { editable: true, pixelFormat: 3, size: { height: height, width: width } };
  let pixelMapTemp: image.PixelMap = image.createPixelMapSync(color, opts);
  return pixelMapTemp;
}

@Entry
@Component
struct ImageAddBackColor {
  @State pixelMap: PixelMap | undefined = undefined;
  @State resImage: PixelMap | undefined = undefined;

  aboutToAppear() {
    let context = this.getUIContext().getHostContext() as Context;
    this.pixelMap = getPixelMapByImage('test.png', context); // test.png放在resources/rawfile下请根据实际情况替换
  }

  @Styles
  ButtonStyle(){
    .backgroundColor('#0A59F7')
    .width(120)
    .height(35)
    .margin({
      top: 5,
      bottom: 5,
      left: 5,
      right: 5
    });
  }

  build() {
    Column({ space: 5 }) {
      Row({ space: 20 }) {
        Column() {
          Image(this.pixelMap)
            .objectFit(ImageFit.Contain)
            .margin({ right: 5 })
            .width(150)
            .height(150)
        }
        .borderRadius(8)
        .backgroundColor(Color.Gray) // 图片为透明白色为展示效果明显添加灰色背景

        Image(this.resImage)
          .objectFit(ImageFit.Contain)
          .width(150)
          .height(150)
          .borderRadius(8);
      }

      Button('添加背景色').ButtonStyle()
        .onClick(() => {
          this.resImage = pixelMapAddBackGroundColorByRgb(this.pixelMap as PixelMap, '#FFD1D1D6');
        });
    }
    .justifyContent(FlexAlign.Center)
    .width('100%')
    .height('100%');
  }
}
效果预览:
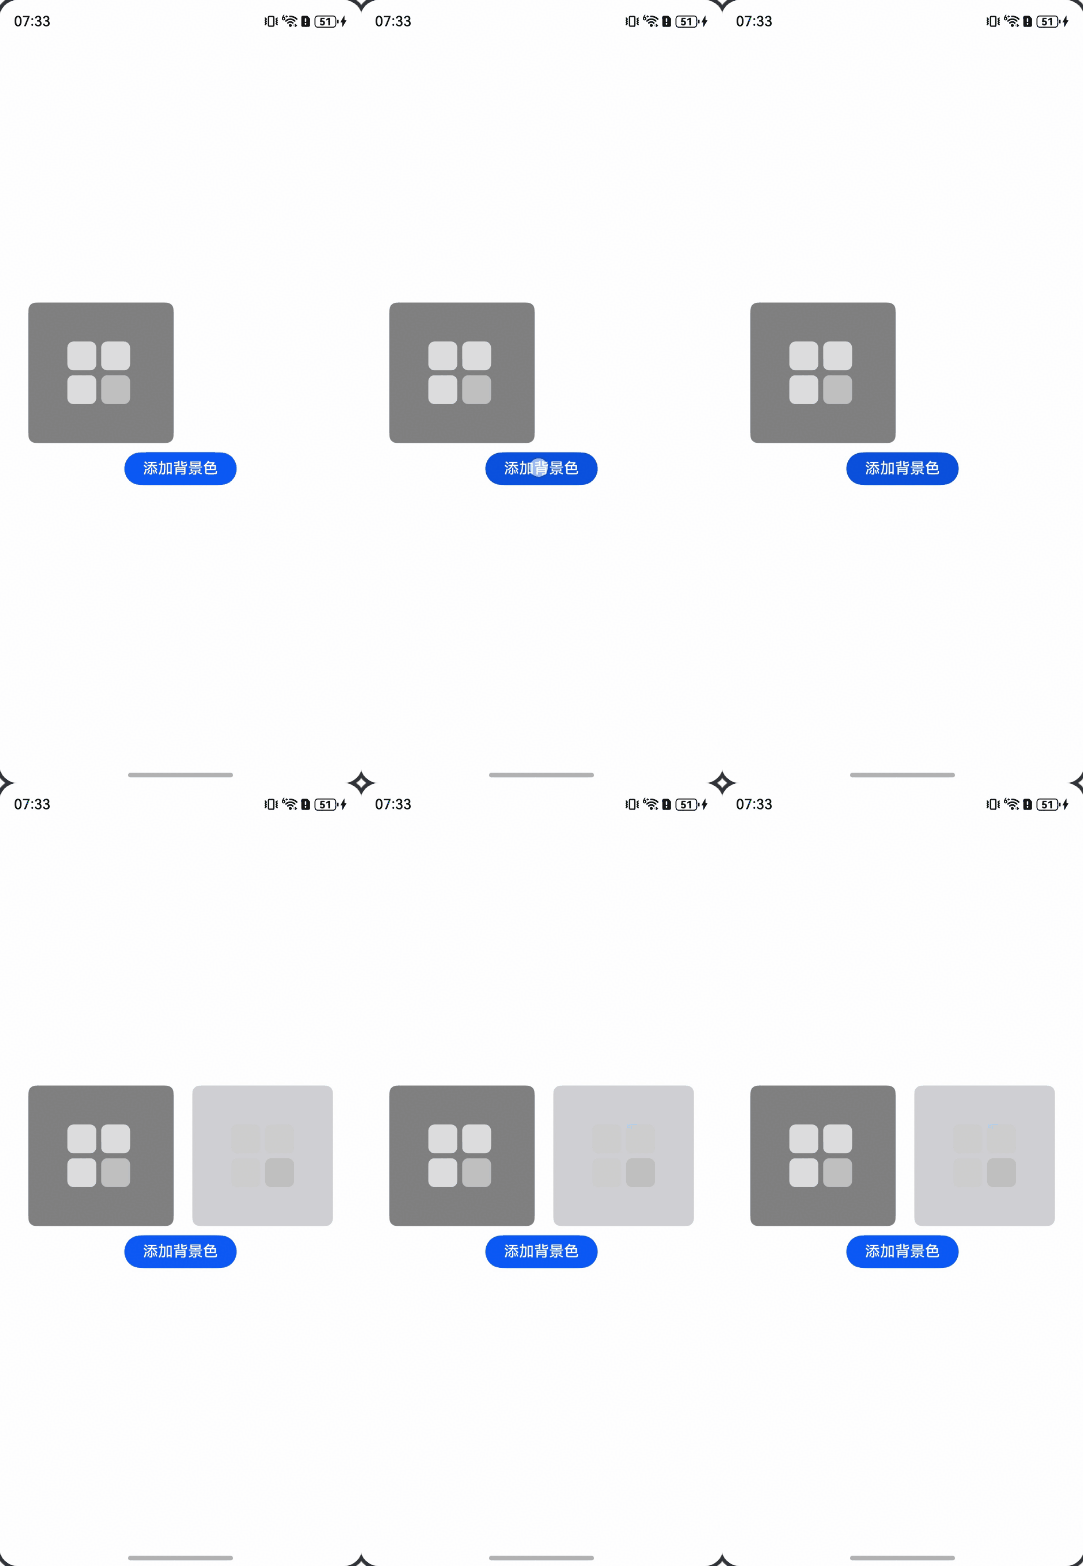
场景二:为图片创建渐变色背景。
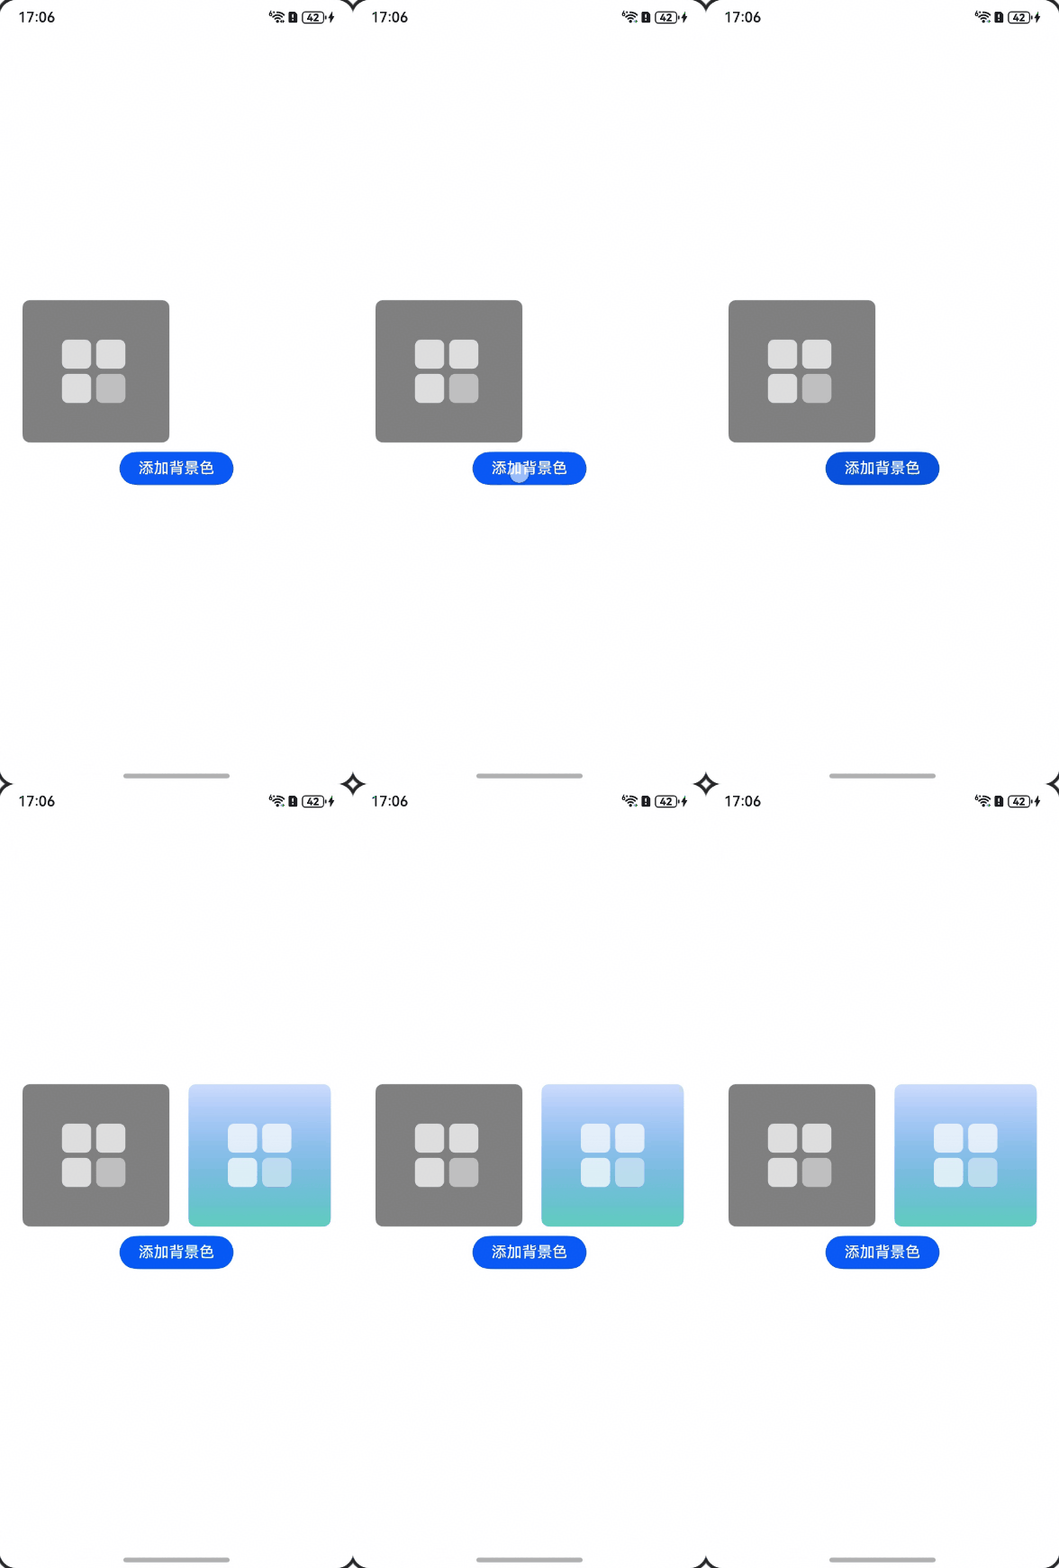
- 使用ShaderEffect实现渐变色背景:
先创建一个空的PixelMap作为Canvas的底图,渲染到Canvas,通过ShaderEffect设置着色,Brush画刷绘制铺满PixelMap的图形,再绘制图片到Canvas,返回叠加后的图片PixelMap。
为PixelMap图片添加两种颜色渐变的底色:
import { image } from '@kit.ImageKit';
import { resourceManager } from '@kit.LocalizationKit';
import { common2D, drawing } from '@kit.ArkGraphics2D';

// colors数组中的值为32位无符号整数(ARGB)
function drawCanvasBackgroundImage(pixelMap: PixelMap, colors: number[]) {
  let imageInfo = pixelMap.getImageInfoSync();
  let size: Size = imageInfo.size;
  let canvasRect: common2D.Rect = {
    left: 0,
    top: 0,
    right: size.width,
    bottom: size.height
  };
  // 通过设置startPt和endPt可以改变渐变方向
  let startPt: common2D.Point = { x: 0, y: 0 };
  let endPt: common2D.Point = { x: 0, y: size.height };
  // pos表示每种对应颜色在颜色数组中的相对位置。
  const pos: number[] = [0, 1];
  const pixelMapColor: ArrayBuffer = new ArrayBuffer(size.width * size.height * 4);
  const options: image.InitializationOptions = {
    editable: true,
    pixelFormat: image.PixelMapFormat.RGBA_8888,
    size: size
  };
  const canvasPixelMap = image.createPixelMapSync(pixelMapColor, options);
  const canvas = new drawing.Canvas(canvasPixelMap);
  // 创建渐变色着色器
  let shaderEffect =
    drawing.ShaderEffect.createLinearGradient(startPt, endPt, colors, drawing.TileMode.CLAMP, pos);
  // pos数组长度需和colors保持一致,数组的首个元素应当是0.0,末尾元素应当是1.0,中间的元素应当在0与1之间并且逐下标递增,表示colors中每个对应颜色的相对位置。
  // pos默认为null,表示颜色均匀分布在起点和终点之间。
  let brush = new drawing.Brush();
  brush.setShaderEffect(shaderEffect);
  canvas.attachBrush(brush);
  canvas.drawRect(canvasRect);
  canvas.detachBrush();
  canvas.drawImage(pixelMap, 0, 0);
  return canvasPixelMap;
}

@Entry
@Component
struct ImageWithGradientBackground {
  @State pixelMap: PixelMap | undefined = undefined;
  @State resImage: PixelMap | undefined = undefined;

  getPixelMapByImage(fileName: string): image.PixelMap {
    const context: Context = this.getUIContext().getHostContext() as Context;
    // 获取resourceManager资源管理器
    const resourceMgr: resourceManager.ResourceManager = context.resourceManager;
    let rawFileDescriptor = resourceMgr.getRawFdSync(fileName);
    const imageSource: image.ImageSource = image.createImageSource(rawFileDescriptor);
    let decodingOptions: image.DecodingOptions = {
      editable: true,
      desiredPixelFormat: 3,
    };
    const pixelMap: image.PixelMap = imageSource.createPixelMapSync(decodingOptions);
    resourceMgr.closeRawFdSync(fileName);
    return pixelMap;
  }

  aboutToAppear() {
    this.pixelMap = this.getPixelMapByImage('test.png'); // test.png放在resources/rawfile下请根据实际情况替换
  }

  @Styles
  ButtonStyle(){
    .backgroundColor('#0A59F7')
    .width(120)
    .height(35)
    .margin({
      top: 5,
      bottom: 5,
      left: 5,
      right: 5
    });
  }

  build() {
    Column({ space: 5 }) {
      Row({ space: 20 }) {
        Column() {
          Image(this.pixelMap)
            .objectFit(ImageFit.Contain)
            .margin({ right: 5 })
            .width(150)
            .height(150)
        }
        .borderRadius(8)
        .backgroundColor(Color.Gray) // 图片为透明白色为展示效果明显添加灰色背景

        Image(this.resImage)
          .objectFit(ImageFit.Contain)
          .width(150)
          .height(150)
          .borderRadius(8);
      }

      Button('添加背景色').ButtonStyle()
        .onClick(() => {
          this.resImage = drawCanvasBackgroundImage(this.pixelMap as PixelMap, [0x330A59F7, 0xFF61CFBE]);
        });
    }
    .justifyContent(FlexAlign.Center)
    .width('100%')
    .height('100%');
  }
}
效果预览:
总结
场景 | 使用方法 |
|---|---|
纯色背景 | Canvas绘制一个矩形并填充底色,再绘制图片到Canvas,返回叠加后的图片。 createPixelMapSync创建纯色图片,通过OffscreenCanvasRenderingContext2D进行离屏渲染达到底色效果。 readPixelsToBufferSync遍历像素中的透明像素实现纯色背景。 |
渐变色背景 | 使用ShaderEffect实现渐变色背景。 |