问题现象
当给组件设置阴影属性时,可以实现投影效果,使组件具有悬浮和立体感。以下是几种具体的投影效果:
场景 | 场景说明 |
|---|---|
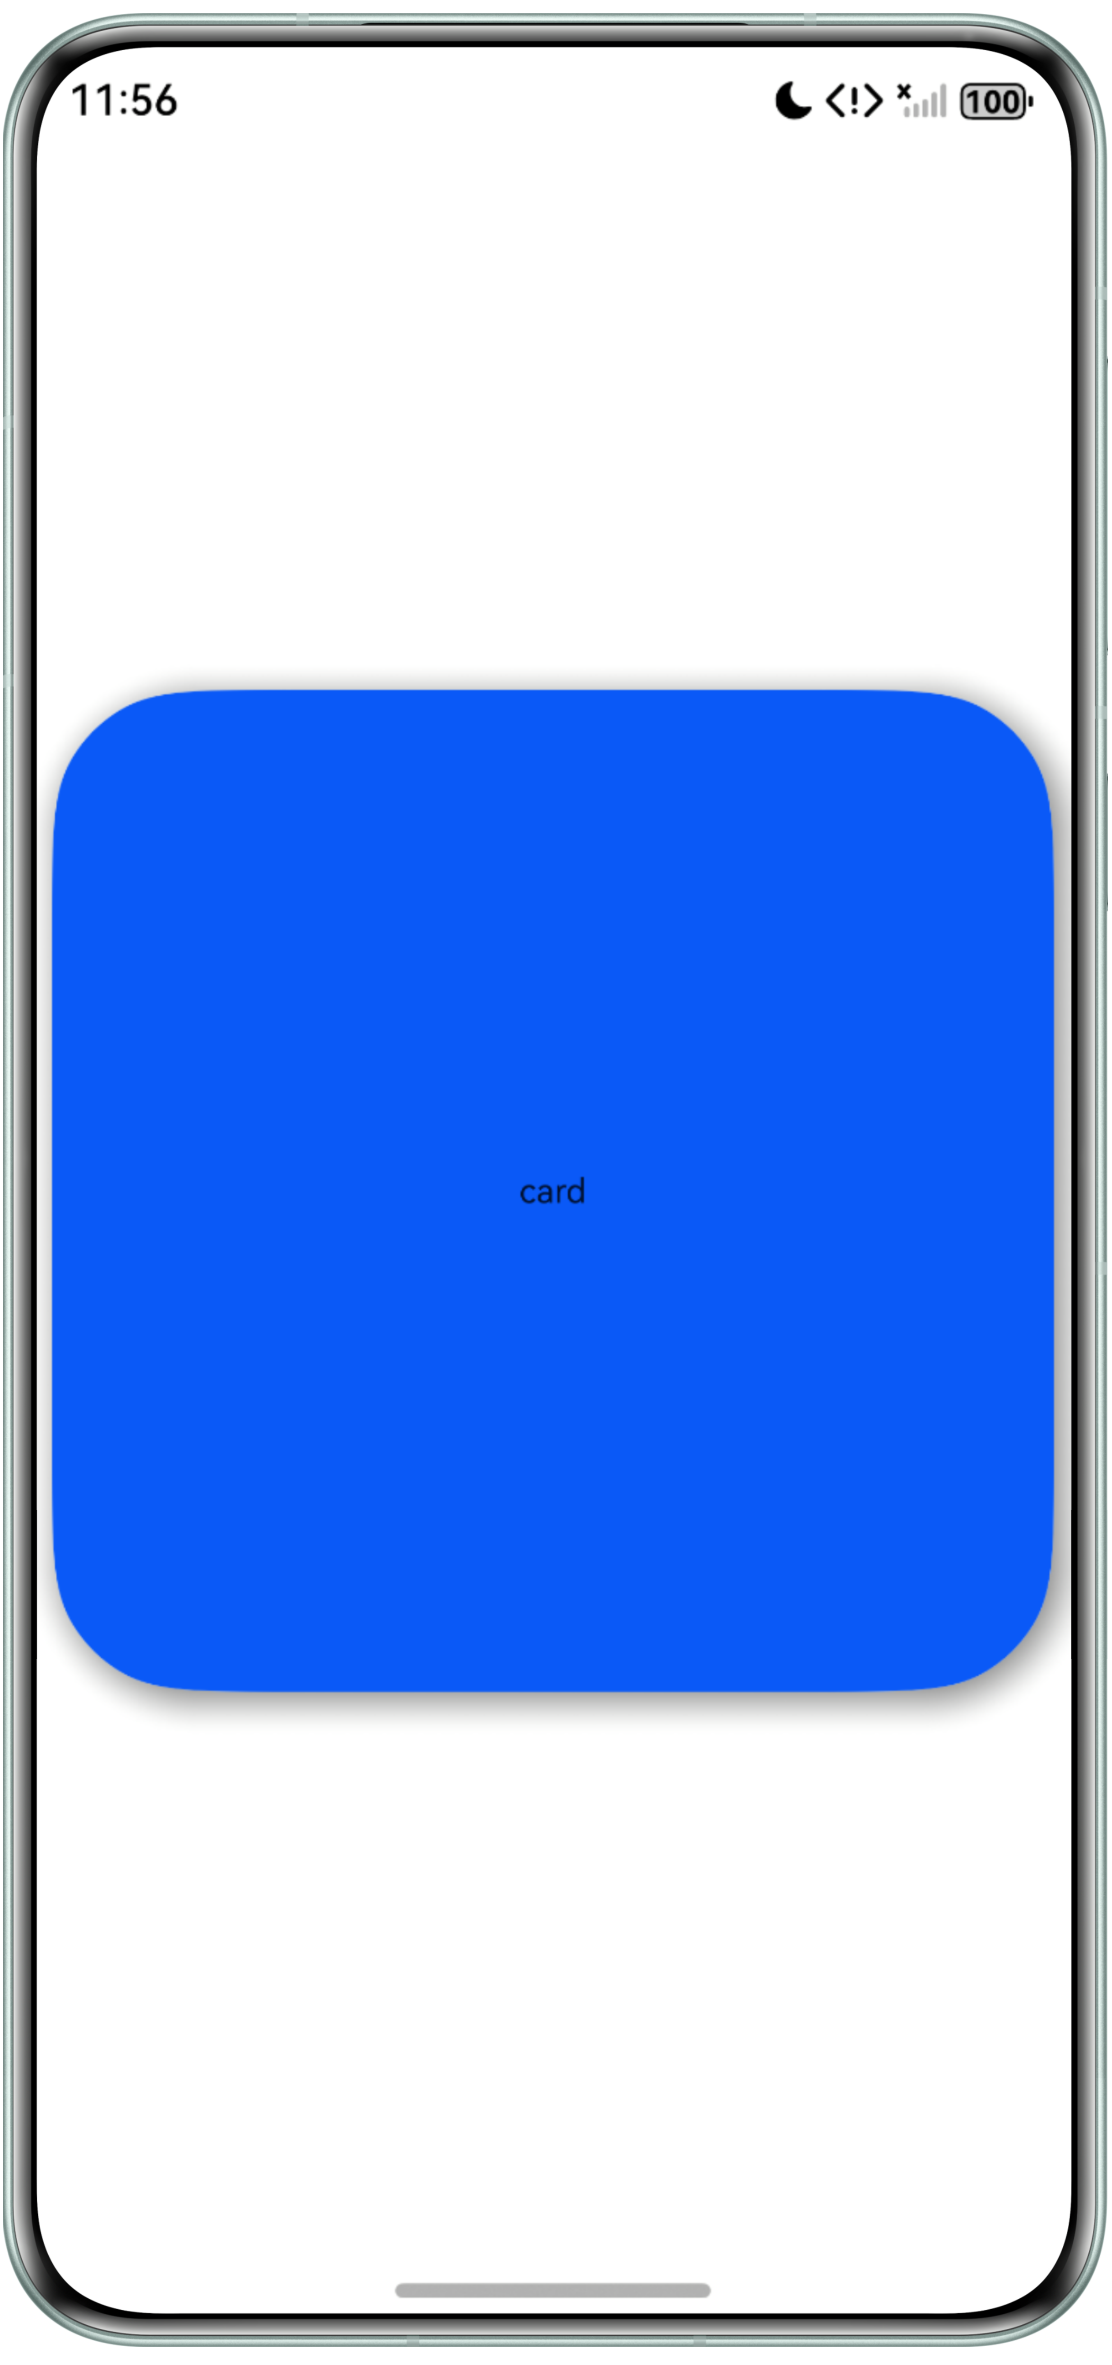
场景一:实现右下角投影效果 | 当阴影仅添加在右下角时,可以模拟光从左上角打过来的视觉效果。 |
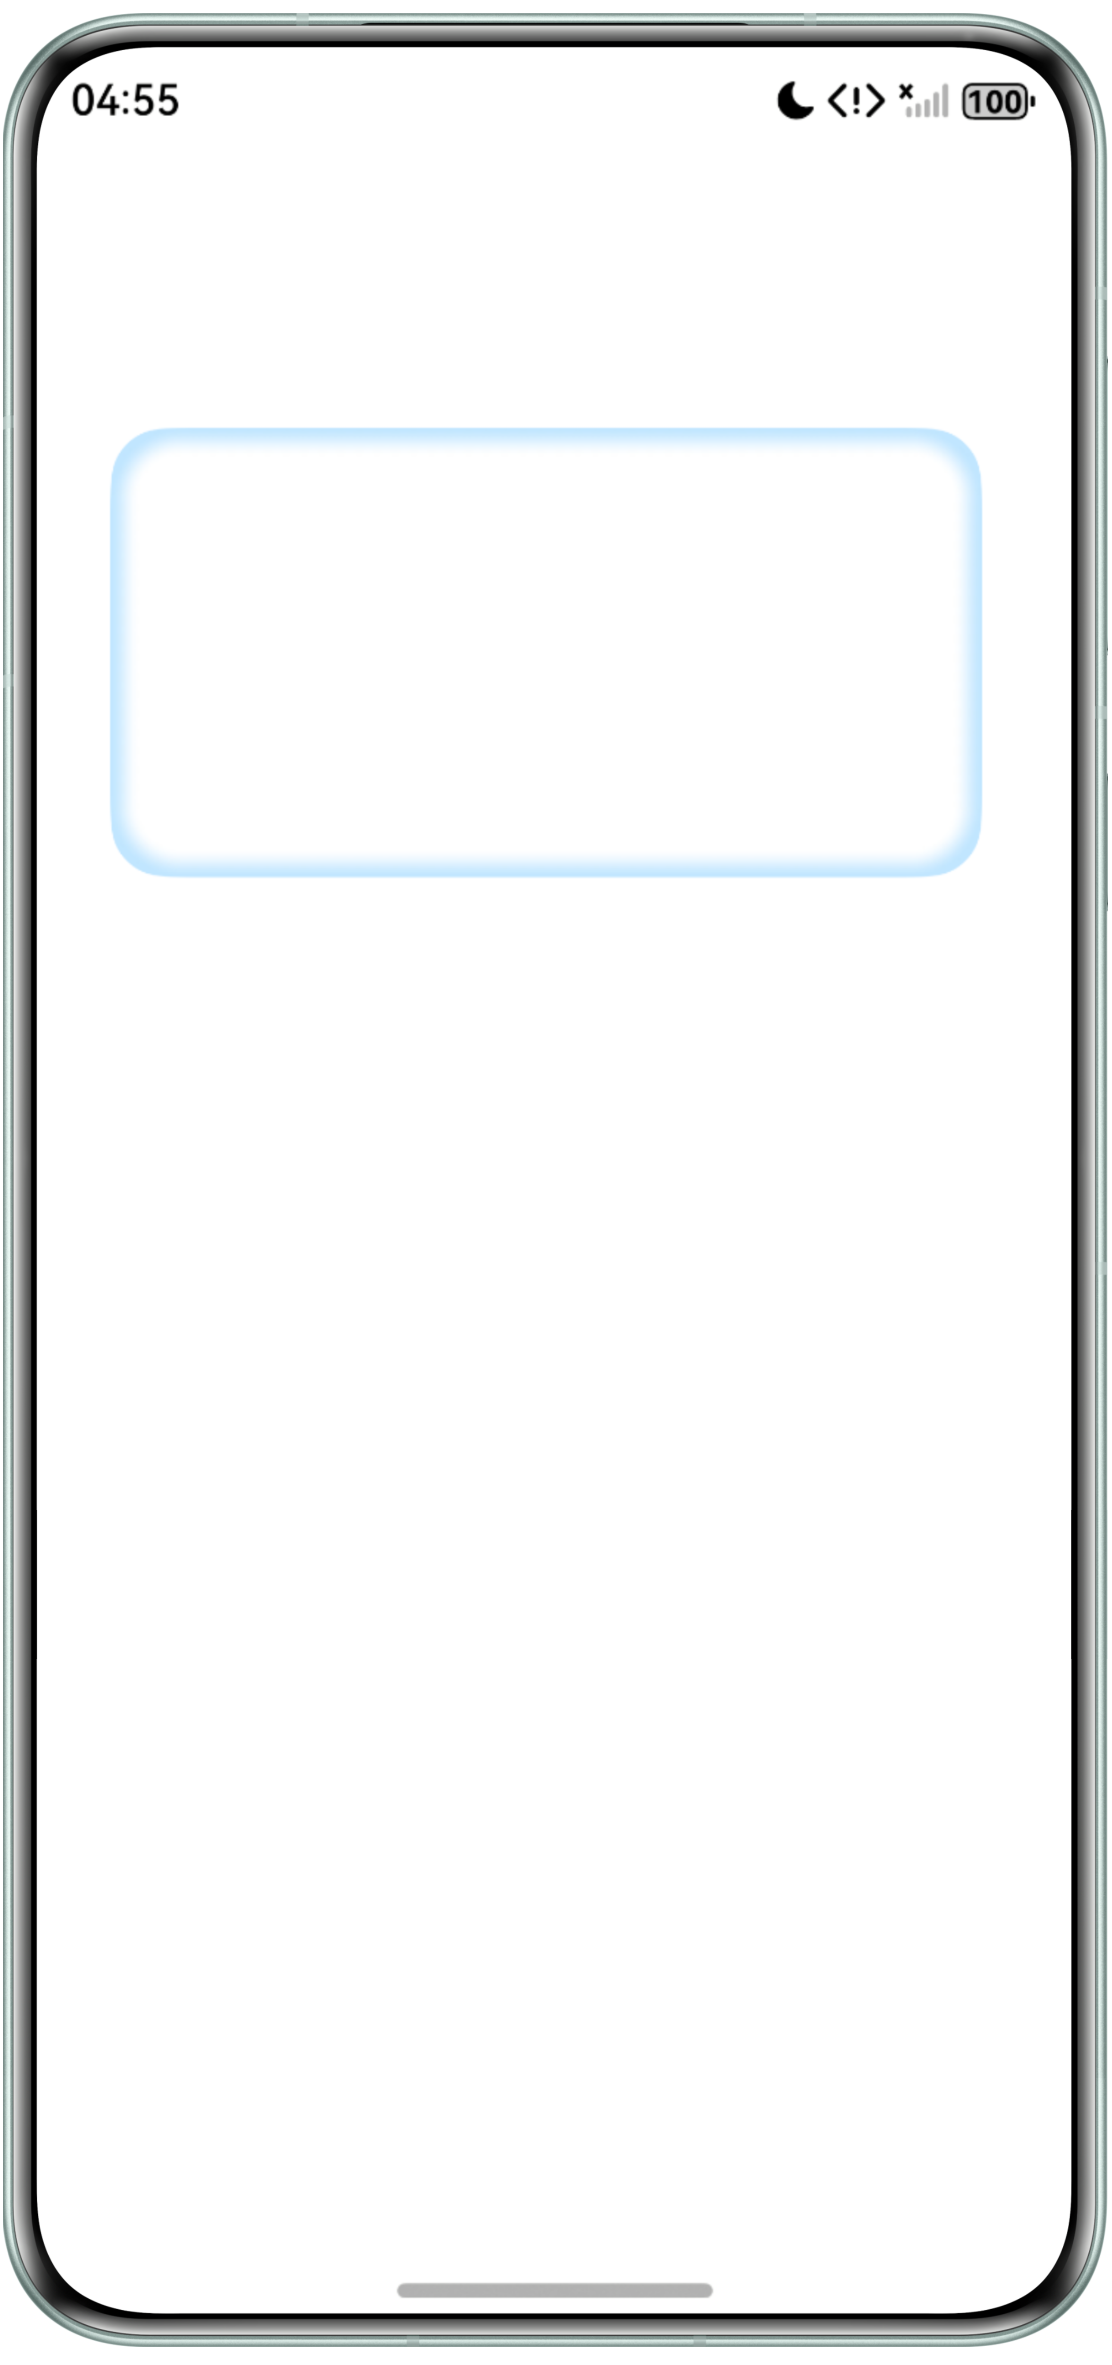
场景二:实现阴影扩展效果 | 控制阴影区域向外扩展。 |
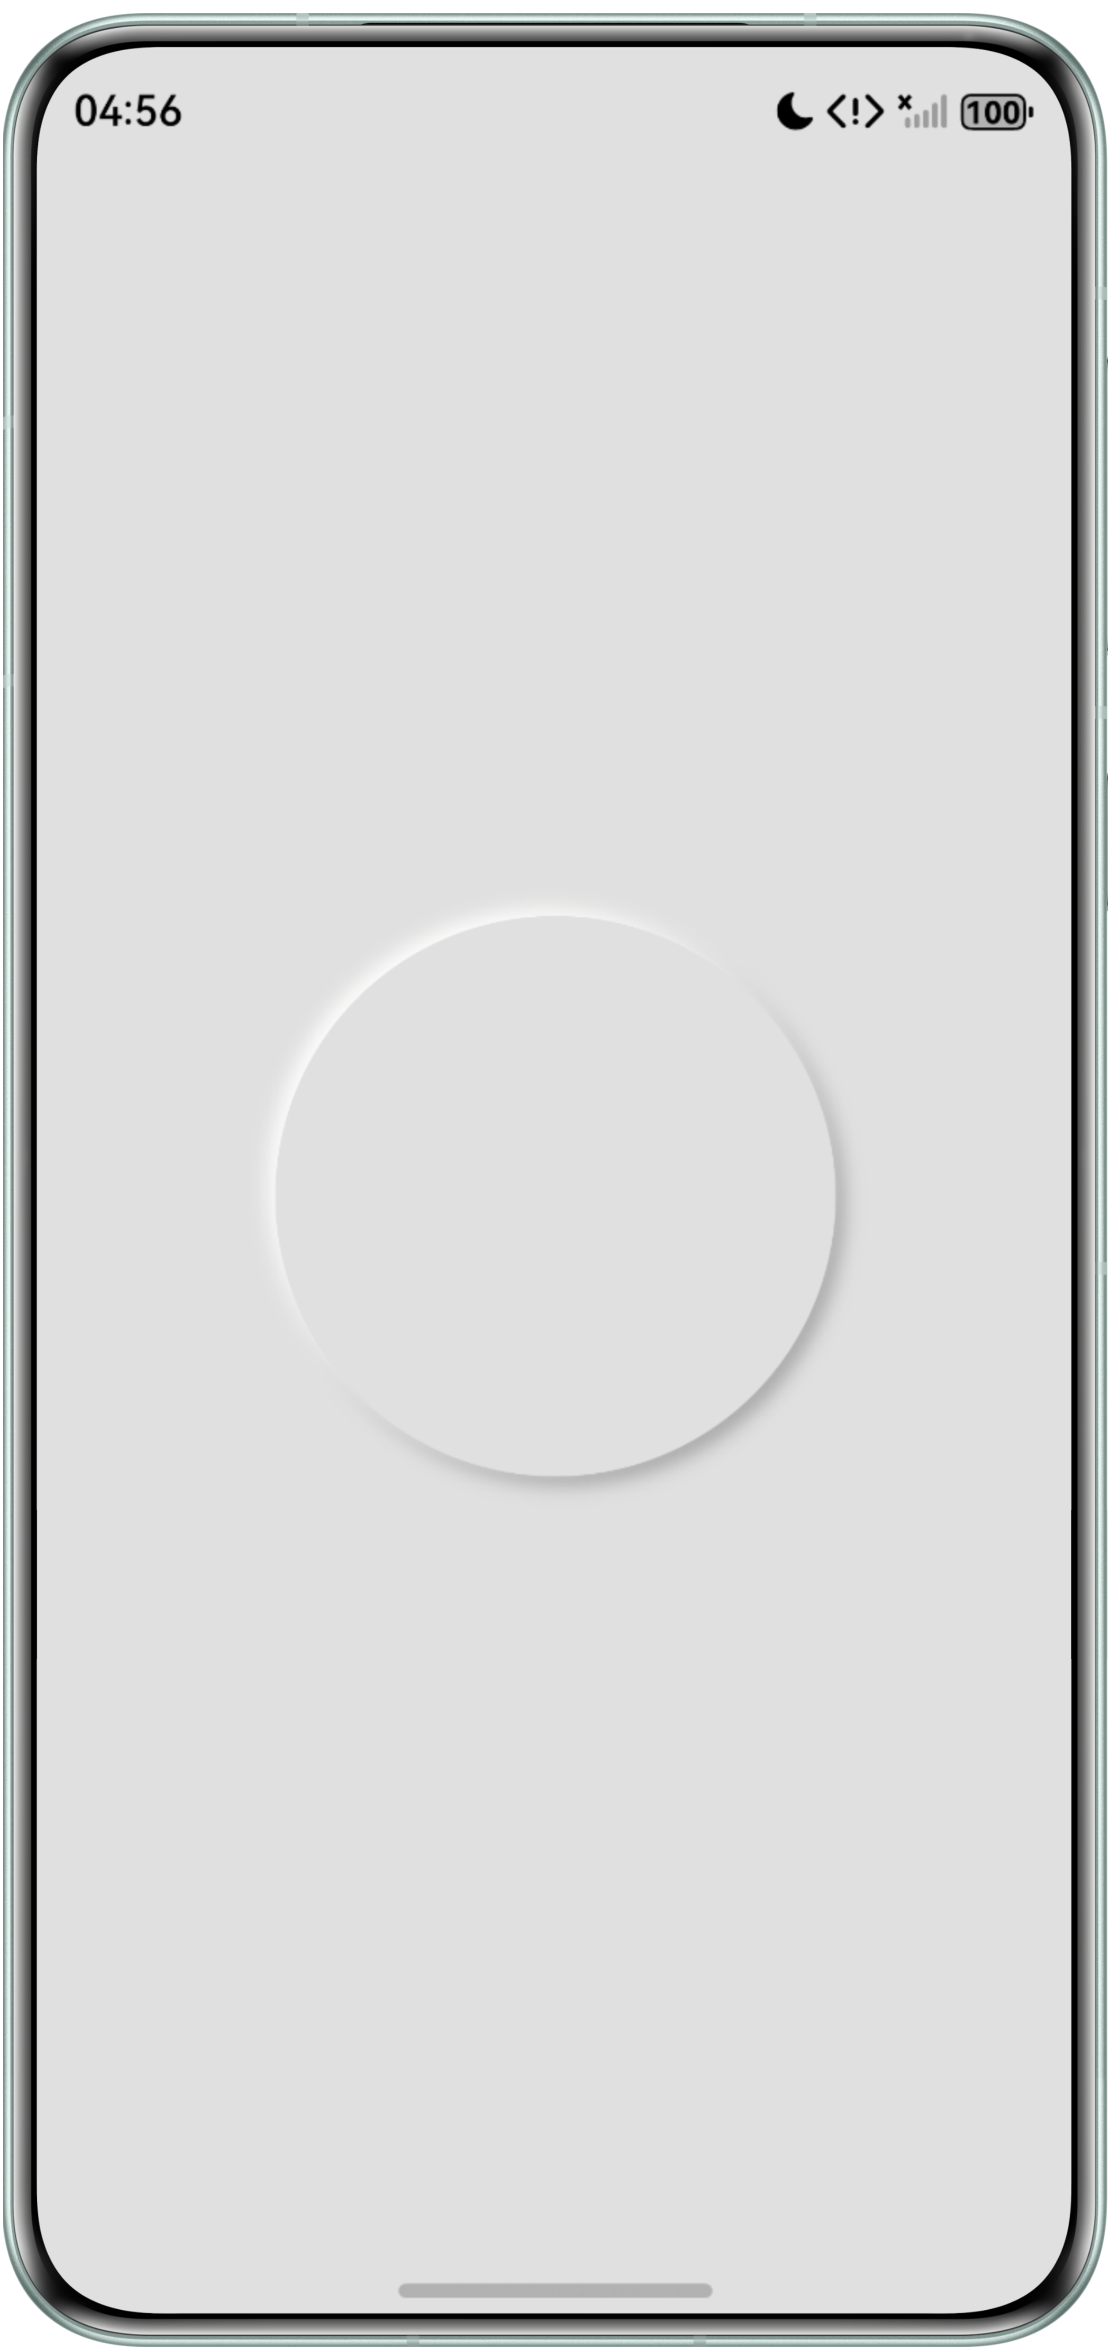
场景三:实现多个阴影样式 | 实现左上角亮色阴影,右下角暗色阴影,增强立体感。 |
解决方案
- 场景一:实现右下角投影效果。
- 使用radius属性给阴影添加圆角效果与卡片圆角对齐。
- 阴影颜色设置为灰色可模拟投影效果。
示例代码如下:
@Entry
@Component
struct Index {
  build() {
    Row() {
      Column() {
        Text('card').fontSize(12);
      }
      .width(100)
      .aspectRatio(1)
      .margin(10)
      .justifyContent(FlexAlign.Center)
      .backgroundColor('#0A59F7')
      .borderRadius(50)
      .shadow({
        radius: 50,
        color: Color.Gray,
        offsetX: 10,
        offsetY: 10
      })
      .width('100%')
      .height('100%')
      .justifyContent(FlexAlign.Center);
    }
    .height('100%');
  }
}
效果图如下:
- 场景二:实现阴影扩展效果。
- 使用radius属性给阴影添加圆角效果与卡片圆角对齐。
- 给卡片外部增加一层容器,通过padding实现扩展效果,通过position实现扩展方向。
示例代码如下:
@Entry
@Component
struct Index2 {
  build() {
    Row() {
      Row() {
      }
      .width(300)
      .height(150)
      .borderRadius(20)
      .shadow({
        radius: 20,
        offsetX: 0,
        offsetY: 0,
        fill: true,
        type: ShadowType.COLOR,
        color: Color.White
      });
    }
    .padding(5)
    .borderRadius(20)
    .backgroundColor('#ffc1e6ff')
    .position({ x: 30, y: 100 });
  }
}
效果图如下:
- 场景三:实现多个阴影样式。
通过父子组件嵌套实现,设置父子组件的大小,边框等完全一致,仅设置的阴影效果不一致。
示例代码如下:
@Entry
@Component
struct Index3 {
  build() {
    Column() {
      // 外层:暗色阴影(右下)
      Column() {
        // 内层:亮色阴影(左上)
        Column() {
        }
        .width(200)
        .aspectRatio(1)
        .justifyContent(FlexAlign.Center)
        .backgroundColor('#e0e0e0')
        .borderRadius(100)
        .shadow({
          radius: 20,
          color: '#ffffff',
          offsetX: -10,
          offsetY: -10
        });
      }
      .width(200)
      .aspectRatio(1)
      .justifyContent(FlexAlign.Center)
      .borderRadius(100)
      .shadow({
        radius: 20,
        color: '#a0a0a0',
        offsetX: 10,
        offsetY: 10
      });
    }
    .expandSafeArea([SafeAreaType.SYSTEM], [SafeAreaEdge.TOP, SafeAreaEdge.BOTTOM])
    .width('100%')
    .height('100%')
    .justifyContent(FlexAlign.Center)
    .backgroundColor('#e0e0e0');
  }
}
效果图如下: