Q:HarmonyOS中视频流格式转换成的RGB格式的图像文件,如何以图片的形式展示?
A:RGB格式的文件无法直接用Image组件显示,需要使用RGB格式的文件中的数据来创建PixelMap,再使用Image组件来显示,步骤如下:
- 读取RGB格式的文件中的数据。
- 图像数据存入到ArrayBuffer中。
- 设置创建像素的属性,包括透明度、尺寸、缩略值、像素格式和是否可编辑。
- 通过图像像素数据和像素的属性image.createPixelMap创建PixelMap。
- 使用Image组件显示创建的PixelMap。
import { resourceManager } from '@kit.LocalizationKit';
import { BusinessError } from '@kit.BasicServicesKit';
import { image } from '@kit.ImageKit';
import { common } from '@kit.AbilityKit';

@Entry
@Component
struct Index {
  @State pixelMap: image.PixelMap | null = null;
  context: Context = this.getUIContext().getHostContext() as common.UIAbilityContext;
  resourceMgr: resourceManager.ResourceManager = this.context.resourceManager;
  openRGB(file: string) {
    // 1、读取RGB格式的文件
    this.resourceMgr.getRawFileContent(file).then((fileData: Uint8Array) => {
      // 2、获取到文件的数据,存储成ArrayBuffer
      const buffer = fileData.buffer.slice(0);
      console.info(`buffer.bytelength:${buffer.byteLength}`);
      // 3、设置创建PixelMap的配置,srcPixelFormat是原数据的格式(即RGB文件的格式),pixelFormat是创建出来的PixelMap格式,size是分辨率
      let opts: image.InitializationOptions = {
        editable: true,
        srcPixelFormat: 4,
        pixelFormat: 3,
        size: { height: 1080, width: 1920 }
      };
      // 4、创建PixelMap
      image.createPixelMap(buffer, opts).then((pixelMap: image.PixelMap) => {
        this.pixelMap = pixelMap;
        console.info('Succeeded in creating pixelmap.');
      }).catch((error: BusinessError) => {
        console.error(`Failed to create pixelmap. code is ${error.code}, message is ${error.message}`);
      });
    }).catch((err: BusinessError) => {
      console.error(`Failed to get RawFileContent,error code:${err.code}`);
    });
  }
  build() {
    RelativeContainer() {
      Column() {
        // 示例文件仅作参考,实际开发请以本地文件为准
        Button('打开RGB').onClick(() => {
          this.openRGB('imageData.rgb');
        })
        // 5、将PixelMap通过Image组件显示出来
        Image(this.pixelMap).objectFit(ImageFit.Contain);
      }
    }
    .height('100%')
    .width('100%')
  }
}
Q:使用BGRA8888的格式创建PixelMap后,将其B和R颜色通道数据互换为RGBA8888格式后打印的像素格式应该为更换后的RGBA8888但仍为BGRA8888。
A:图像的像素数据储存在buffer中,创建PixelMap设置PixelMapFormat时就是指定以什么方式去解析读取像素数据。手动更改buffer里面的数据后没有改变PixelMap去解析buffer的方式,所以仍然是原本的格式,需要重新更改PixelMapFormat去读取数据。
Q:使用C API的OH_PixelmapNative_CreatePixelmap创建PixelMap时,传入RGBA_8888格式的buffer数据后,为什么新PixelMap的R和B通道被交换?
A:OH_PixelmapNative_CreatePixelmap传入的像素数据默认按BGRA_8888格式解析,如果buffer源数据为RGBA_8888格式,需要通过OH_PixelmapInitializationOptions_SetSrcPixelFormat设置源像素格式为RGBA_8888。OH_PixelmapInitializationOptions_SetPixelFormat设置的是输出PixelMap的格式,而非源数据的格式。
Q:通过其他三方库生成的SVG字符串,需要使用Image组件进行加载,如何实现?
A:需要显示的SVG图片样例如下图所示:
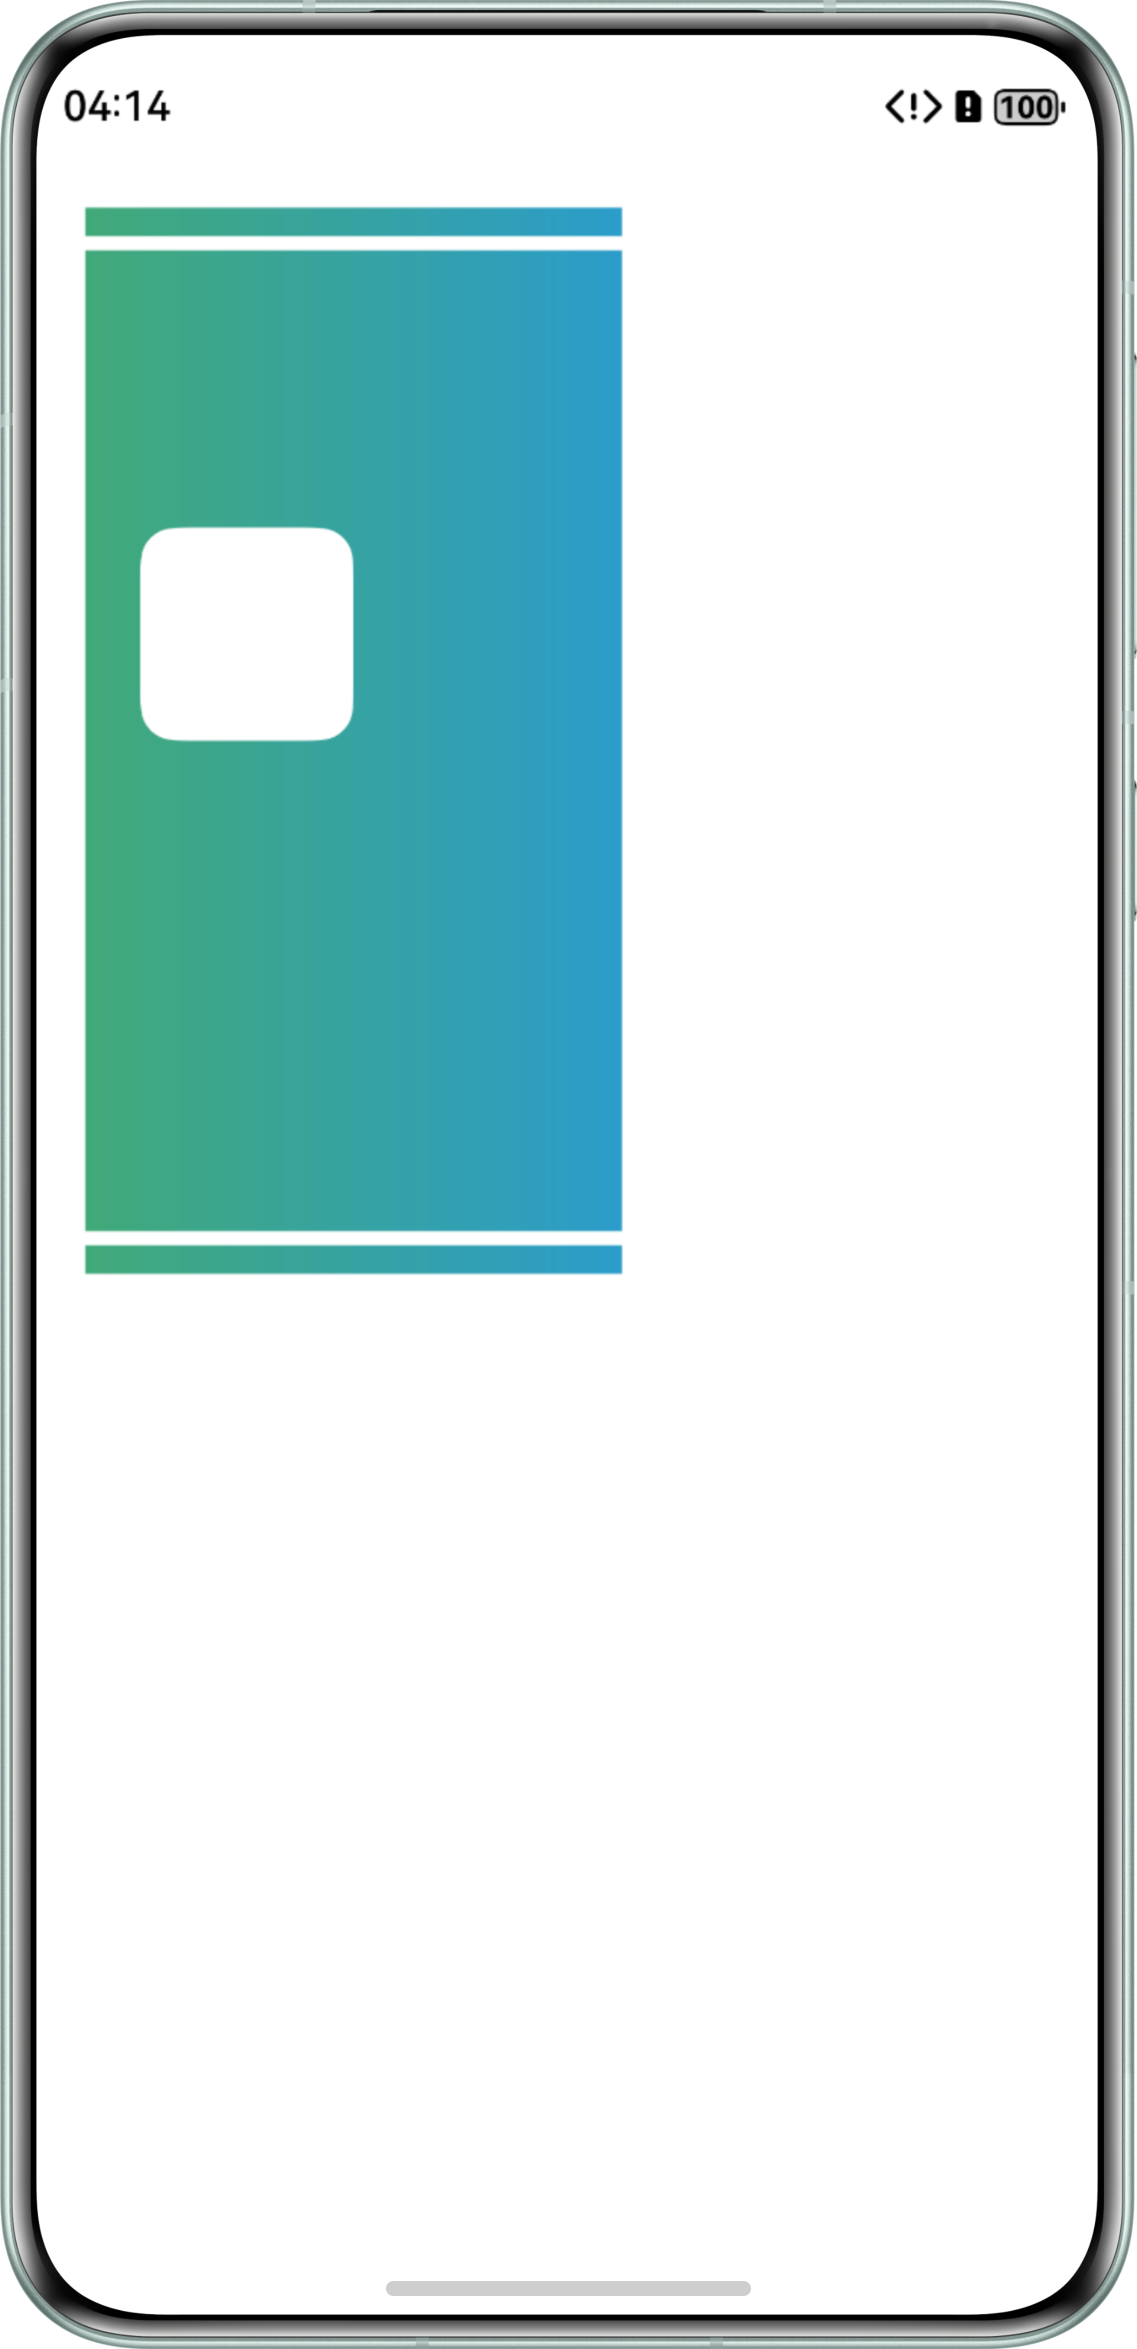
首先可以使用TextEncoder类的encodeInto方法,将SVG字符串转化为Uint8Array类型,然后使用createImageSource通过buffer创建ImageSource实例,最后使用createPixelMap返回结果,参考代码如下:
import { image } from '@kit.ImageKit';
import { util } from '@kit.ArkTS';

@Entry
@Component
struct Index {
  @State pixelMap: image.PixelMap | undefined = undefined;
  // 将以下内容替换成从三方库得到的SVG字符串
  svgContent = '';

  async uint8ArrayToPixelMap(svg: string): Promise<image.PixelMap> {
    let encoder = new util.TextEncoder();
    const uint8Array = encoder.encodeInto(svg);
    const iconArray: ArrayBuffer = uint8Array.buffer.slice(0);
    let source = image.createImageSource(iconArray);
    const pixelMap = await source.createPixelMap();
    source.release();
    return pixelMap;
  }

  build() {
    Column() {
      Button('点击根据字符串加载SVG图片')
        .onClick(() => {
          this.uint8ArrayToPixelMap(this.svgContent).then((data: PixelMap) => {
            this.pixelMap = data;
          });
        })
        .margin({ top: 30, bottom: 30 })
      Image(this.pixelMap)
        .width('50%').height('50%')
        .alignRules({
          center: { anchor: '__container__', align: VerticalAlign.Center },
          middle: { anchor: '__container__', align: HorizontalAlign.Center }
        })
        .margin({ top: 30, bottom: 30 })
    }
    .height('100%')
    .width('100%')
  }
}