问题现象
在不同的场景下,如何实现将单个组件、页面或者整个app置灰的效果,具体场景如下:
场景 | 场景说明 |
|---|---|
场景一:单个组件置灰 | 将单个组件颜色置灰,其他组件不受影响,例如将一张彩色图片变成灰白色图片 |
场景二:单个页面置灰 | 在多个页面场景中,只将其中某个页面颜色置灰,其他页面不受影响 |
场景三:所有页面置灰 | 将app中的所有页面颜色置灰,例如当发生一些重大事件(哀悼日)时,要求将整个app的页面颜色统一设置为灰色 |
背景知识
- Navigation:路由导航的根视图容器,一般作为Page页面的根容器使用,其内部默认包含了标题栏、内容区和工具栏,其中内容区默认首页显示导航内容(Navigation的子组件)或非首页显示(NavDestination的子组件),首页和非首页通过路由进行切换。
- grayscale:为组件添加灰度效果。上层渲染灰度会覆盖下层子组件渲染。值定义为灰度转换的比例,入参1则完全转为灰度图像,入参0则图像无变化,入参在0和1之间时,效果呈线性变化。
- saturate:为组件添加饱和度效果,饱和度为颜色中的含色成分和消色成分(灰)的比例,入参为1时,显示原图像,大于1时含色成分越大,饱和度越大,小于1时消色成分越大,饱和度越小。
解决方案
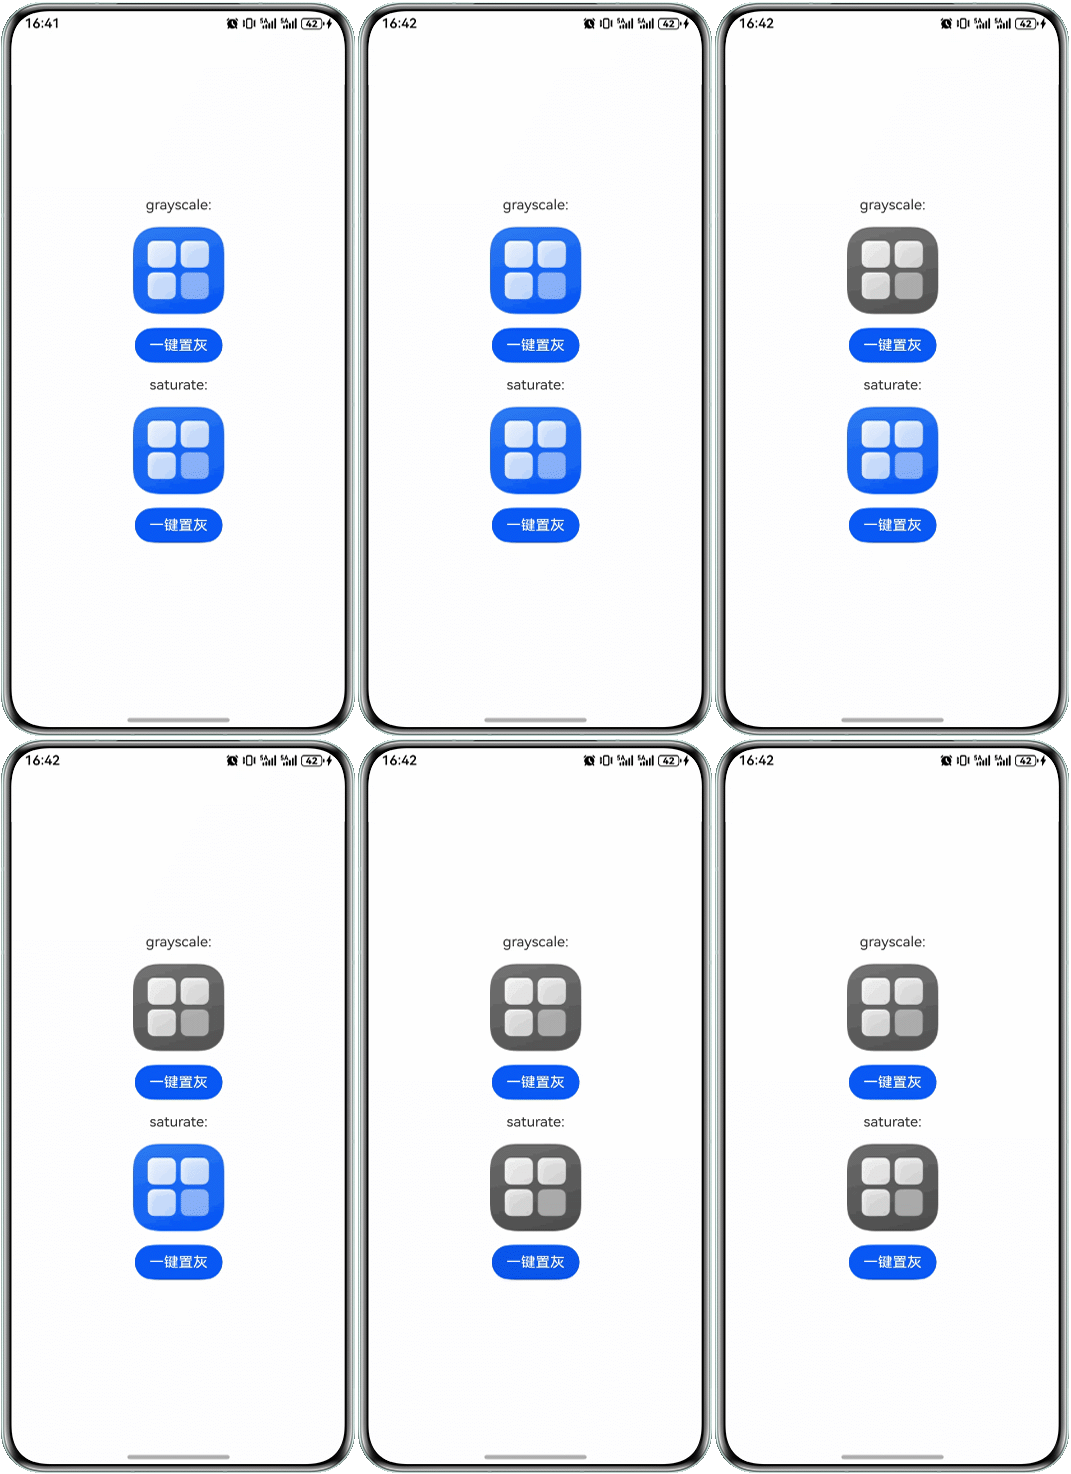
- 场景一:单个组件置灰。通过给Image组件添加grayscale属性并将属性值设置为1来实现图片置灰效果,或者使用saturate属性并将属性值设置为0来实现图片置灰效果。示例代码如下:
@Entry
@Component
struct GrayDemo {
  @State grayscaleValue: number = 0; // 灰度默认为0,正常显示
  @State saturateValue: number = 1; // 饱和度默认为1,正常显示

  build() {
    Row() {
      Column() {
        Text('grayscale:')
        Image($r('app.media.startIcon'))
          .autoResize(true)
          .width(100)
          .height(100)
          .margin(16)
          .grayscale(this.grayscaleValue) // 设置图片灰度效果
        Button('一键置灰').onClick(() => {
          this.grayscaleValue = 1; // 设置灰度为100%
        })

        Text('saturate:').margin({ top: 16 })
        Image($r('app.media.startIcon'))
          .autoResize(true)
          .width(100)
          .height(100)
          .margin(16)
          .saturate(this.saturateValue) // 设置图片的饱和度
        Button('一键置灰').onClick(() => {
          this.saturateValue = 0; // 将饱和度设置为0,显示灰白
        })
      }
    }
    .justifyContent(FlexAlign.Center)
    .alignItems(VerticalAlign.Center)
    .width('100%')
    .height('100%')
  }
}
效果图如下:
- 场景二:单个页面置灰。
在多个页面场景,如果只有某个页面需要置灰,其他页面不变,只需将相应页面根元素设置grayscale属性为1。
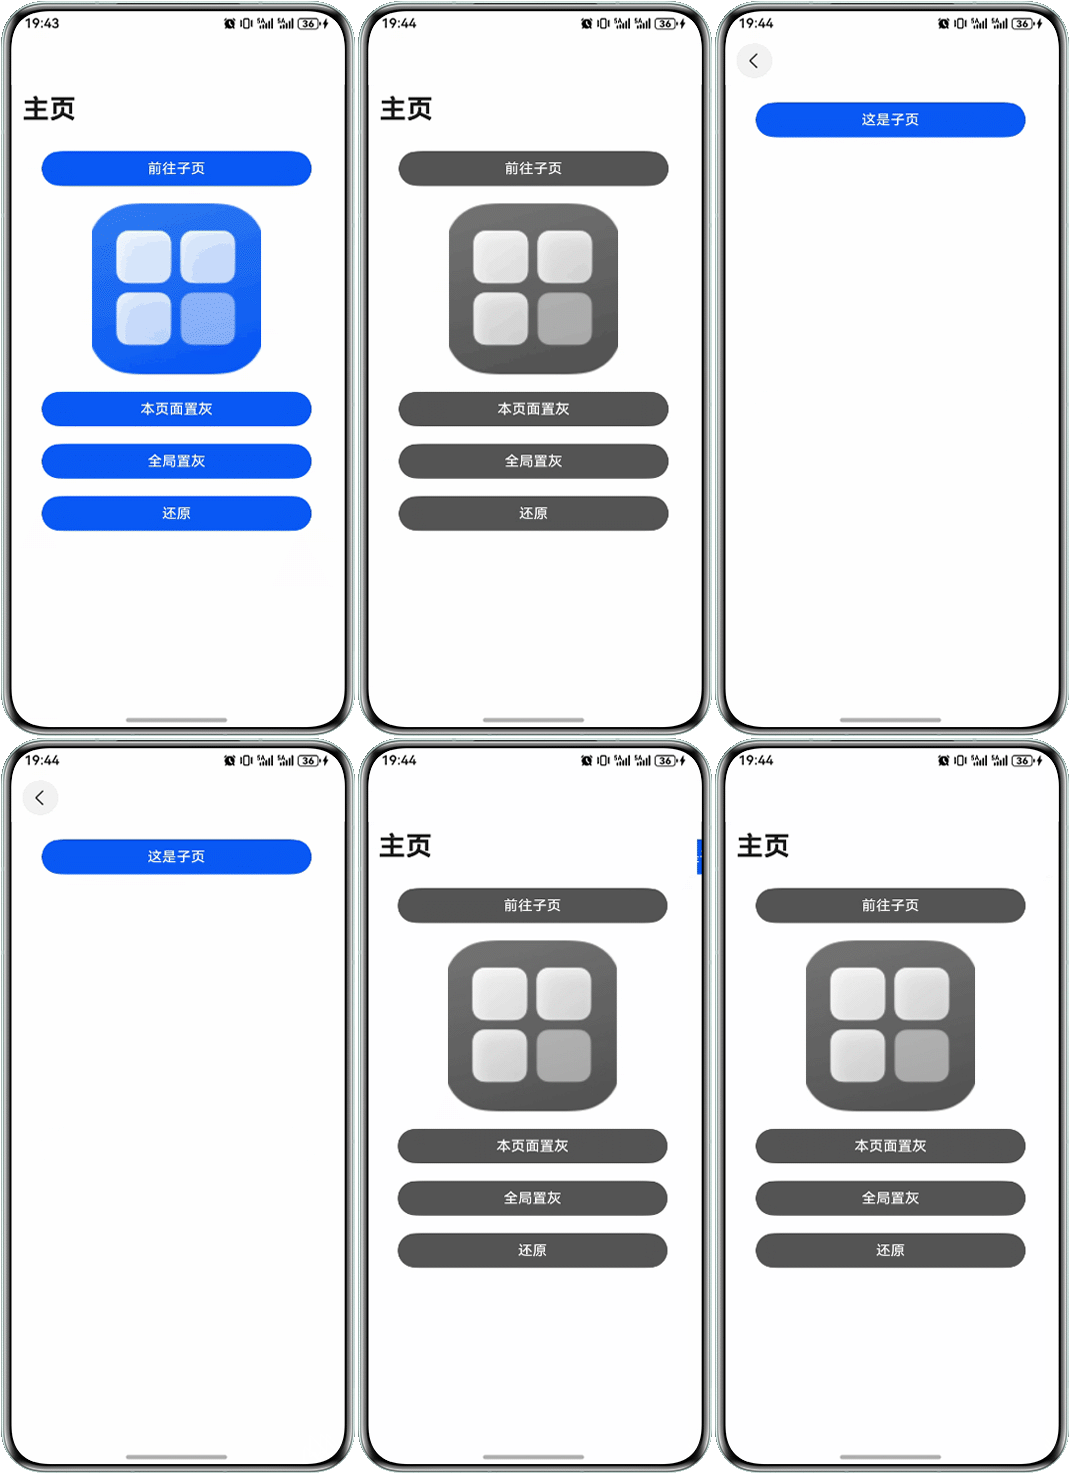
首先定义一个变量grayscaleValueSingle,本页面根组件Column设置grayscale属性,分别给用于实现本页面置灰和还原效果的Button绑定onClick事件,该事件用于修改grayscaleValueSingle的值,当该值变化时,即可实现本页面的置灰效果,子页面没有置灰。
效果图如下:
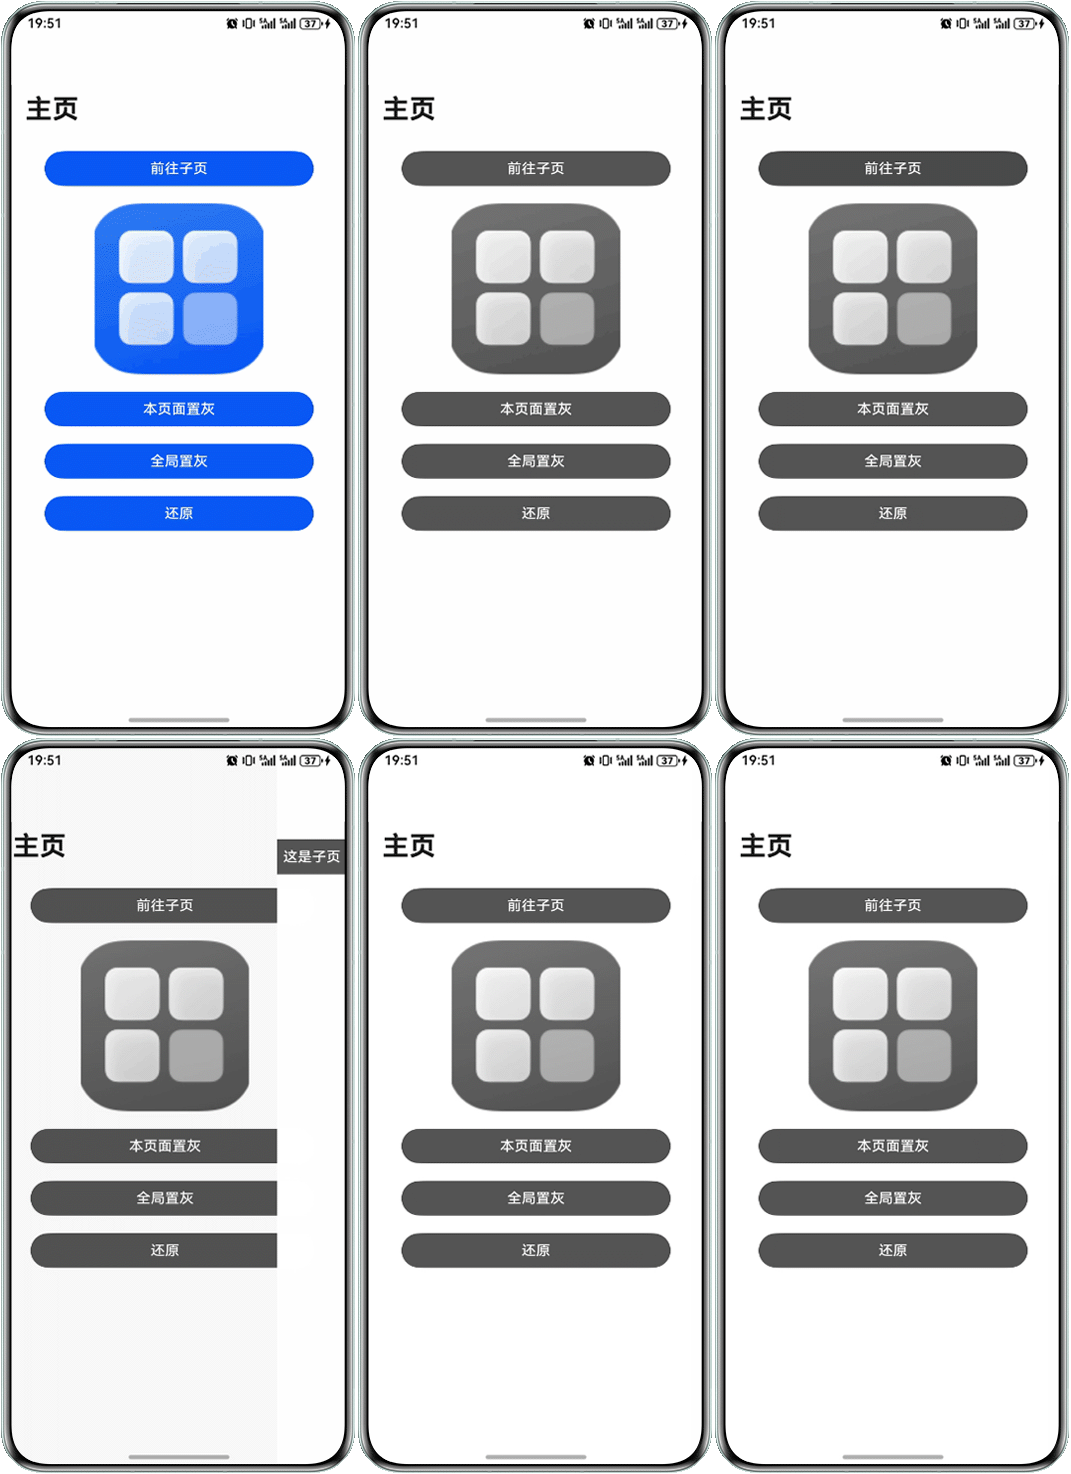
- 场景三:所有页面置灰。Navigation设置的一些属性会影响所有的页面,将主页的Navigation组件设置grayscale属性为1,可实现所有页面置灰的效果。完整示例代码如下:主页Index.ets示例代码如下:
@Entry
@Component
struct Index {
  @State grayscaleValueAll: number = 0; // 灰度默认为0,正常显示
  @State grayscaleValueSingle: number = 0;
  pageStack: NavPathStack = new NavPathStack();

  build() {
    Navigation(this.pageStack) {
      Column() {
        Button('前往子页', { stateEffect: true, type: ButtonType.Capsule })
          .width('80%')
          .height(40)
          .margin(20)
          .onClick(() => {
            this.pageStack.pushPathByName('PageOne', null, false);
          })
        Image($r('app.media.startIcon'))
          .width('50%')
          .height('30%')
        Button('本页面置灰', { stateEffect: true, type: ButtonType.Capsule })
          .width('80%')
          .height(40)
          .margin(20)
          .onClick(() => {
            this.grayscaleValueSingle = 1; // 设置灰度为100%
          })
        Button('全局置灰', { stateEffect: true, type: ButtonType.Capsule })
          .width('80%')
          .height(40)
          .onClick(() => {
            this.grayscaleValueAll = 1; // 设置灰度为100%
          })
        Button('还原', { stateEffect: true, type: ButtonType.Capsule })
          .width('80%')
          .height(40)
          .margin(20)
          .onClick(() => {
            this.grayscaleValueAll = 0;
            this.grayscaleValueSingle = 0;
          })
      }.grayscale(this.grayscaleValueSingle)
    }
    .title('主页')
    .grayscale(this.grayscaleValueAll)
  }
}
子页PageOne.ets示例代码如下:
@Builder
export function PageOneBuilder() {
  PageOne()
}

@Entry
@Component
struct PageOne {
  build() {
    NavDestination() {
      Column() {
        Button('这是子页', { stateEffect: true, type: ButtonType.Capsule })
          .width('80%')
          .height(40)
          .margin(20)
      }
      .width('100%')
      .height('100%')
    }
  }
}
route_map需放置在项目名/src/main/resources/base/profile/route_map.json路径下,具体代码如下:
{
  "routerMap": [
    {
      "name": "PageOne",
      "pageSourceFile": "src/main/ets/pages/PageOne.ets",
      "buildFunction": "PageOneBuilder",
      "data": {
        "description": "This is PageOne"
      }
    }
  ]
}
在module.json5配置文件的module标签中定义routerMap字段,指向定义的路由表配置文件route_map.json,如:"routerMap": "$profile:route_map"。
效果图如下: