解决方案
随设备角度模拟重力运动,即手机倾斜时给小球一个加速度,使用加速度传感器ACCELEROMETER,需要添加ohos.permission.ACCELEROMETER权限。
- 步骤一:页面加载时注册加速度传感器,根据传感器数据调整小球位置,并进行边界检测防止超出屏幕,页面消失时及时注销传感器。
aboutToAppear() {
  // 获取屏幕尺寸
  const displayClass = display.getDefaultDisplaySync();
  this.displayWidth = this.getUIContext().px2vp(displayClass.width);
  // 未设置全屏模式,获取规避区域
  window.getLastWindow(this.getUIContext().getHostContext()).then((data) => {
    let topArea = data.getWindowAvoidArea(window.AvoidAreaType.TYPE_SYSTEM);
    let bottomArea = data.getWindowAvoidArea(window.AvoidAreaType.TYPE_NAVIGATION_INDICATOR);
    this.displayHeight = this.getUIContext().px2vp(displayClass.height - topArea.topRect.height - bottomArea.bottomRect.height);
    this.ballX = this.displayWidth / 2;
    this.ballY = this.displayHeight / 2;
  });

  // 注册加速度传感器
  try {
    sensor.on(sensor.SensorId.ACCELEROMETER, (data: sensor.AccelerometerResponse) => {
      if (!this.running) {
        return;
      }
      // 使用加速度计数据计算倾斜
      const x = data.x;  // 左右倾斜
      const y = data.y;  // 前后倾斜

      // 更新球体位置,乘以系数控制灵敏度
      let ballX = this.ballX - x * this.sensitivity;
      let ballY = this.ballY + y * this.sensitivity;

      // 边界检查
      this.ballX = Math.max(this.ballRadius,
        Math.min(this.displayWidth - this.ballRadius, ballX));
      this.ballY = Math.max(this.ballRadius,
        Math.min(this.displayHeight - this.ballRadius, ballY));

    }, { interval: 1000000 });
  } catch (error) {
    console.error(error);
  }
}
aboutToDisappear() {
  sensor.off(sensor.SensorId.ACCELEROMETER);
}
- 绘制小球,有两种方案,分别可以使用Canvas绘制小球并在位置更新时进行重绘,或者直接使用Circle并使用position控制其位置。
- 使用Canvas绘制小球。
onDraw(context: CanvasRenderingContext2D) {
  // 绘制小球
  context.beginPath();
  context.arc(this.ballX, this.ballY, this.ballRadius, 0, Math.PI * 2);
  context.fillStyle = 'rgb(100, 187, 92)';
  context.fill();

  // 添加左上白色弧形
  context.beginPath();
  context.arc(
    this.ballX,
    this.ballY,
    this.ballRadius * 0.9, // 稍小于原圆半径
    Math.PI * 1, // 起始角度
    Math.PI * 1.05, // 结束角度
    false // 顺时针绘制
  );
  context.strokeStyle = 'white';
  context.lineWidth = 2;
  context.lineCap = 'round';
  context.stroke();

  context.beginPath();
  context.arc(
    this.ballX,
    this.ballY,
    this.ballRadius * 0.9, // 稍小于原圆半径
    Math.PI * 1.12, // 起始角度
    Math.PI * 1.5, // 结束角度
    false // 顺时针绘制
  );
  context.strokeStyle = 'white';
  context.lineWidth = 2;
  context.lineCap = 'round';
  context.stroke();
}
- 使用Circle绘制小球。
Circle()
  .backgroundColor(Color.Transparent)
  .width(this.ballRadius * 2)
  .height(this.ballRadius * 2)
  .position({ x: this.ballX - this.ballRadius, y: this.ballY - this.ballRadius })
- 使用Canvas绘制小球。
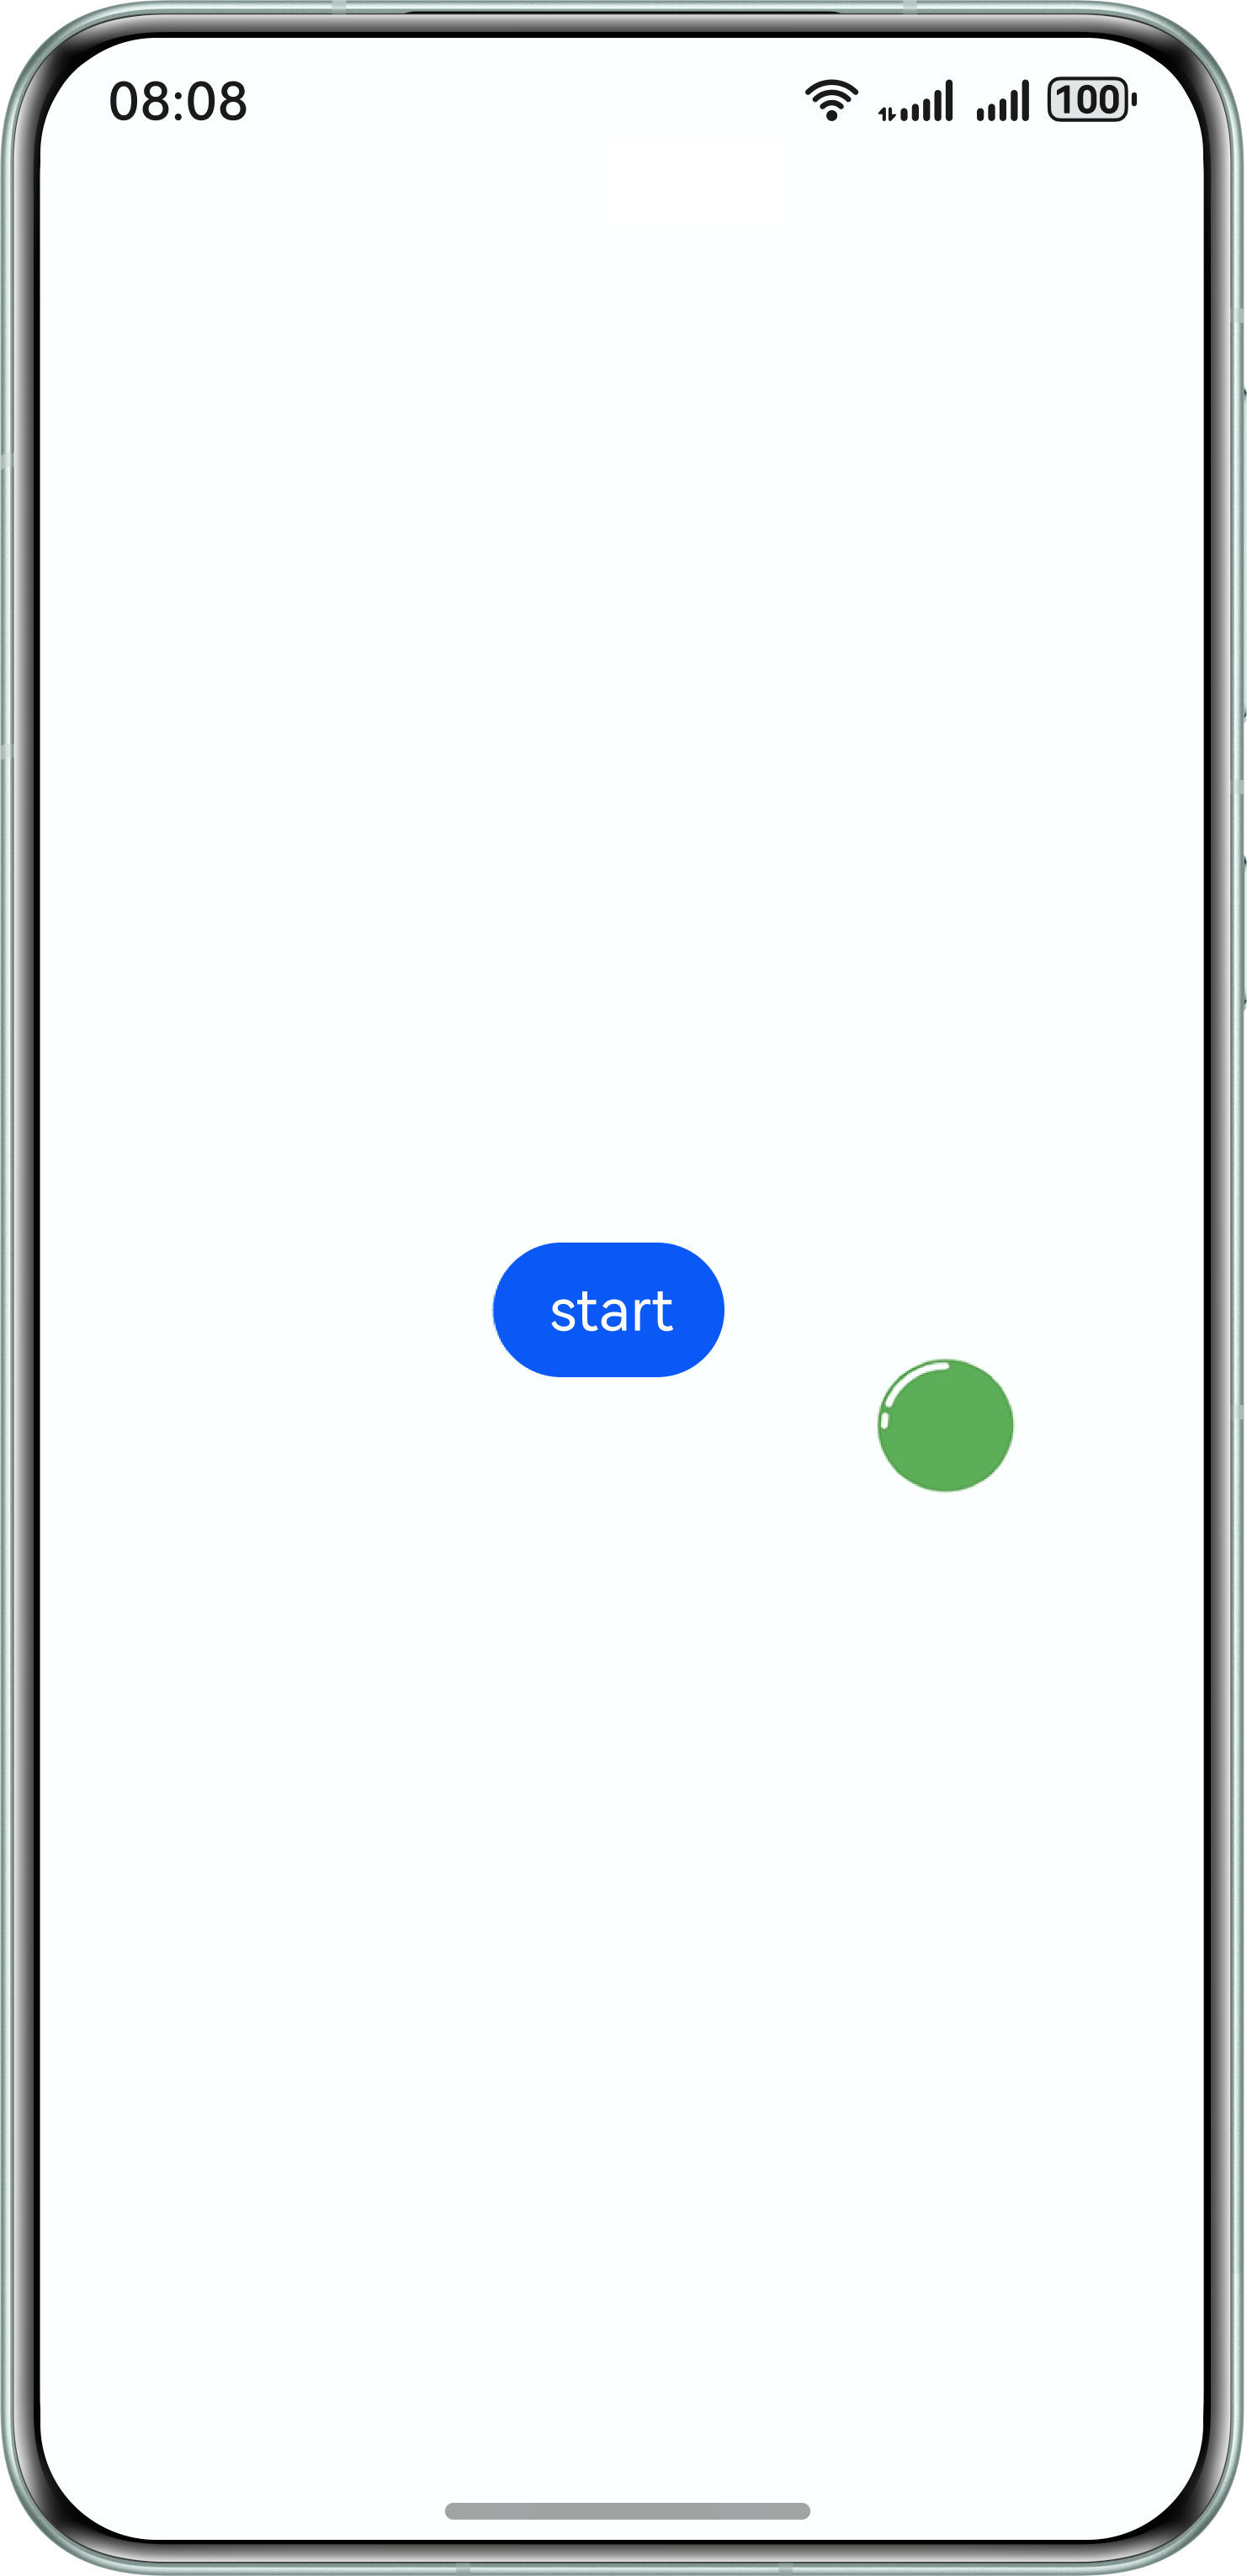
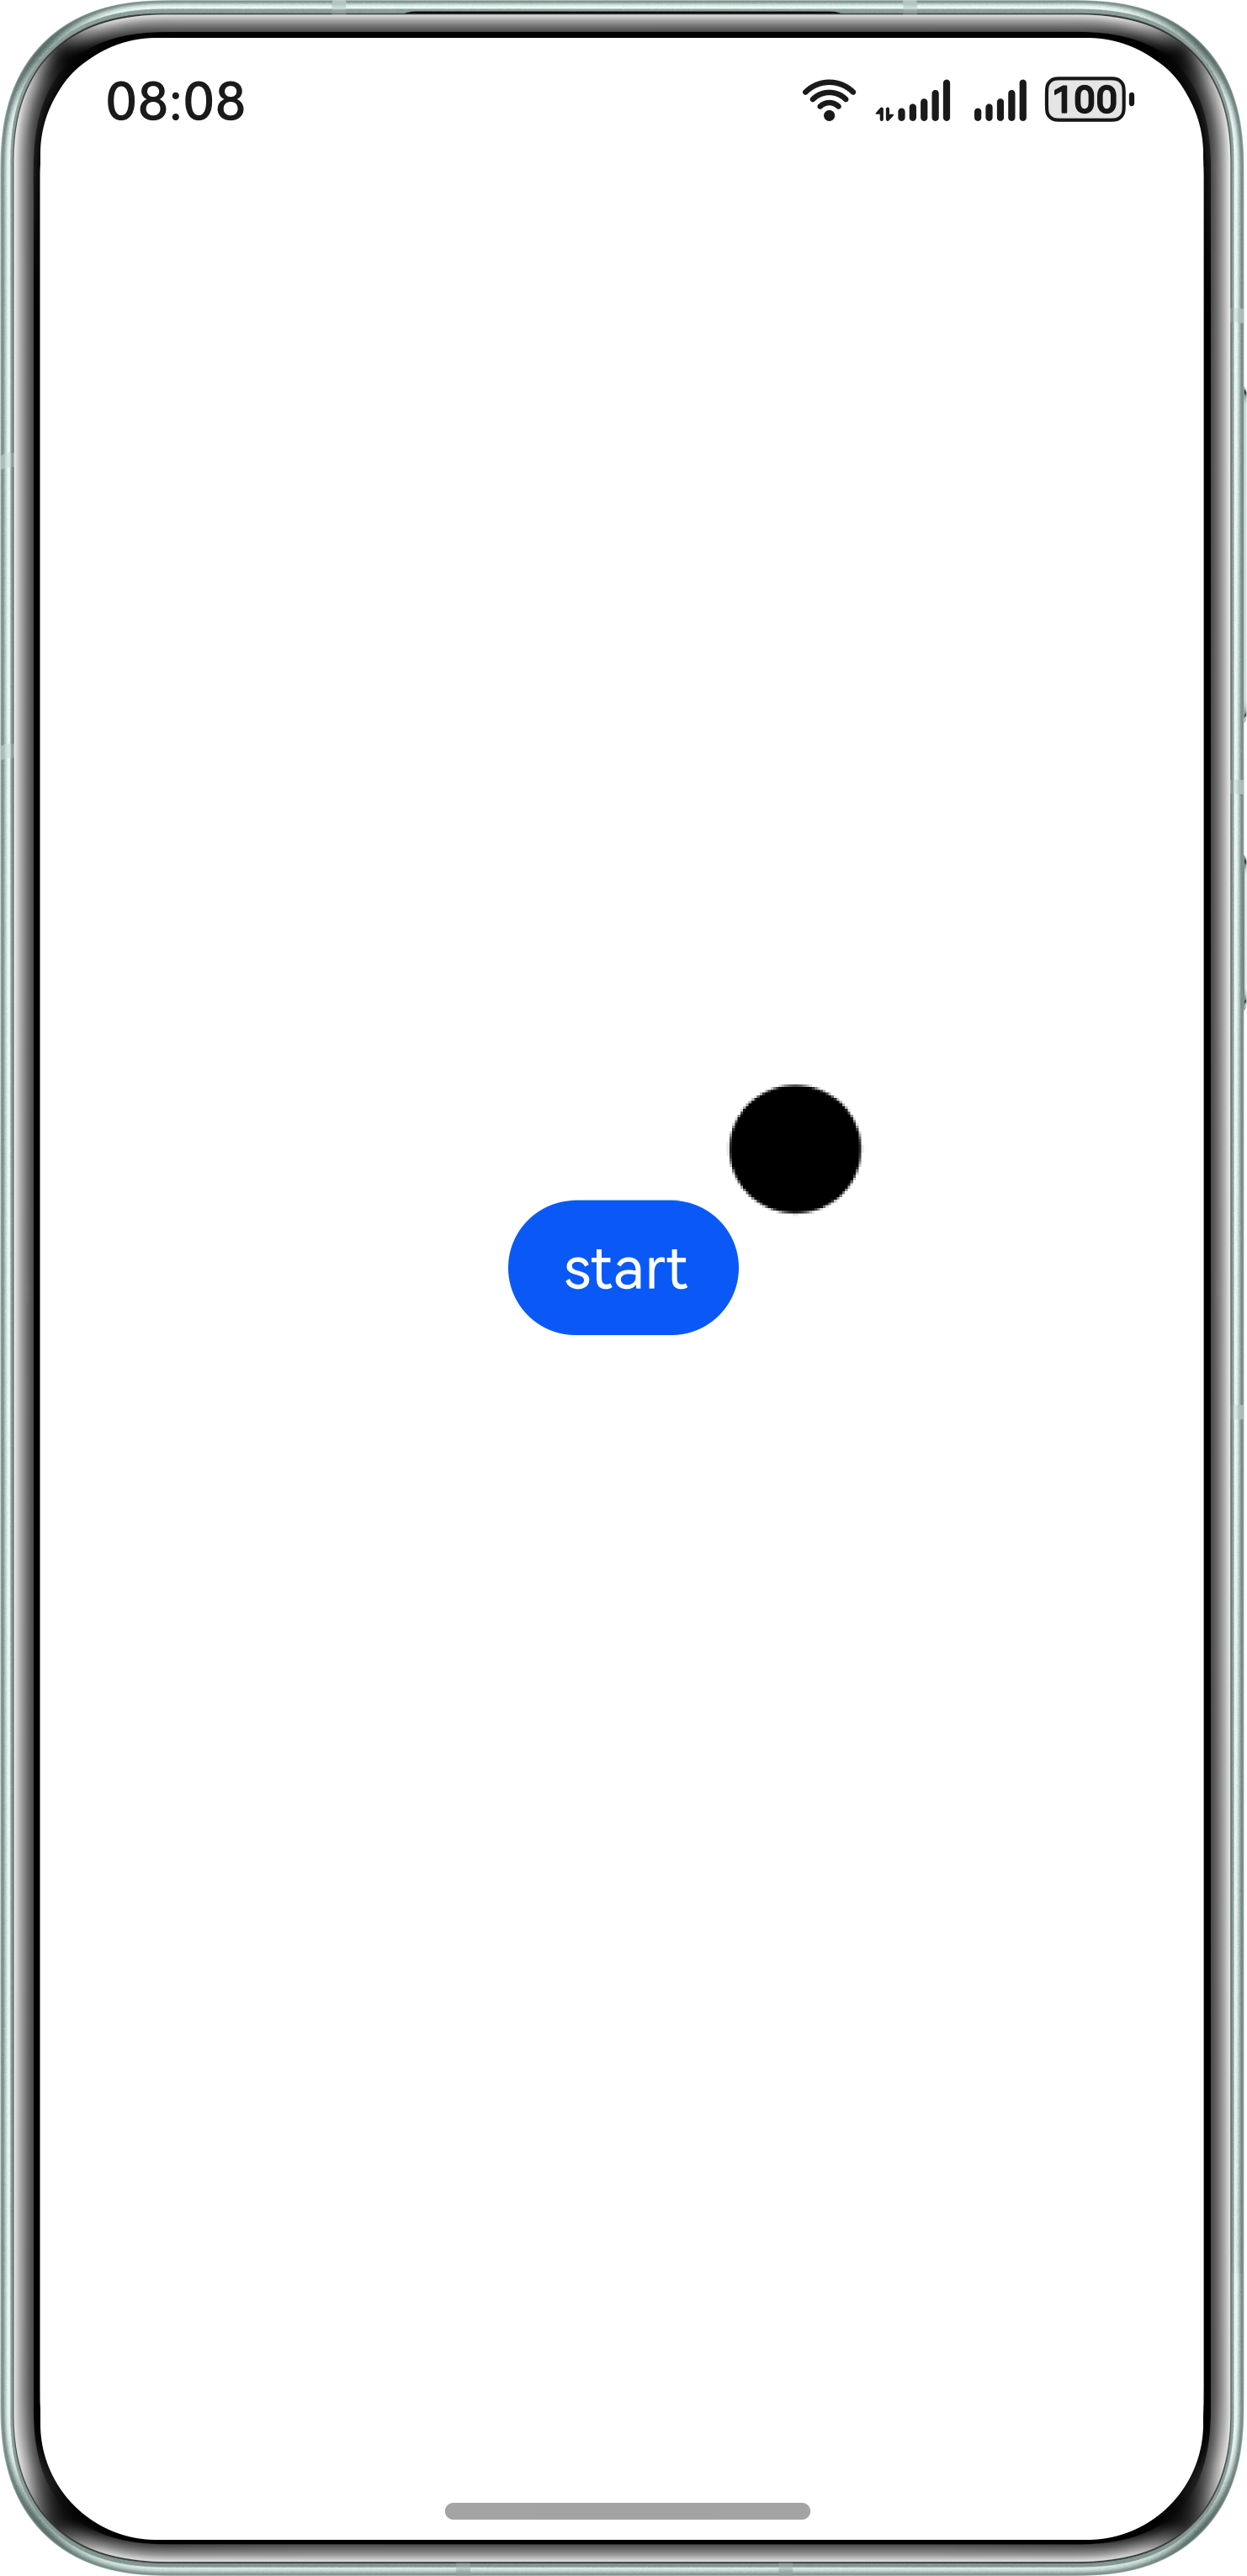
两种方案的完整示例代码及效果如下:
import { display, window } from '@kit.ArkUI';
import { sensor } from '@kit.SensorServiceKit';

@Entry
@Component
struct TiltBall {
  private displayWidth: number = 0;
  private displayHeight: number = 0;

  private ballRadius: number = 20;
  private sensitivity: number = 0.5;
  @State ballX: number = this.ballRadius;
  @State ballY: number = this.ballRadius;
  @State running: boolean = false;

  aboutToAppear() {
    // 获取屏幕尺寸
    const displayClass = display.getDefaultDisplaySync();
    this.displayWidth = this.getUIContext().px2vp(displayClass.width);
    // 未设置全屏模式,获取规避区域
    window.getLastWindow(this.getUIContext().getHostContext()).then((data) => {
      let topArea = data.getWindowAvoidArea(window.AvoidAreaType.TYPE_SYSTEM);
      let bottomArea = data.getWindowAvoidArea(window.AvoidAreaType.TYPE_NAVIGATION_INDICATOR);
      this.displayHeight = this.getUIContext().px2vp(displayClass.height - topArea.topRect.height - bottomArea.bottomRect.height);
      this.ballX = this.displayWidth / 2;
      this.ballY = this.displayHeight / 2;
    });

    // 注册加速度传感器
    try {
      sensor.on(sensor.SensorId.ACCELEROMETER, (data: sensor.AccelerometerResponse) => {
        if (!this.running) {
          return;
        }
        // 使用加速度计数据计算倾斜
        const x = data.x;  // 左右倾斜
        const y = data.y;  // 前后倾斜

        // 更新球体位置,乘以系数控制灵敏度
        let ballX = this.ballX - x * this.sensitivity;
        let ballY = this.ballY + y * this.sensitivity;

        // 边界检查
        this.ballX = Math.max(this.ballRadius,
          Math.min(this.displayWidth - this.ballRadius, ballX));
        this.ballY = Math.max(this.ballRadius,
          Math.min(this.displayHeight - this.ballRadius, ballY));

      }, { interval: 1000000 });
    } catch (error) {
      console.error(error);
    }
  }

  aboutToDisappear() {
    sensor.off(sensor.SensorId.ACCELEROMETER);
  }

  build() {
    Stack() {
      Solution1({
        ballRadius: this.ballRadius,
        ballX: this.ballX,
        ballY: this.ballY
      })

      Solution2({
        ballRadius: this.ballRadius,
        ballX: this.ballX,
        ballY: this.ballY
      })

      Button('start')
        .onClick(() => {
          this.running = !this.running;
        })
    }
    .alignContent(Alignment.Center)
    .width('100%')
    .height('100%')
  }
}

// 使用Canvas绘制
@Component
struct Solution1 {
  ballRadius: number = 20;
  @Watch('reset') @Prop ballX: number = this.ballRadius;
  @Watch('reset') @Prop ballY: number = this.ballRadius;
  private settings: RenderingContextSettings = new RenderingContextSettings(true);
  private context: CanvasRenderingContext2D = new CanvasRenderingContext2D(this.settings);

  reset() {
    this.context.reset();
    this.onDraw(this.context);
  }

  onDraw(context: CanvasRenderingContext2D) {
    // 绘制小球
    context.beginPath();
    context.arc(this.ballX, this.ballY, this.ballRadius, 0, Math.PI * 2);
    context.fillStyle = 'rgb(100, 187, 92)';
    context.fill();

    // 添加左上白色弧形
    context.beginPath();
    context.arc(
      this.ballX,
      this.ballY,
      this.ballRadius * 0.9, // 稍小于原圆半径
      Math.PI * 1, // 起始角度
      Math.PI * 1.05, // 结束角度
      false // 顺时针绘制
    );
    context.strokeStyle = 'white';
    context.lineWidth = 2;
    context.lineCap = 'round';
    context.stroke();

    context.beginPath();
    context.arc(
      this.ballX,
      this.ballY,
      this.ballRadius * 0.9, // 稍小于原圆半径
      Math.PI * 1.12, // 起始角度
      Math.PI * 1.5, // 结束角度
      false // 顺时针绘制
    );
    context.strokeStyle = 'white';
    context.lineWidth = 2;
    context.lineCap = 'round';
    context.stroke();
  }

  build() {
    Canvas(this.context)
      .onReady(() => {
        this.onDraw(this.context);
      })
      .width('100%')
      .height('100%')
  }
}

// 使用Circle绘制
@Component
struct Solution2 {
  ballRadius: number = 20;
  @Prop ballX: number = this.ballRadius;
  @Prop ballY: number = this.ballRadius;

  build() {
    Circle()
      .backgroundColor(Color.Transparent)
      .width(this.ballRadius * 2)
      .height(this.ballRadius * 2)
      .position({ x: this.ballX - this.ballRadius, y: this.ballY - this.ballRadius })
  }
}
Canvas方案:
Circle方案:
总结
- 允许应用读取加速度传感器的数据,需要申请ohos.permission.ACCELEROMETER权限。
- 使用Canvas方案或Circle方案绘制小球搭配传感器模拟运动,两种方案各有优点,Canvas方案可以绘制更自由的球,而Circle方案使用更为简单,按需选择。