Q:gif图解码出来的PixelMap放到Image组件中只显示静态图,怎么显示动图?
A:gif图片可以通过createPixelMapList创建PixelMap数组,然后传入AnimatedDrawableDescriptor类型播放PixelMap数组动画。
import { AnimationOptions, AnimatedDrawableDescriptor } from '@kit.ArkUI';
import { image } from '@kit.ImageKit';

@Entry
@Component
struct ImageGifDemo {
  animationOpt: AnimationOptions = { duration: 1000, iterations: -1 };
  @State animated: AnimatedDrawableDescriptor = new AnimatedDrawableDescriptor([], this.animationOpt);
  uiContext: UIContext = this.getUIContext();

  build() {
    Column({ space: 20 }) {
      Button('test')
        .onClick(async () => {
          // app.media.gif1是gif文件,需要自行配置
          let pixelMaps = await this.getPixmapFromMedia($r('app.media.gif1'));
          this.animated = new AnimatedDrawableDescriptor(pixelMaps, this.animationOpt);
        })

      Image(this.animated)
        .width('200')
        .height('200')
    }.width('100%')
    .alignItems(HorizontalAlign.Center)
  }

  // 读取资源文件返回PixelMap数组
  private async getPixmapFromMedia(resource: Resource) {
    let unit8Array = await this.uiContext.getHostContext()?.resourceManager.getMediaContent(resource.id);
    let imageSource = image.createImageSource(unit8Array!.buffer.slice(0, unit8Array!.buffer.byteLength));
    let pixelMapList = await imageSource.createPixelMapList({
      desiredPixelFormat: image.PixelMapFormat.RGBA_8888
    });
    return pixelMapList;
  }
}
Q:如何将图片转成Base64后存入数据库,再从数据库中读取解码后进行图片展示,提供从选择图片到转换为Base64编码,再从Base64解码后显示图片的示例?
A:处理方式如下:
- 从选择图片到转换为Base64编码可参考以下流程:
- 从图库选择图片得到图片数组的uris,结合fileIo和ImageKit将uris转换为ImageSource后,通过createPixelMap接口获取到图片的PixelMap。
- 将PixelMap转换为ArrayBuffer后,再通过Base64Helper的encodeToString接口即可转换为Base64编码的字符串。
- 从Base64编码再转换为图片显示可参考以下流程:
- 通过Base64Helper.decodeSync函数将PixelMap转换为ArrayBuffer。
- 通过image.createPixelMap还原成图片PixelMap。PixelMap的对象,可以通过ArkUI的Image组件直接展示,可参考如下完整代码示例:
import { photoAccessHelper } from '@kit.MediaLibraryKit';
import { BusinessError } from '@kit.BasicServicesKit';
import { fileIo as fs } from '@kit.CoreFileKit';
import { image } from '@kit.ImageKit';
import util from '@ohos.util';

@Entry
@Component
struct Index {
  @State originalPixelMap: image.PixelMap | null = null;
  @State imageBase64Str: string = '';
  @State targetPixelMap: image.PixelMap | null = null;

  // 从相册选择图片并进行预览
  selectPhoto() {
    try {
      let photoSelectOptions = new photoAccessHelper.PhotoSelectOptions();
      photoSelectOptions.MIMEType = photoAccessHelper.PhotoViewMIMETypes.IMAGE_TYPE;
      photoSelectOptions.maxSelectNumber = 1;
      let photoPicker = new photoAccessHelper.PhotoViewPicker();
      photoPicker.select(photoSelectOptions).then((photoSelectResult: photoAccessHelper.PhotoSelectResult) => {
        let result = JSON.stringify(photoSelectResult);
        console.info(`PhotoViewPicker.select successfully, PhotoSelectResult uri: ${result}`);
        let uri = photoSelectResult.photoUris[0];
        // 获取到图片或者视频文件的URI后进行文件读取等操作
        let file: fs.File | null = null;
        try {
          file = fs.openSync(uri, fs.OpenMode.READ_ONLY);
          const imageSourceApi = image.createImageSource(file.fd);
          this.originalPixelMap = imageSourceApi.createPixelMapSync();
          let num = this.originalPixelMap.getPixelBytesNumber();
          let readBuffer: ArrayBuffer = new ArrayBuffer(num);
          this.originalPixelMap.readPixelsToBufferSync(readBuffer);
          let utilBase64Helper = new util.Base64Helper();
          // 获取到图片Base64字符串
          this.imageBase64Str = utilBase64Helper.encodeToStringSync(new Uint8Array(readBuffer));
          imageSourceApi.release();
          this.base64ToPixmap();
        } catch (e) {
          let err: BusinessError = e as BusinessError;
          console.error(`PhotoViewPicker failed with err: ${err.code}, ${err.message}`);
        } finally {
          // 释放资源
          if (file !== null) {
            fs.closeSync(file.fd);
          }
        }
      }).catch((err: BusinessError) => {
        console.error(`PhotoViewPicker.select failed with err: ${err.code}, ${err.message}`);
      });
    } catch (error) {
      let err: BusinessError = error as BusinessError;
      console.error(`PhotoViewPicker failed with err: ${err.code}, ${err.message}`);
    }
  }

  // 将Base64编码的字符串转换为PixelMap
  base64ToPixmap() {
    try {
      let utilBase64Helper = new util.Base64Helper();
      let pixelFormat = this.originalPixelMap?.getImageInfoSync().pixelFormat;
      let height = this.originalPixelMap?.getImageInfoSync().size.height as number;
      let width = this.originalPixelMap?.getImageInfoSync().size.width as number;
      let opts: image.InitializationOptions =
        { editable: true, srcPixelFormat: pixelFormat, size: { height: height, width: width } };
      let imageUint8 = utilBase64Helper.decodeSync(this.imageBase64Str).buffer;
      this.targetPixelMap = image.createPixelMapSync(imageUint8, opts);
    } catch (e) {
      console.error(`base64ToPixmap failed with err: ${e.code}, ${e.message}`);
    }
  }

  build() {
    Column({ space: 10 }) {
      Button('获取展示Base64图片')
        .onClick(() => {
          this.selectPhoto();
        });
      Text('原始图片');
      Image(this.originalPixelMap == null ? $r('app.media.startIcon') : this.originalPixelMap)
        .width('200vp');

      Text('Base64图片');
      Image(this.targetPixelMap == null ? $r('app.media.startIcon') : this.targetPixelMap)
        .width('200vp');
    }
    .height('100%')
    .width('100%');
  }
}
Q:是否有处理"9图"(又称"draw9patch"、".9图"、"点9图"等)的平替方案?
A:Image组件提供与点九图相同功能的API设置,通过设置resizable属性来配置ResizableOptions,即图像拉伸时的大小调整选项。ResizableOptions的参数slice包含top、left、bottom和right四个属性,分别表示图片在上下左右四个方向拉伸时保持不变的距离。
参考代码如下:
@Entry
@Component
struct NineMapPrinciple {
  build() {
    Row() {
      Image($r('app.media.startIcon'))
        .resizable({ slice: { top: '10px', left: '10px', bottom: '10px', right: '10px' } })
    }
    .height('50%')
  }
}
点九图的常见用法是实现聊天气泡的拉伸效果,参考代码如下:
@Entry
@Component
struct ChatBubbleStretchDemo {
  @State text: string = 'Hello World Hello World Hello World Hello World';
  @State left: number = 10;
  @State right: number = 10;
  @State top: number = 10;
  @State bottom: number = 10;
  @State line: number = 2;
  @State textSize: SizeOptions = this.getUIContext().getMeasureUtils().measureTextSize({
    textContent: this.text
  });

  build() {
    Column() {
      Stack() {
        Image($r('app.media.lightBluexhdpi'))
          .width(this.getUIContext().px2vp(Number(`${this.textSize.width}`)) < 350 ? 60 + px2vp
          (Number(`${this.textSize.width}`)) : 350)
          .height(this.text.length < 40 ? 50 + px2vp(Number(`${this.textSize.height}`))
            : 50 + (this.getUIContext().px2vp(Number(`${this.textSize.height}`)) * this.line))
          // The reason for using the px unit is that the image itself is a physical pixel, and the segmentation algorithm is executed on the image itself. Therefore, these values are ultimately converted into physical pixel values.
          // Therefore, these divided lines must not exceed the size of the picture itself.
          .resizable({
            slice: {
              top: `${this.top}px`,
              left: `${this.left}px`,
              bottom: `${this.bottom}px`,
              right: `${this.right}px`
            }
          })
        Text(this.text)
      }
      .width(350)
      .height(200)
    }
    .height('100%')
    .width('100%')
  }
}
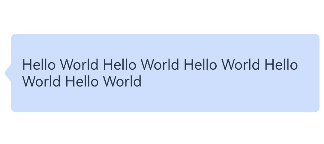
效果如图所示。
正常大小

左右拉伸操作
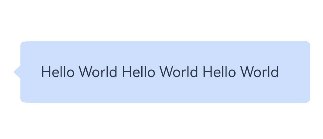
支持多行上下左右拉伸
上述示例实现的是图片拉伸中间,四周保持不变。还有另一种拉伸方式,实现图片拉伸四周,中间保持不变,示例如下。
import { drawing } from '@kit.ArkGraphics2D';

@Entry
@Component
struct DrawingLatticeResizeDemo {
  // lattice grid definition
  private xDivs: Array<number> = [40, 100, 120, 180];
  private yDivs: Array<number> = [];
  private fXCount: number = 4;
  private fYCount: number = 0;
  private drawingLatticeFirst: DrawingLattice =
    drawing.Lattice.createImageLattice(this.xDivs, this.yDivs, this.fXCount, this.fYCount);
  @State widthValue: number = 260;
  @State heightValue: number = 260;

  build() {
    Scroll() {
      Column({ space: 20 }) {
        Text('Dynamic Resize by Lattice')
          .fontSize(22)
          .fontWeight(FontWeight.Bold)

        // The picture shows
        Image($r('app.media.lightBluexhdpi'))
          .width(String(this.widthValue) + 'px')
          .height(String(this.heightValue) + 'px')
          .borderWidth(2)
          .resizable({
            lattice: this.drawingLatticeFirst
          })

        // Width adjustment
        Column({ space: 5 }) {
          Text(`Width: ${this.widthValue.toFixed(0)} px`)
          Slider({
            value: this.widthValue,
            min: 100,
            max: 400,
            step: 10
          })
            .onChange(value => {
              this.widthValue = value;
            })
        }

        // Height adjustment
        Column({ space: 5 }) {
          Text(`Width: ${this.heightValue.toFixed(0)} px`)
          Slider({
            value: this.heightValue,
            min: 78,
            max: 400,
            step: 10
          })
            .onChange(value => {
              this.heightValue = value;
            })
        }
      }
      .width('100%')
      .padding(20)
    }
  }
} 参考链接:ResizableOptions。
Q:使用Image组件时,若对图片进行尺寸放大(尤其是等比例放大),应如何解决由此导致的图片模糊和边缘锯齿问题?
效果图如下:
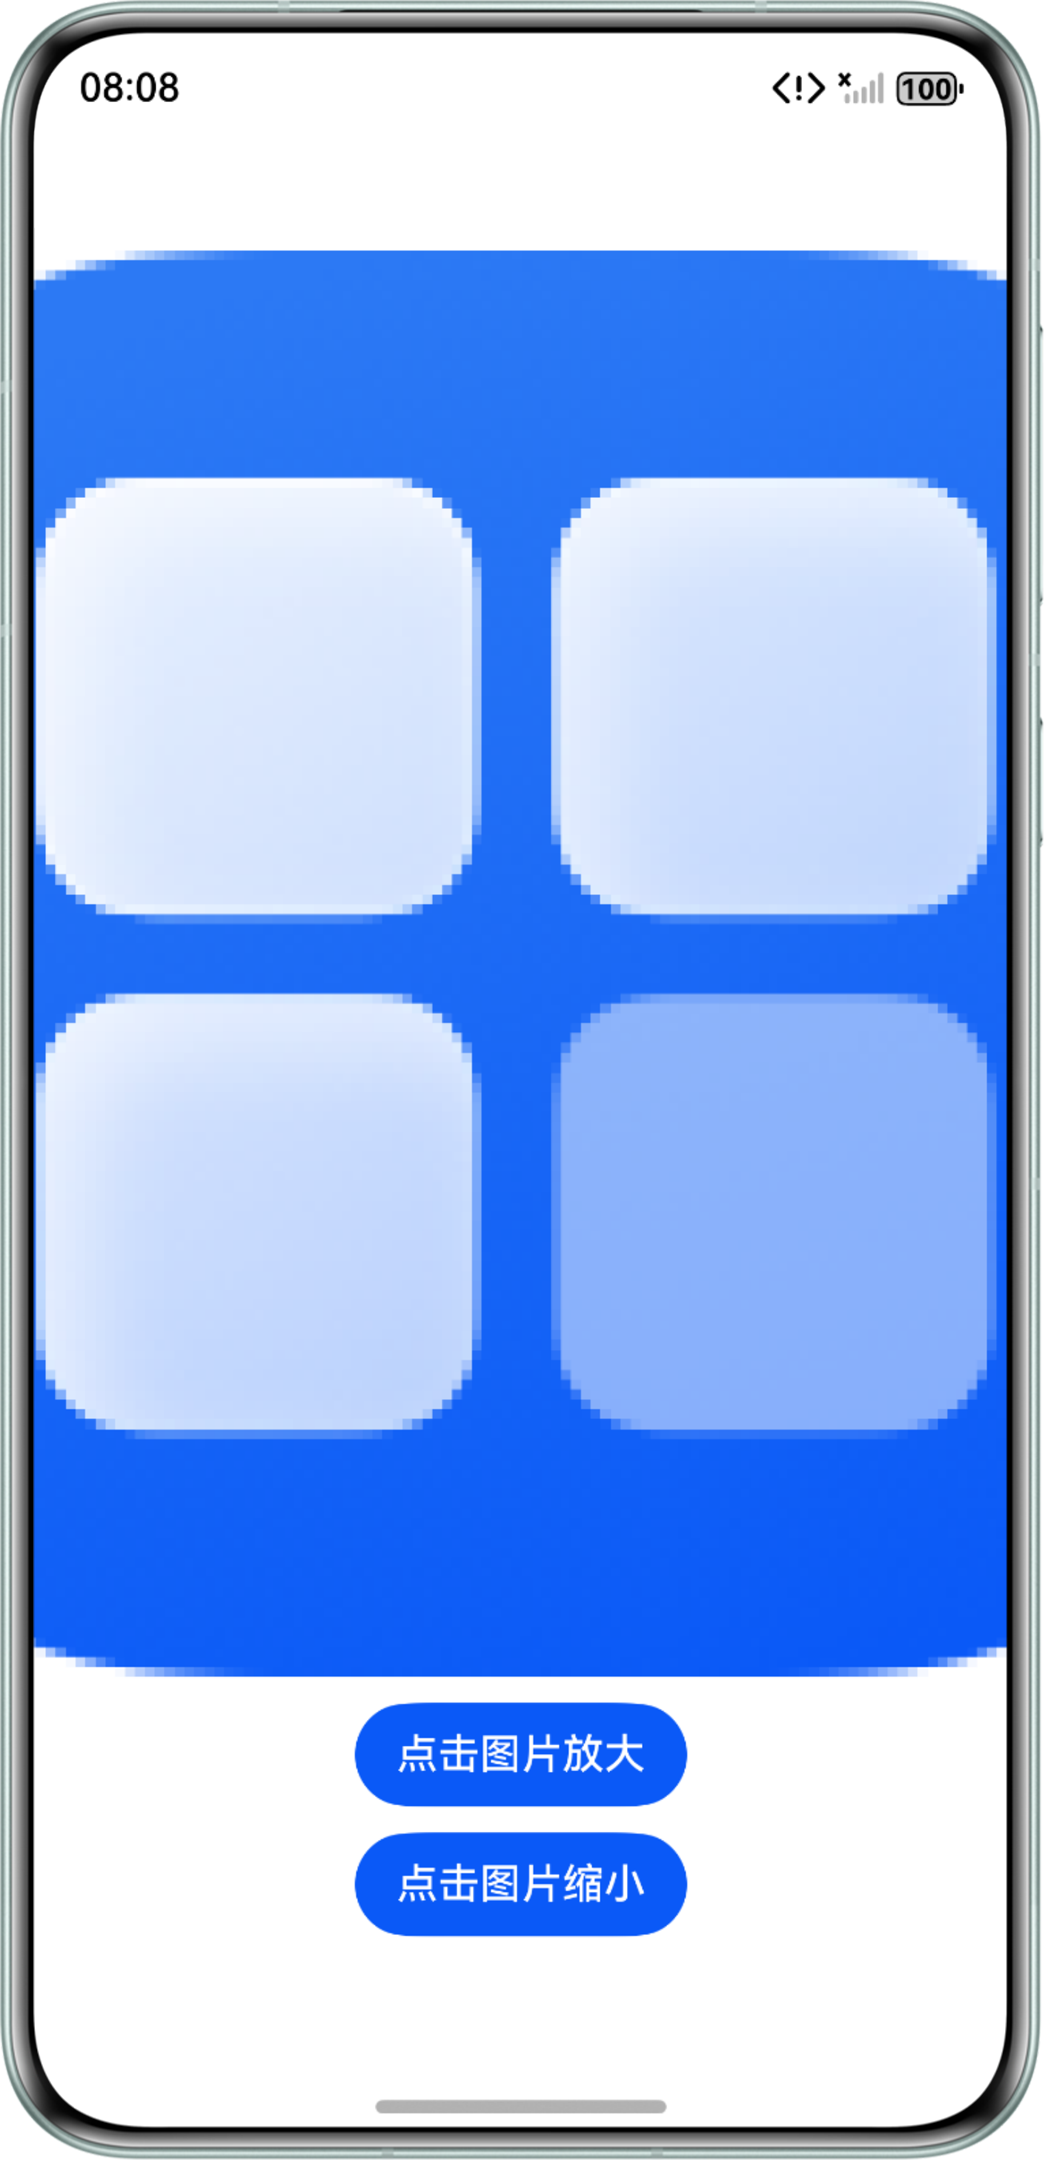
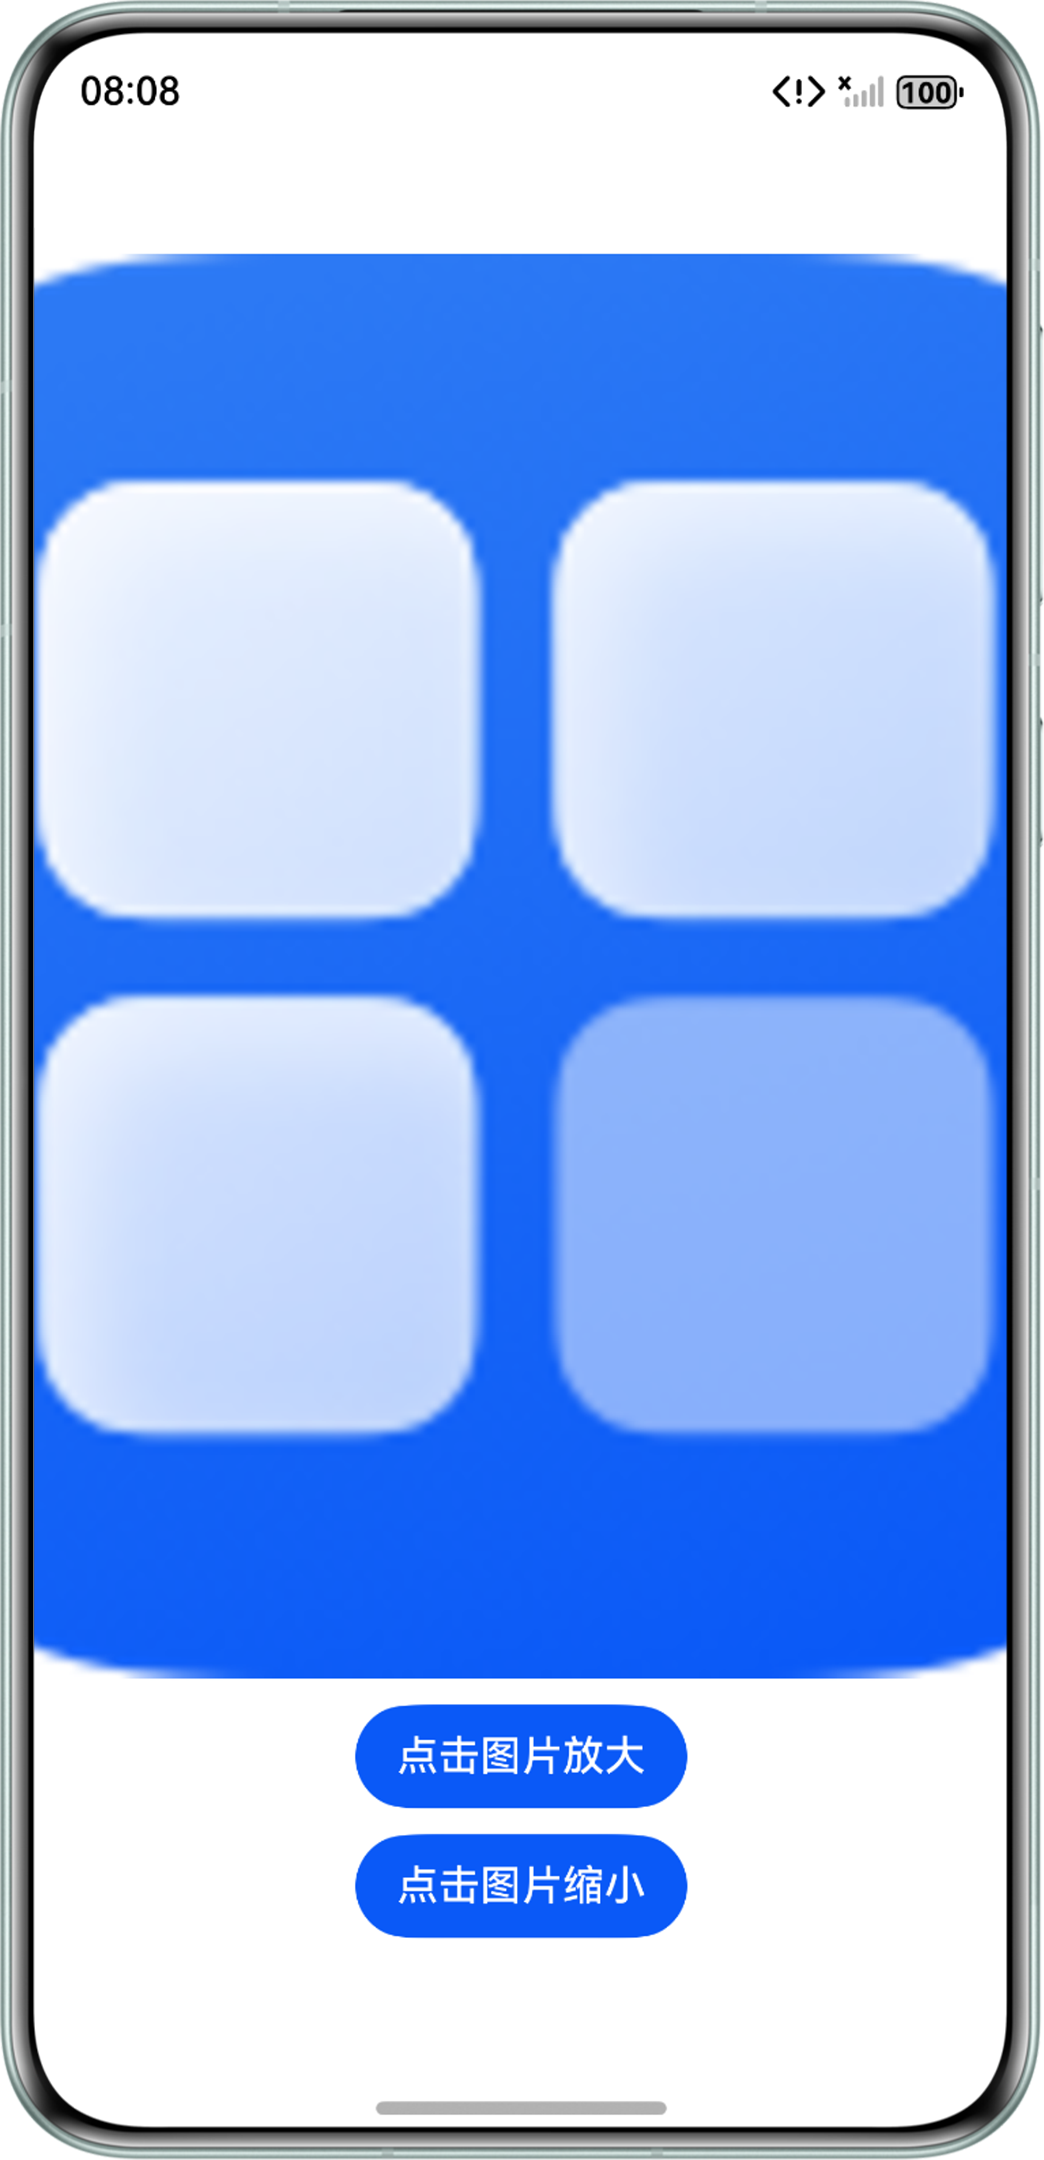
A:要缓解图片放大时的锯齿问题,可将Image组件的interpolation属性设置为ImageInterpolation.High,以启用高质量的插值算法。
代码如下:
@Entry
@Component
struct ImageScalingDemo {
  @State picWidth: number = 100; // Image组件的宽度

  build() {
    Column({ space: 10 }) {
      // 可更换为其他图片资源
      Image($r('app.media.startIcon'))
        .width(this.picWidth)
        .objectFit(ImageFit.Contain) // 设置图片缩放时保持宽高比,且不超出组件边界
        .interpolation(ImageInterpolation.High) // 设置图片的插值效果为Cubic插值
        .autoResize(false); // 关闭图源自动缩放
      Button('点击图片放大').onClick(() => this.picWidth += 50);
      Button('点击图片缩小').onClick(() => this.picWidth -= 50);
    }
    .width('100%')
    .height('100%')
    .justifyContent(FlexAlign.Center);
  }
}
效果图如下:
Q:如何实现图片自适应不失真?
A:autoResize属性可以设置图片解码过程中是否对图源自动缩放。autoResize设为false时,按原图尺寸解码,提升显示效果,但会增加内存占用。当autoResize设为true,且原图在显示时被进行了缩放,图片都会出现些许的失真、模糊。最佳清晰度配置建议如下:
- 图片缩小显示时:.autoResize(false) + .interpolation(.Medium)。
- 图片放大显示时:.interpolation(.High)。
Q:在使用Image组件时,如何实现图片不进行任何缩放、裁剪或拉伸,直接按图源宽度和高度渲染?
A:通过将Image的fitoriginalsize属性设为true,可以在Image组件未设置宽高的情况下适应图源尺寸。
Q:在使用Image组件时,如何自定义图片的显示尺寸,使其按相应比例进行缩放?
A:定义DecodingOptions,通过ImageSource构建PixelMap对象,并基于目标尺寸计算缩放比例后调用scaleSync方法实现动态图片缩放。
- 获取原始尺寸,通过pixelMap.getImageInfo获取图片的原始宽度和高度。
- 计算缩放比例,分别计算宽度和高度需要缩放的比例。
- 调用scaleSync方法,按照计算出的比例进行缩放。缩放操作会直接修改PixelMap对象本身。
具体代码如下:
import image from '@ohos.multimedia.image';
import fs from '@ohos.file.fs';

@Entry
@Component
struct Index {
  @State pixelMap: PixelMap | undefined = undefined;
  context: Context = this.getUIContext().getHostContext() as Context;
  path: string = this.context.filesDir + '/hehe.jpg';
  decodingOptions: image.DecodingOptions = {
    editable: true,
    desiredPixelFormat: 3,
  };

  async aboutToAppear(): Promise<void> {
    let resourceManager = this.context.resourceManager;
    let imageArray =
      await resourceManager.getMediaContent($r('app.media.BigImage').id); // 需开发者自行更换图片
    let file = fs.openSync(this.path, fs.OpenMode.READ_WRITE | fs.OpenMode.CREATE);
    try {
      fs.writeSync(file.fd, imageArray.buffer);
    } catch (err) {
    } finally {
      fs.closeSync(file);
    }
  }

  async packingDetail(targetWidth: number, targetHeight: number) {
    if (this.pixelMap) {
      let imageInfo = await this.pixelMap.getImageInfo();
      // 计算压缩比
      let scaleX: number = targetWidth / imageInfo.size.width;
      let scaleY: number = targetHeight / imageInfo.size.height;
      this.pixelMap.scaleSync(scaleX, scaleY);
    }
  }

  build() {
    Row() {
      Column() {
        Image(this.pixelMap)
          .width(200)
          .height(200)
          .backgroundColor(Color.Gray)
          .margin({ bottom: 40 })
          .objectFit(ImageFit.Contain)

        Button('1:3').onClick(async () => {
          const imageSource: image.ImageSource = image.createImageSource(this.path);
          // 创建pixelMap
          this.pixelMap = await imageSource.createPixelMap(this.decodingOptions);
          // 指定压缩宽、高
          this.packingDetail(100, 300);
        }).margin({ bottom: 20 })

        Button('1:2').onClick(async () => {
          // path为已获得的沙箱路径
          const imageSource: image.ImageSource = image.createImageSource(this.path);
          // 创建pixelMap
          this.pixelMap = await imageSource.createPixelMap(this.decodingOptions);
          // 指定压缩宽、高
          this.packingDetail(100, 200);
        })
      }
      .width('100%')
    }
    .height('100%')
  }
} Q:ImageAnimator在设置了fixedSize之后,图片不会跟随组件宽高做拉伸。
A:设置fixedSize属性后,ImageAnimator将维持图片的原始宽高比。当图片原始尺寸与组件尺寸不一致时,图片会适配至ImageAnimator的宽高范围内显示,而不会被拉伸变形。
Q:从相册选择一张图片,当使用Image组件加载图片或通过drawImage方法将图片绘制到Canvas画布时,默认显示为矩形。如何实现加载后图片的圆形显示效果?
A:场景一:给Image组件设置borderRadius属性,大小为宽高的一半。
示例代码如下:
import { photoAccessHelper } from '@kit.MediaLibraryKit';
import { BusinessError } from '@kit.BasicServicesKit';

@Entry
@Component
struct Index {
  @State uri: string = '';

  build() {
    Column() {
      Image(this.uri)
        .width(200)
        .height(200)
        .borderRadius(100)
        .margin({ top: 100, bottom: 30 });
      Button('加载图片')
        .onClick(() => {
          // 创建图片选择配置对象
          const photoSelectOptions = new photoAccessHelper.PhotoSelectOptions();
          // 设置MIME类型过滤器:仅显示图片类型(排除视频等)
          photoSelectOptions.MIMEType = photoAccessHelper.PhotoViewMIMETypes.IMAGE_TYPE;
          // 设置最大选择数量为1(单选模式)
          photoSelectOptions.maxSelectNumber = 1;
          // 初始化URI存储数组(用于接收选择结果)
          let uris: Array<string> = [];
          // 创建相册选择器实例
          const photoViewPicker = new photoAccessHelper.PhotoViewPicker();
          // 调用相册选择器并处理结果
          photoViewPicker.select(photoSelectOptions).then((photoSelectResult: photoAccessHelper.PhotoSelectResult) => {
            // 获取用户选择的图片URI数组
            uris = photoSelectResult.photoUris;
            this.uri = uris[0];
            console.info('photoViewPicker.select to file succeed and uris are:' + uris);
          }).catch((err: BusinessError) => {
            console.error(`Invoke photoViewPicker.select failed, code is ${err.code}, message is ${err.message}`);
          });
        });
    }
    .height('100%')
    .width('100%');
  }
}
场景二:使用drawImage绘制图片时将图片绘制成圆形,实现如下:
- 通过arc方法绘制一个圆形路径。
- 通过clip方法设置裁剪区域。
- 通过drawImage绘制图片,并使其位置和大小匹配圆的范围。
示例代码如下:
import { image } from '@kit.ImageKit';
import { photoAccessHelper } from '@kit.MediaLibraryKit';
import { BusinessError } from '@kit.BasicServicesKit';
import { common } from '@kit.AbilityKit';
import { fileIo } from '@kit.CoreFileKit';

@Entry
@Component
export struct Index {
  private settings: RenderingContextSettings = new RenderingContextSettings(true); // 画布设置(启用抗锯齿)
  private context: CanvasRenderingContext2D = new CanvasRenderingContext2D(this.settings); // 2D渲染上下文
  @State uri: string = '';

  async drawImage() {
    try {
      const imageSource: image.ImageSource = image.createImageSource(this.uri);
      const pixelMap: image.PixelMap = await imageSource.createPixelMap();
      // 获取图片原始尺寸
      const imageInfo = await pixelMap.getImageInfo();
      const centerX = 100; // 圆形中心X坐标
      const centerY = 100; // 圆形中心Y坐标
      const radius = 100; // 圆形半径
      // 计算绘制参数以保证圆形完整
      const cropSize = radius * 2; // 裁剪区域的边长(正方形)
      // 计算缩放比例,确保图片完全覆盖裁剪区域
      const scaleRatio = Math.max(
        cropSize / imageInfo.size.width, // 宽度方向的缩放比例
        cropSize / imageInfo.size.height // 高度方向的缩放比例
      );
      // 按比例缩放后的图片尺寸
      const scaledWidth = imageInfo.size.width * scaleRatio;
      const scaledHeight = imageInfo.size.height * scaleRatio;
      // 计算图片绘制的起始位置,使其中心与圆心重合
      const drawX = centerX - scaledWidth / 2;
      const drawY = centerY - scaledHeight / 2;
      // 执行裁剪与绘制
      this.context.save();
      this.context.beginPath();
      this.context.arc(centerX, centerY, radius, 0, Math.PI * 2); // 定义圆形裁剪区
      this.context.clip(); // 应用裁剪
      // 绘制缩放后的图片,其中心与圆形中心对齐
      this.context.drawImage(
        pixelMap,
        drawX,
        drawY,
        scaledWidth,
        scaledHeight
      );
      this.context.restore(); // 恢复画布状态
    } catch (err) {
      console.error('drawImage failed');
    }
  }

  async getFileInfo(filePathString: string) {
    let context = this.getUIContext().getHostContext() as common.UIAbilityContext;
    let resFile: fileIo.File | undefined;
    try {
      resFile = fileIo.openSync(filePathString, fileIo.OpenMode.READ_ONLY);
      // 创建临时文件目录
      let dateStr = (new Date().getTime()).toString();
      this.uri = context.cacheDir + `/${dateStr + resFile.name}`; // 生成沙箱缓存路径
      // 拷贝系统图库图片到沙箱
      fileIo.copyFileSync(resFile.fd, this.uri);
      this.drawImage(); // 触发绘制
    } catch (err) {
      console.error('Failed to copy file');
    } finally {
      if (resFile) {
        fileIo.closeSync(resFile);
      }
    }
  }

  build() {
    Flex({ direction: FlexDirection.Column, alignItems: ItemAlign.Center }) {
      Canvas(this.context)
        .width('200')
        .height('200')
        .margin({ top: 100, bottom: 30 });
      Button('加载图片')
        .onClick(() => {
          // 创建图片选择配置对象
          const photoSelectOptions = new photoAccessHelper.PhotoSelectOptions();
          // 设置MIME类型过滤器:仅显示图片类型(排除视频等)
          photoSelectOptions.MIMEType = photoAccessHelper.PhotoViewMIMETypes.IMAGE_TYPE;
          // 设置最大选择数量为1(单选模式)
          photoSelectOptions.maxSelectNumber = 1;
          // 初始化URI存储数组(用于接收选择结果)
          let uris: Array<string> = [];
          // 创建相册选择器实例
          const photoViewPicker = new photoAccessHelper.PhotoViewPicker();
          // 调用相册选择器并处理结果
          photoViewPicker.select(photoSelectOptions).then((photoSelectResult: photoAccessHelper.PhotoSelectResult) => {
            // 获取用户选择的图片URI数组
            uris = photoSelectResult.photoUris;
            this.getFileInfo(uris[0]);
            console.info('photoViewPicker.select to file succeed and uris are:' + uris);
          }).catch((err: BusinessError) => {
            console.error(`Invoke photoViewPicker.select failed, code is ${err.code}, message is ${err.message}`);
          });
        });
    }
    .width('100%')
    .height('100%');
  }
}
Q:还有其他方式可以实现图片圆形展示吗?
A:可以利用三方库CircleImageView实现。但是需要注意该三方库只能加载rawfile目录下的图片资源。