Partners with the developer role can perform the following operations on the conversion event management page:
Add, modify, delete, and view custom conversion events.
When you add, modify, or delete custom conversion events, such operations will be reviewed by the operations team. Only an approved operation can take effect.
Adding a Custom Conversion Event
Choose Conversion Event Management on the left. The Custom Conversion Events tab page is displayed.

Click New in the upper right corner to enter the New Custom Conversion Event page.

Enter an event name, event ID, and description, and click OK. A custom conversion event with the status of Reviewing (new) is generated.
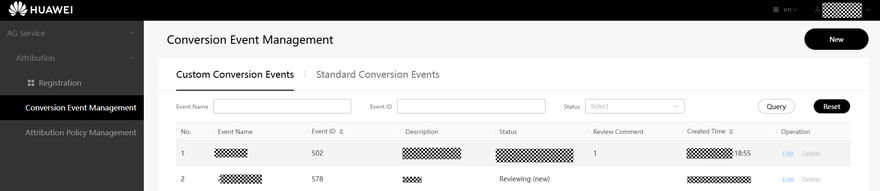

Enter an event ID that ranges from 501 to 600.
Both the event name and ID should be unique.
Modifying a Custom Conversion Event
Click Edit on the right of a custom conversion event in effective or rejected state.
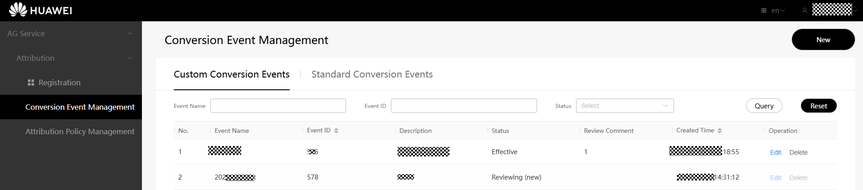
On the displayed editing page, modify the event name, event ID, and description, and then click OK.

View the modified data, which is in Reviewing (new) or Reviewing (updated) state.

The modified record can take effect only after being approved. If it is rejected, the original event name and ID still apply.

The new event name and ID should not be the same as those of any effective event or any event under review.
After you modify a rejected event, its status will be displayed as Reviewing (new).
Deleting a Custom Conversion Event
Click Delete on the right of a custom conversion event. Then click OK in the pop-up.
That way you can directly delete a rejected record.
If you are deleting an effective event, click OK. The status of the record changes from Effective to Reviewing (deleted).
An effective record can only be deleted after being approved by the review team.

